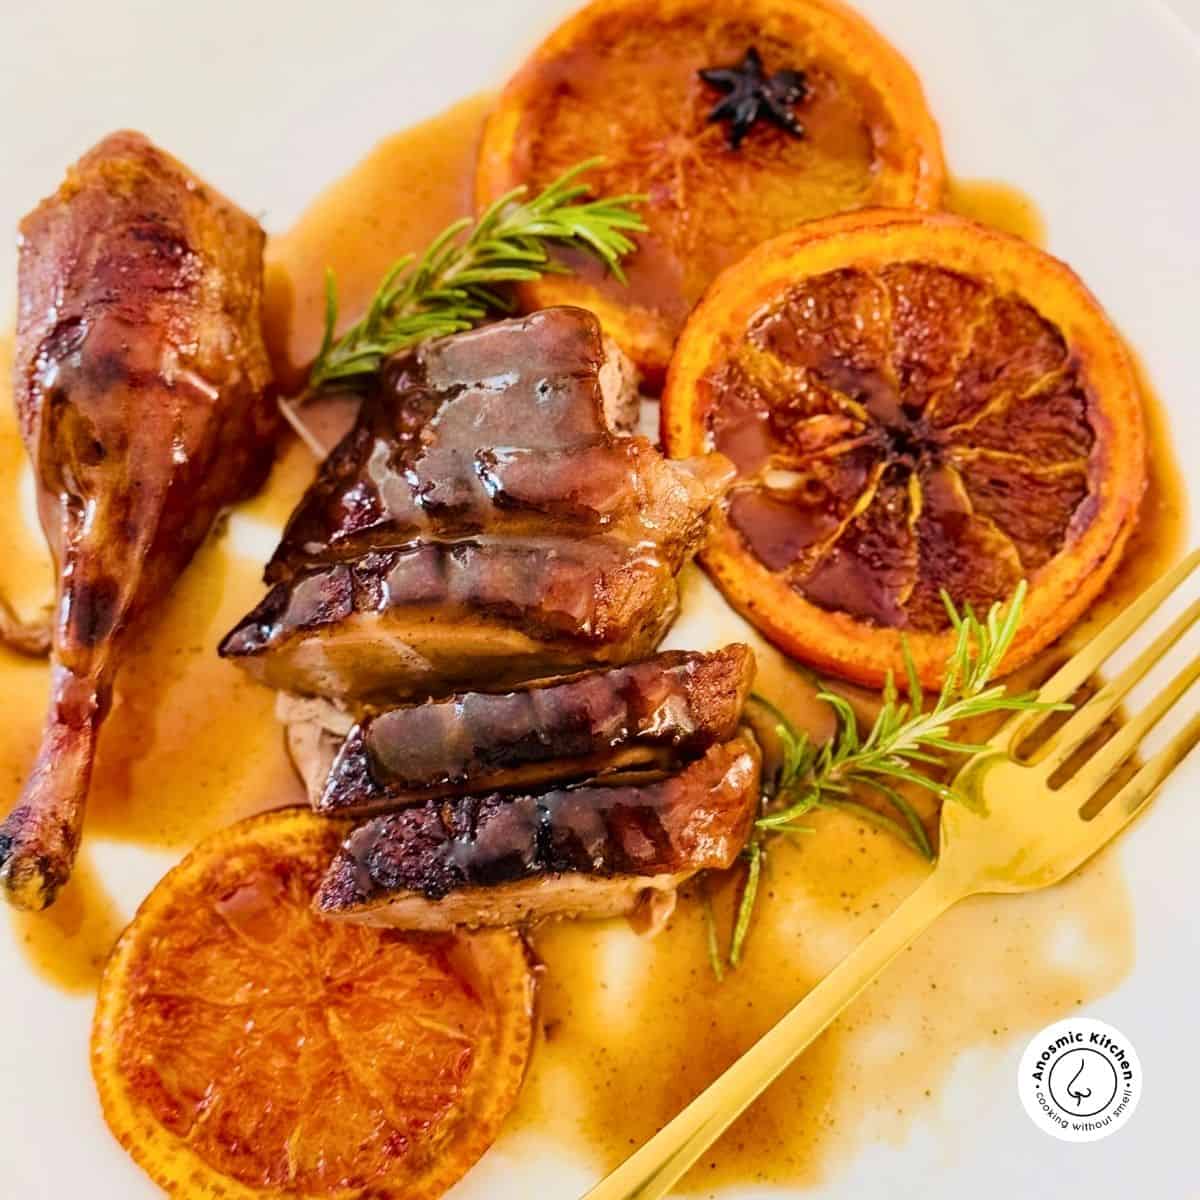
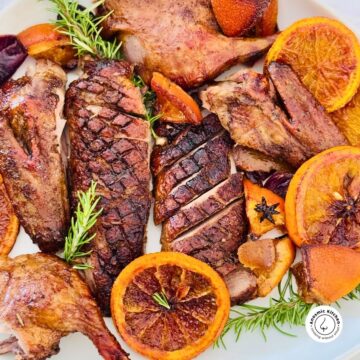
Add this seared and crispy skin whole Roasted Orange Duck Recipe to your collection for a delicious main dish! If this is the first time making roast duck stick with me because I am going to show you just how easy it is.
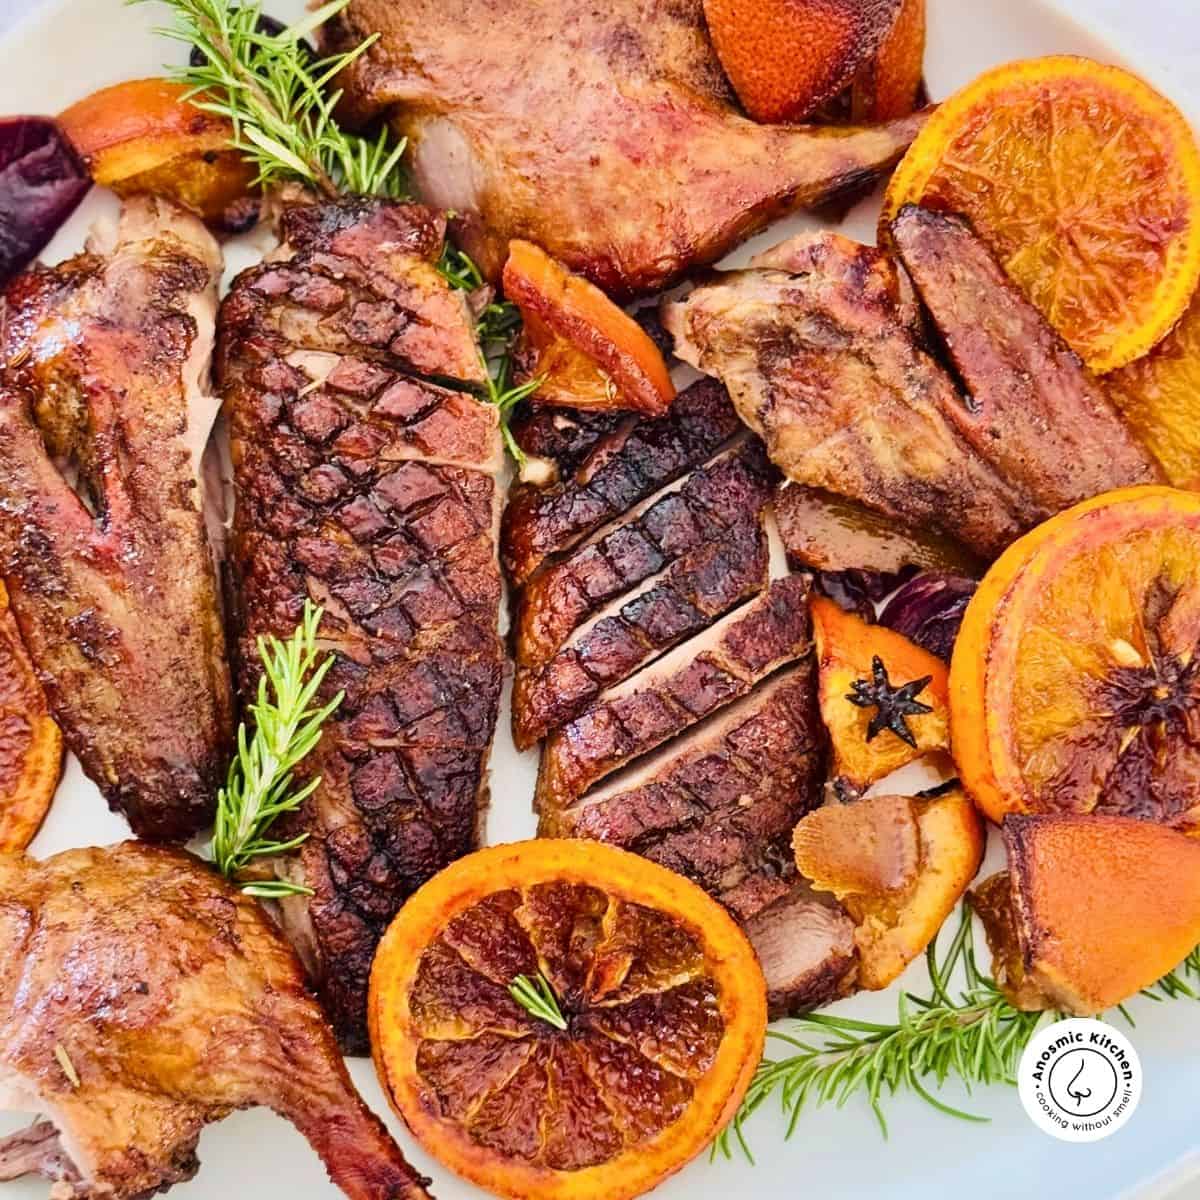
3 Important Tips Before You Start
- Thaw it Out: If your duck is frozen, plan ahead! Transfer it from the freezer to the refrigerator 2-3 days before you plan to cook it. Thawing times can vary based on the duck's size.
- Unwrap and Pat Dry: Once thawed, carefully remove any packaging. Thoroughly pat the duck dry inside and out with paper towels. This helps achieve crispy skin and prevents excess moisture.
- Refrigerate Overnight: After drying, place the duck on a rack over a baking sheet to collect any drips. Refrigerate it uncovered overnight to help the skin firm up slightly which contributes to a crispier result when roasted. The duck needs to be room temperature when roasting but it will reach room temp while you do your prep so don't forget to take it out the fridge about 30 minutes before.
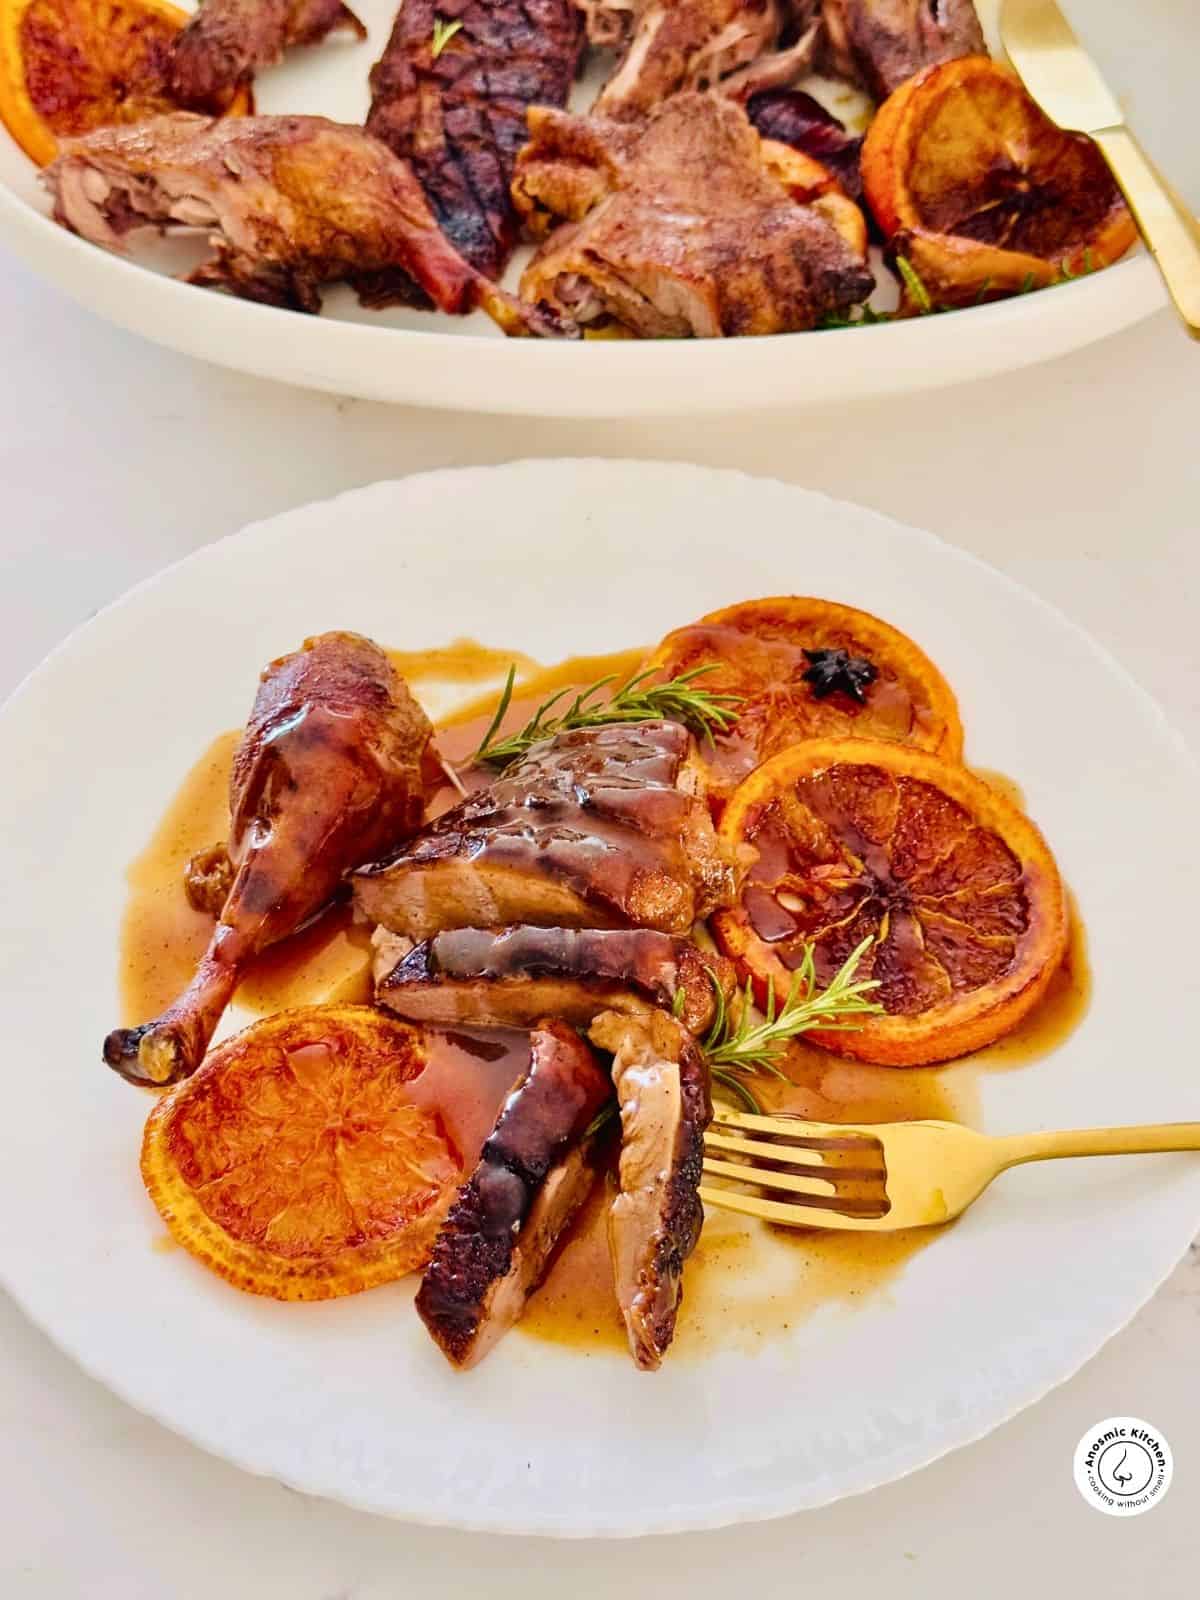
Seared Roasted Duck
Besides a few tips that I share with you, this is an easy duck recipe and roasting is like any other cooking method, versatile and forgiving!
Roasting a whole duck can seem intimidating, but with a little preparation and the right techniques, it's very rewarding. Here's my step-by-step process for a roasted orange duck recipe, enjoy!
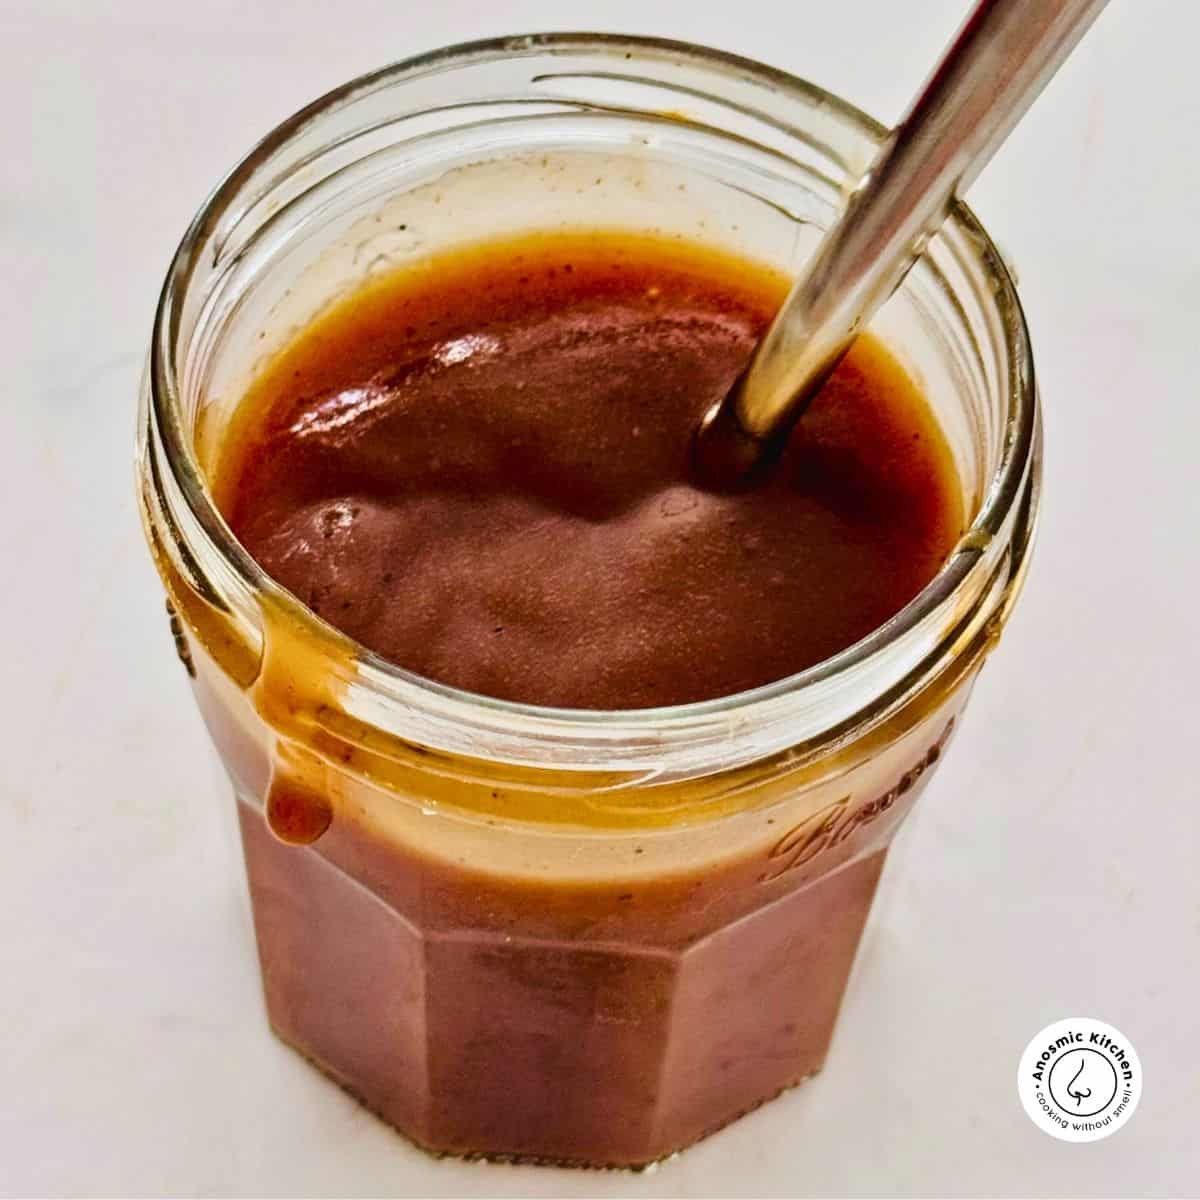
First, let me introduce you to my new glaze recipe! It's completely optional but why not give it a try when it's so delicious that you could eat it off the spoon! It's packed with brown sugar, star anise and orange juice and makes a great orange mixture. Plus it works as a glaze and a sauce making this roasted duck even more irresistable.

Ingredients
We use a basic seasoning then we fill the duck cavity, sear and roast. Full recipe in the recipe card.
- Duck: Whole duck 2kg (4.4lbs)
- Olive oil: Just enought to help coast the spices
- Salt: Fine kosher salt or sea salt
- Black pepper: Ground black pepper
- Spice: Ground all spice (or your preferred spice mixture)
- Fennel seeds: In the duck cavity (opional)
- Bay leaves: One or two
- Fresh rosemary: Holds up well in the roasting pan (not so delicate)
- Garlic cloves: Peeled fresh garlic cloves
- Red onion: Creates a bed for the duck
- Oranges: Orange Juice and Orange Zest: Washed and cut into orange wedges (preferred to lemon juice or lemons)
- Water: Feel free to use stock
Golden Brown Whole Roast Duck And Orange Recipe
After the duck has properly thawed, packaging removed and it's been dried we move onto the next step, which is dry brining.
Sprinkle salt all over it (duck cavity included) and place it back on a rack in the fridge overnight up to 2 days. This step is optional but it does help with a) scoring and b) crispy skin.
Step 2 - Snip Cut and Tuck
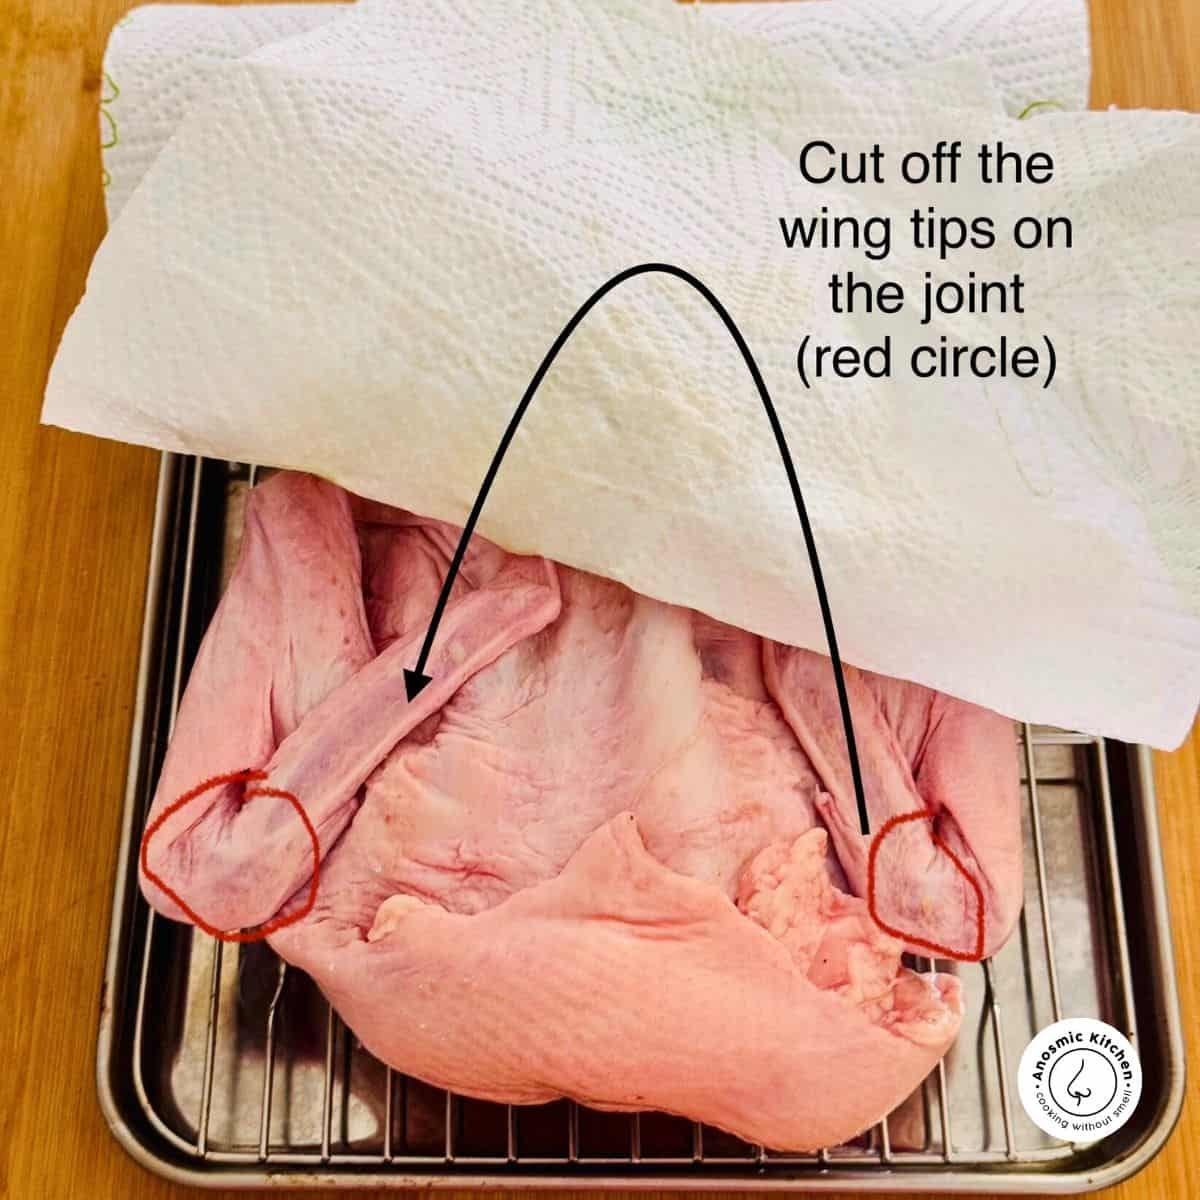
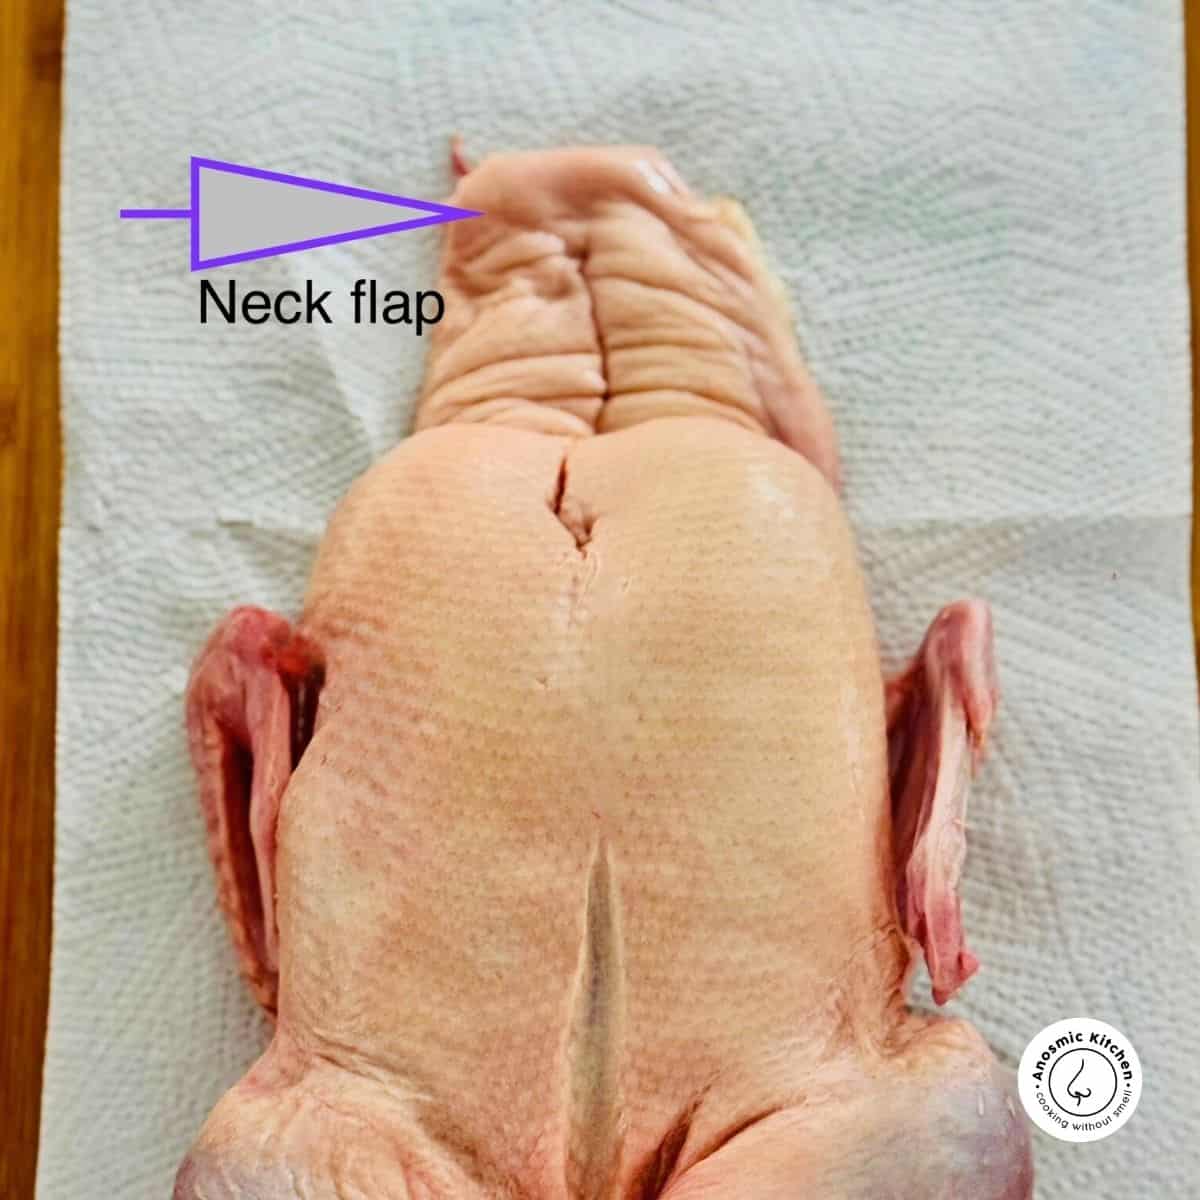
You can buy duck with or without the internal organs which are usually inside the cavity in a small bag. Use a sharp knife to cut off the wing tips, tail and if there's any excess fat inside you may want to remove it. Unlike chicken, duck meat is fatty and tough.
Duck's tail also known as the pope's nose is fat that you can cut off and keep to use as fat in another recipe.
Step 3 - Season and Fill the Duck Cavity
Use about a tablespoon of olive oil first to rub into the skin. This helps the seasoning and spices stick to the skin. Kosher salt and black pepper are the basics.
Season inside the cavity, back front, legs, wings - all round. Place the fresh rosemary, garlic cloves and orange cubes inside the cavity. Once stuffed, use toothpicks to close.
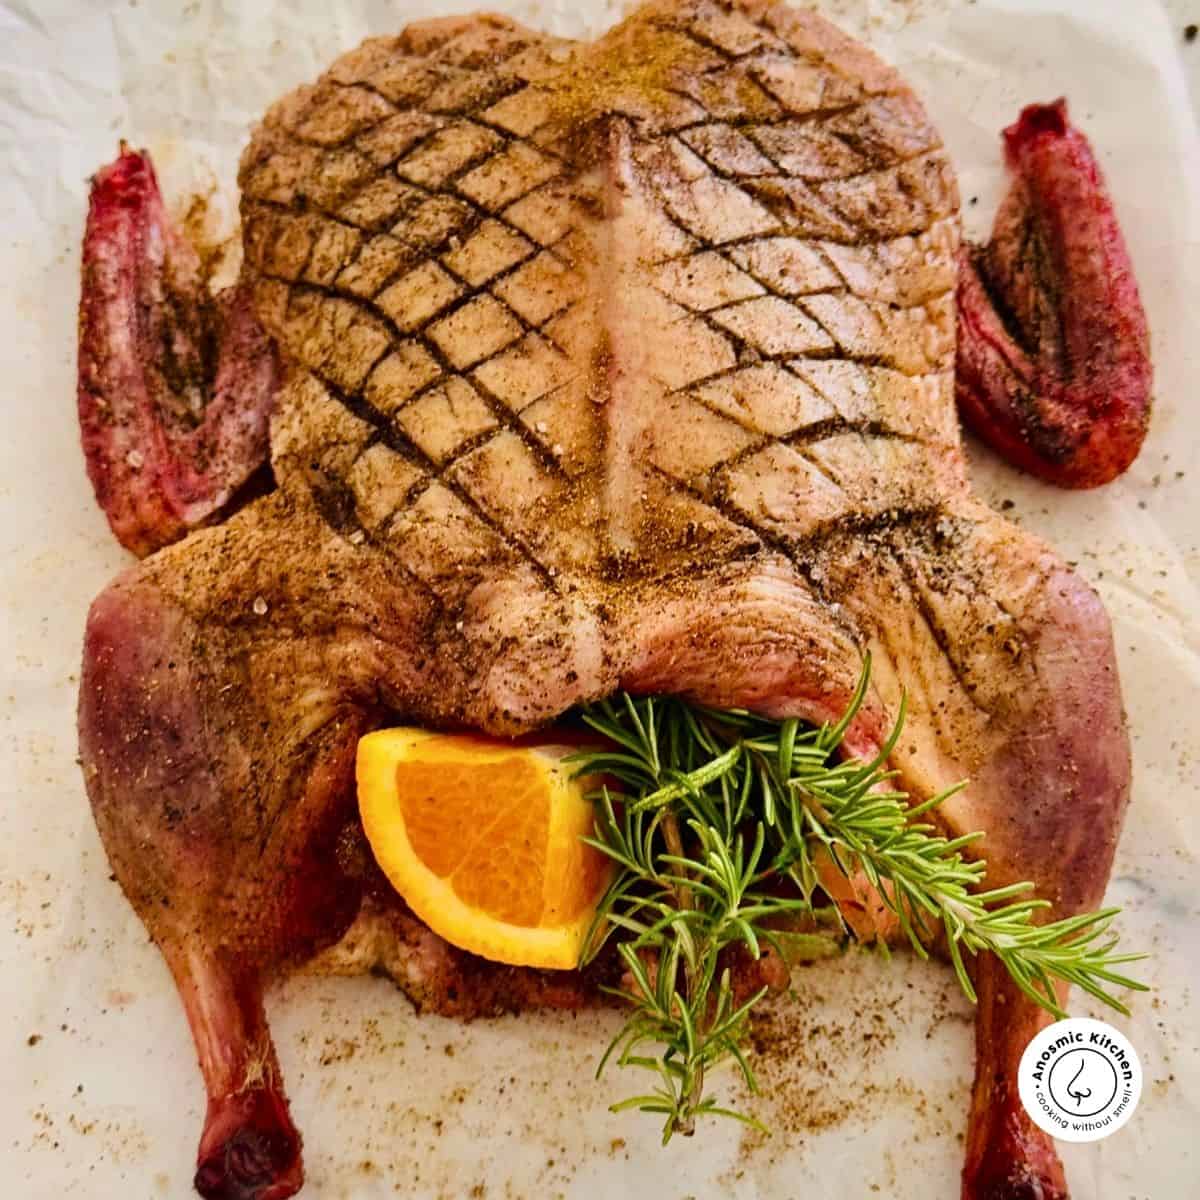
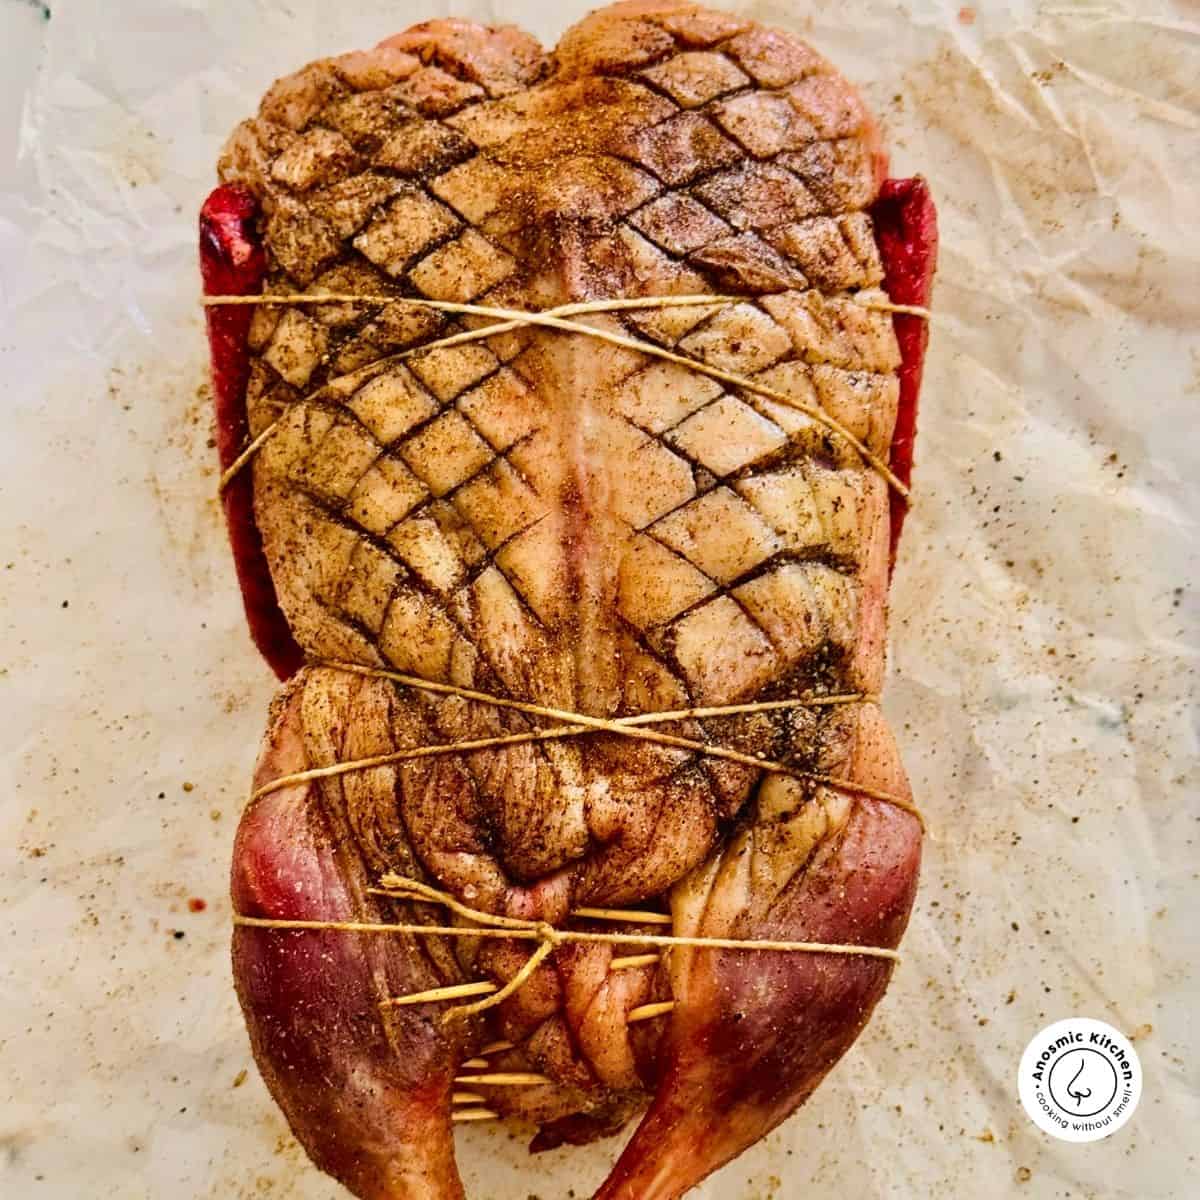
Tying the legs: Sometimes you can find the duck's legs already tied with it's own skin but if not, simply use kitchen twine or foil to tie them.
Tying the whole duck: In this instance I went with tying the duck with kitchen twine (also known as trussing) to hold it together. That was a decision I made based on the fact that it looked a little limp and I was concerned about it not cooking evenly throughout, the meat not being tender enough and because I was searing it before roasting showcasing it whole was key. I needed to keep everything together!
I also found that it was a good call because the legs and wings always tend to burn before the inside is cooked through and because they were so close to the body, the fat and heat while the duck cooked, kept them tender.
Step 4 - How to Sear Duck Skin
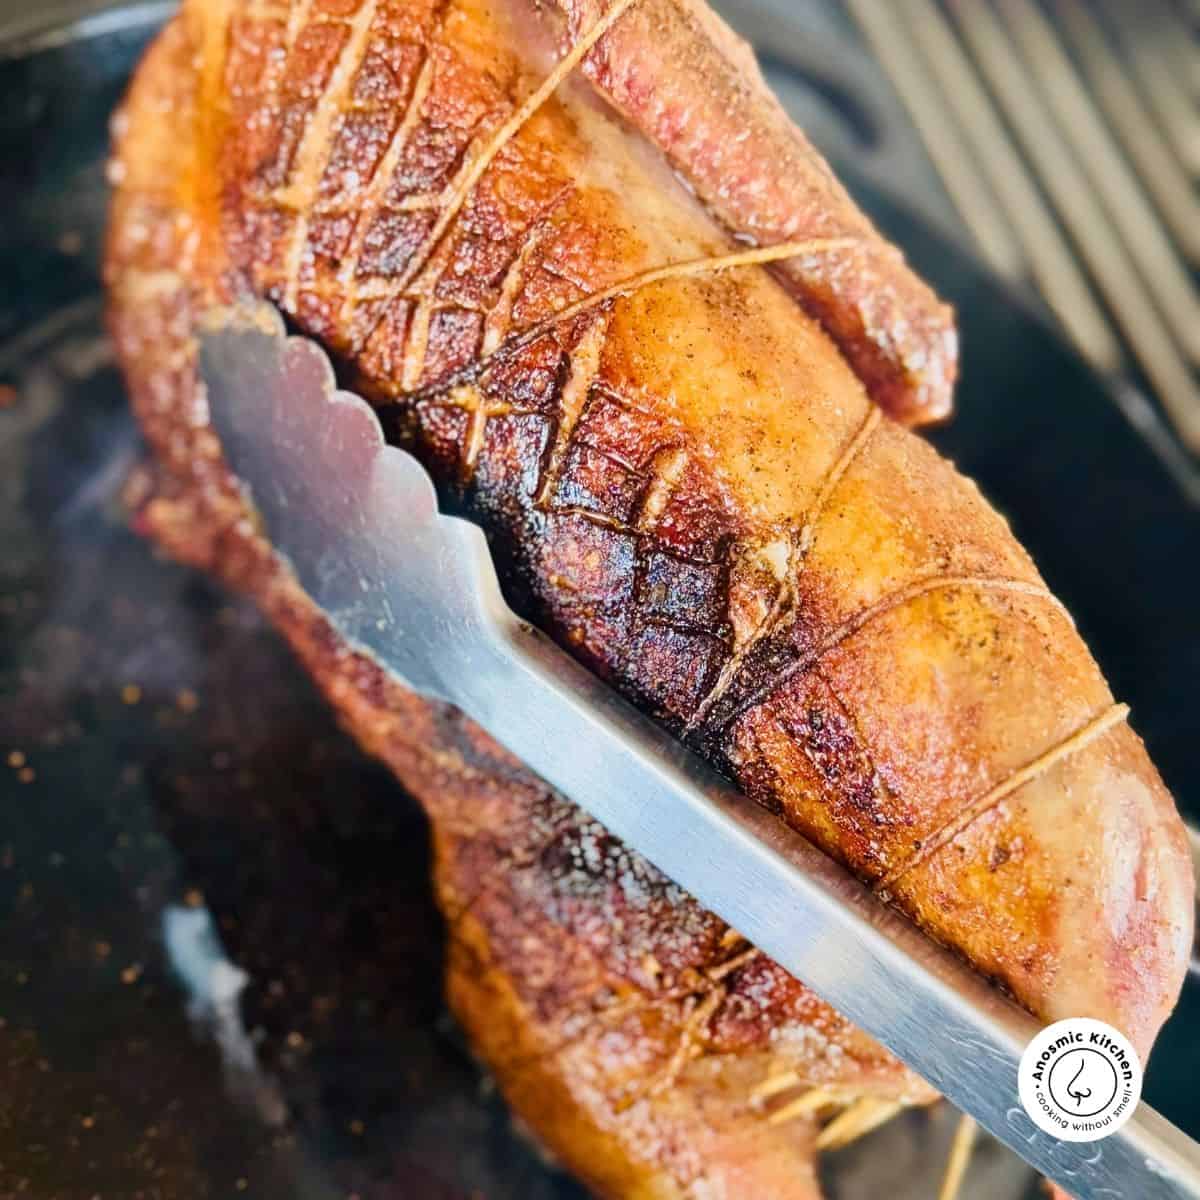
Place duck breast side down first in a hot dry skillet with no oil as the duck has more than enought fat. The second that the duck hits the pan, it will start to render the fat and I don't need to tell you that rendered duck fat is pure gold. You can scoop that out as it cooks if it's too much and definitely have a small bowl or jar ready to save it!
This step goes go very quick in a hot pan so watch it closely and turn it over once you are happy with the crisp skin.
Start off on high heat I would suggest to get that crispy crust then immediately regulate it to medium heat to avoid the kitchen smoking up.
Once the sear is done, set the duck aside on a plate and prepare the roasting pan.

Step 5 - Prepare Roasting Pan
Would you like to save this?
I'd like to receive tips & recipes from Anosmic Kitchen.
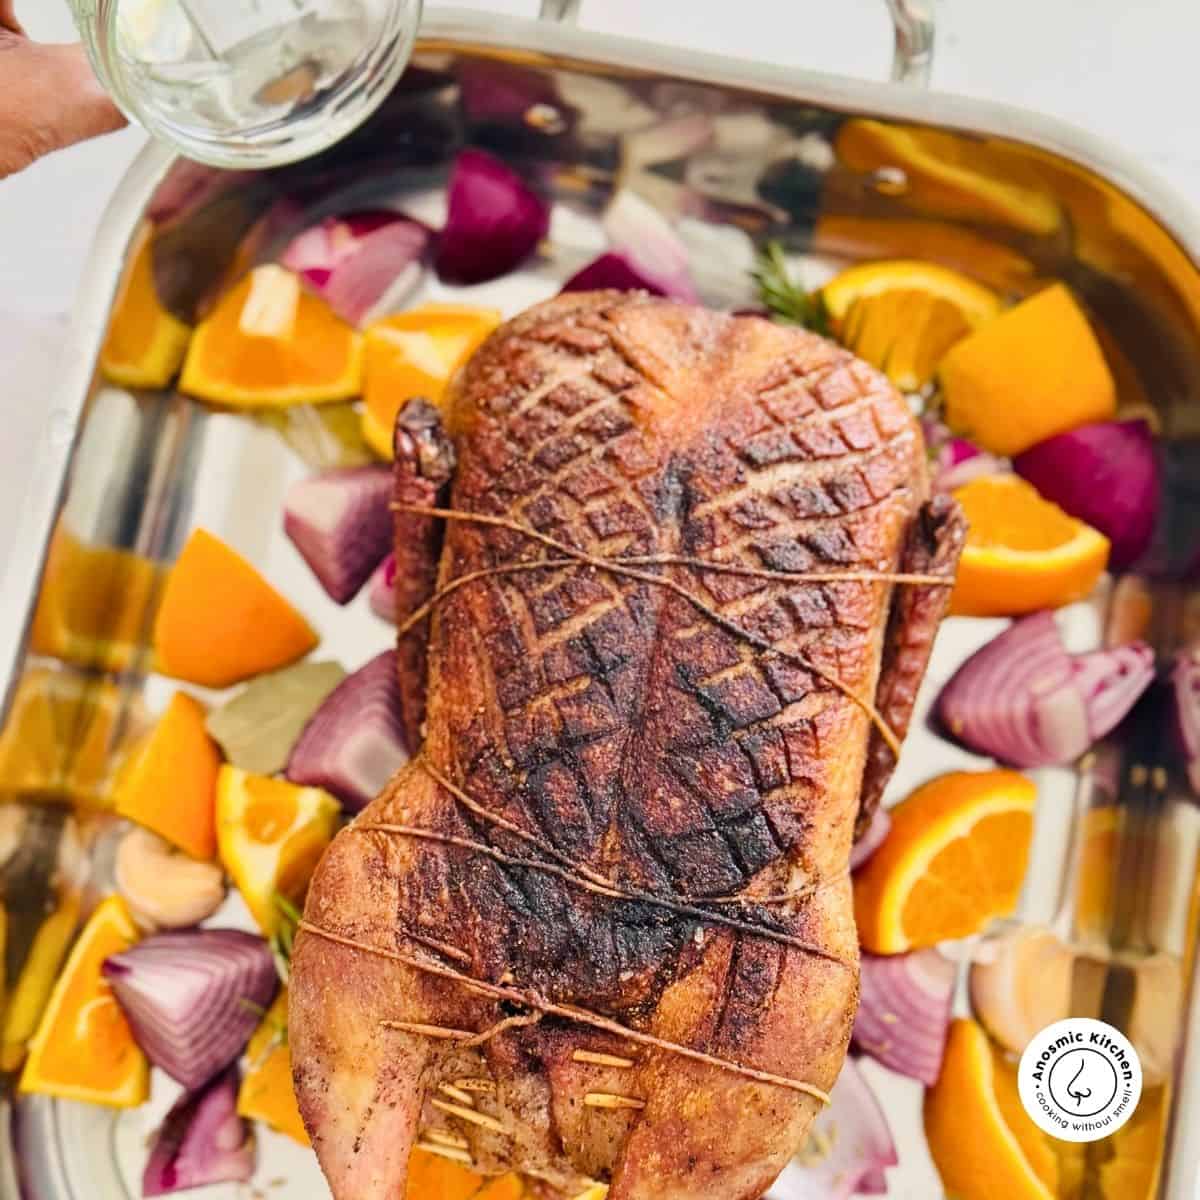
Roughly chop red onions and oranges and place into a roasting tin together with a bay leaf or two, peeled pressed garlic cloves, rosemary sprigs and fennel seeds add that into the roasting tray.
Step 6 - Roast
Now place the duck on the prepared trivet add one and a half cups of water. The water inside the pan helps create steam keeping the roast moist while cooking.
Roast for an hour on 190C (375F).
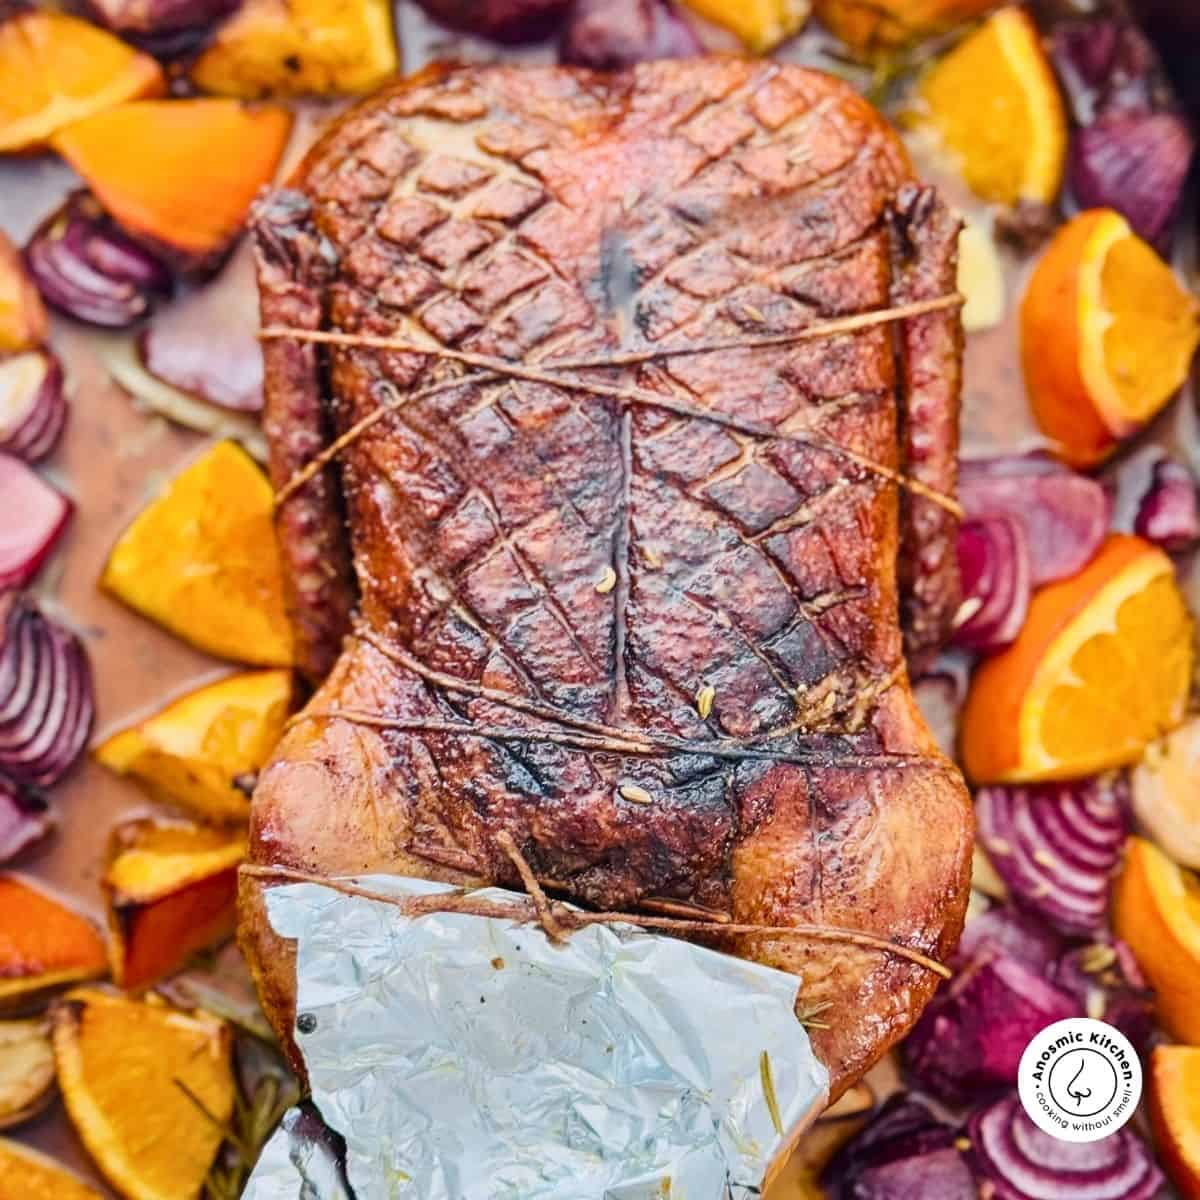
Step 7 - Orange Jam Glaze
While the duck cooks reheat the glaze if using so you can baste the duck. Use a pair of large tongs to firmly turn it over (duck breast side down) and glaze. Contine cooking for another half hour.
Turn the duck back to breast-side up, now glaze the breastside and continue roasting for another 20 to 30 minutes. Check in on the duck in the last 20 minutes or so and if it appears to be browning too much on top, loosley cover it with foil.
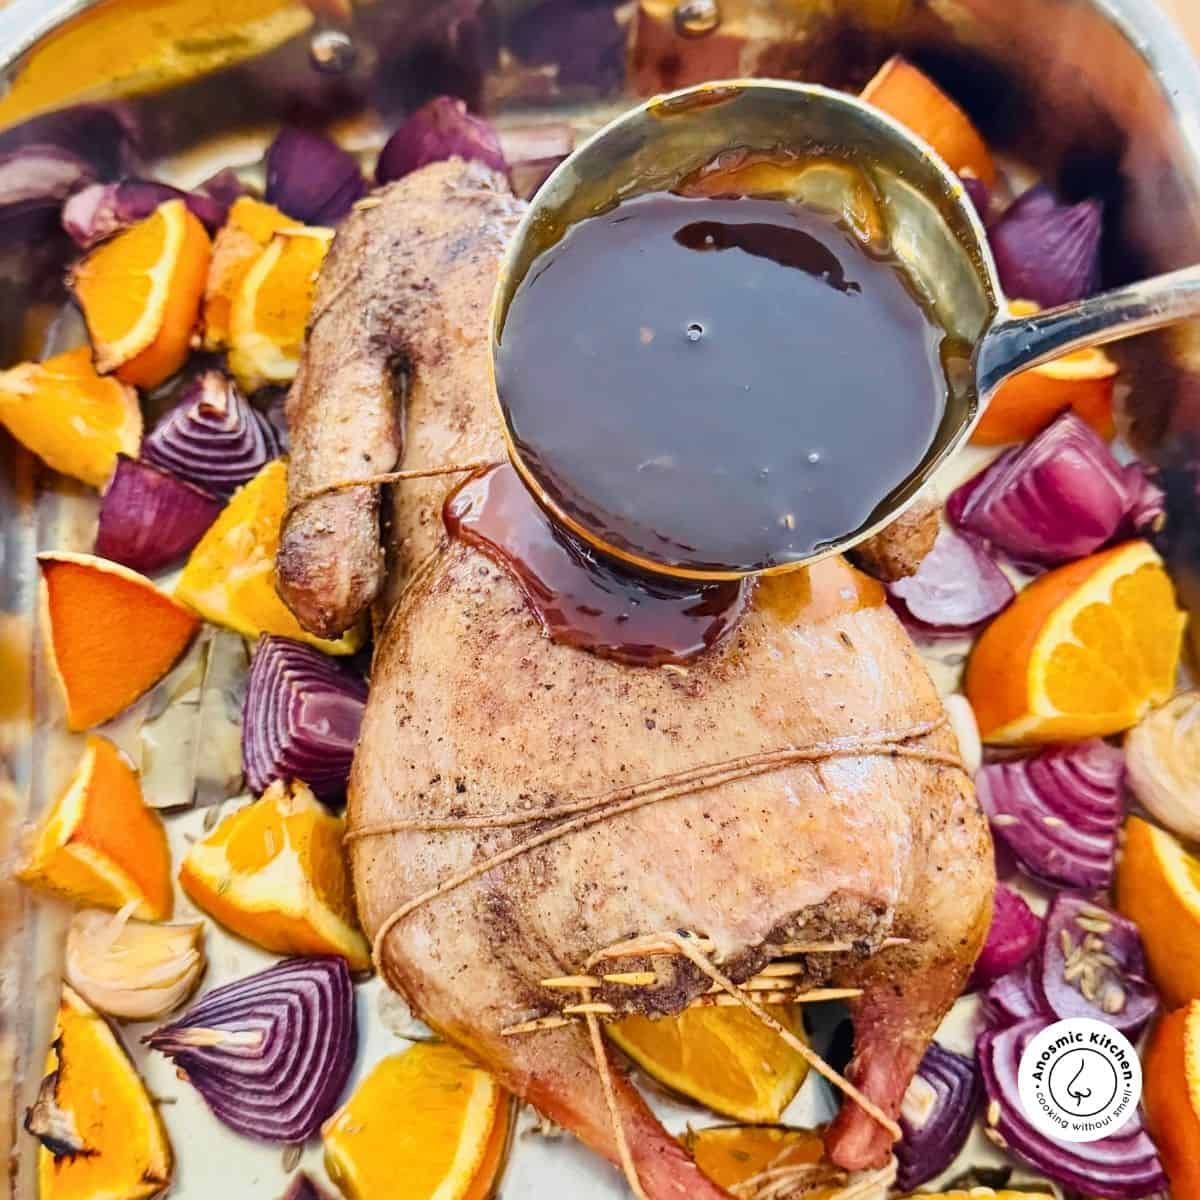
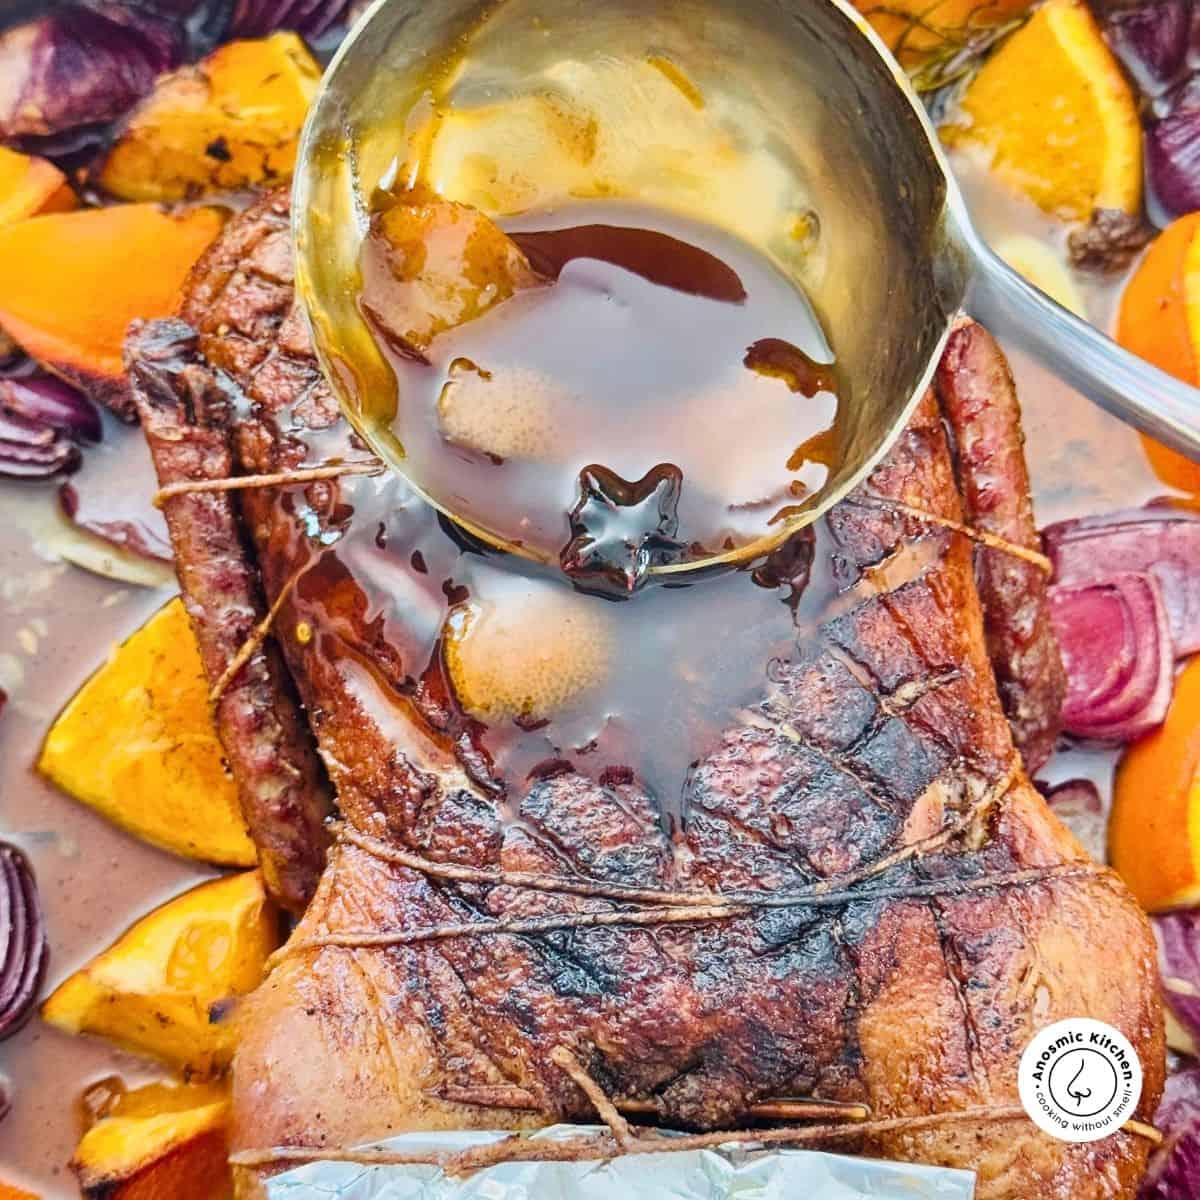
Step 8 - Rest and Carve
Let the duck rest a good 15 to 20 minutes in a serving platter or carving board. It will still be warmed through when you carve and the juices would have redistributed. Don't forget to remove the kitchen twine and toothpicks before carving.
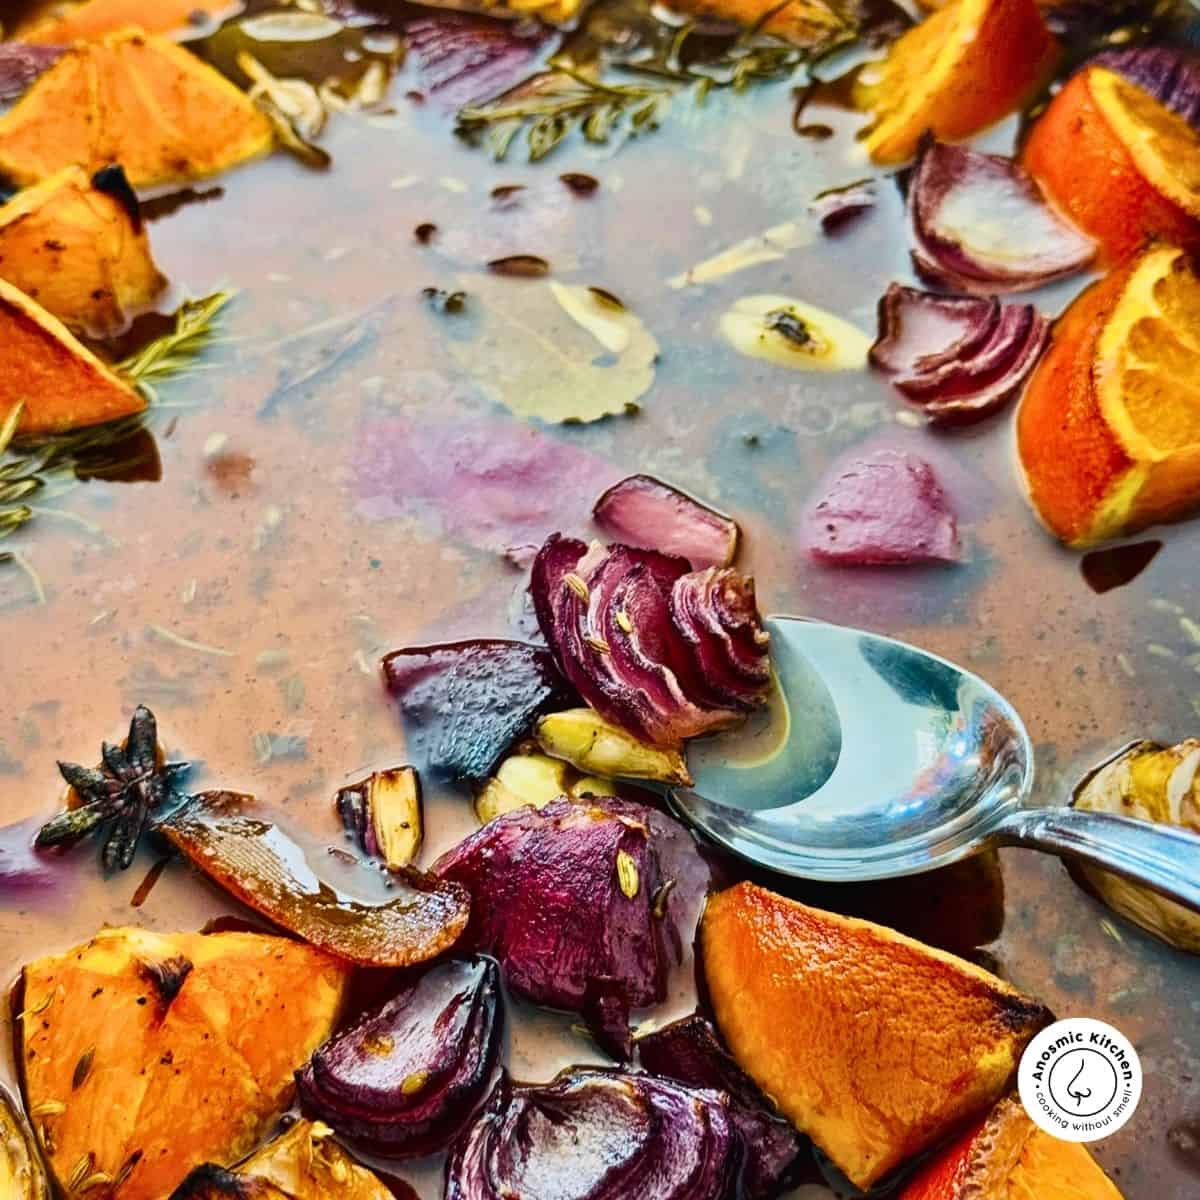
Save the rosemary, roasted orange and onions to serve on the side of the duck.
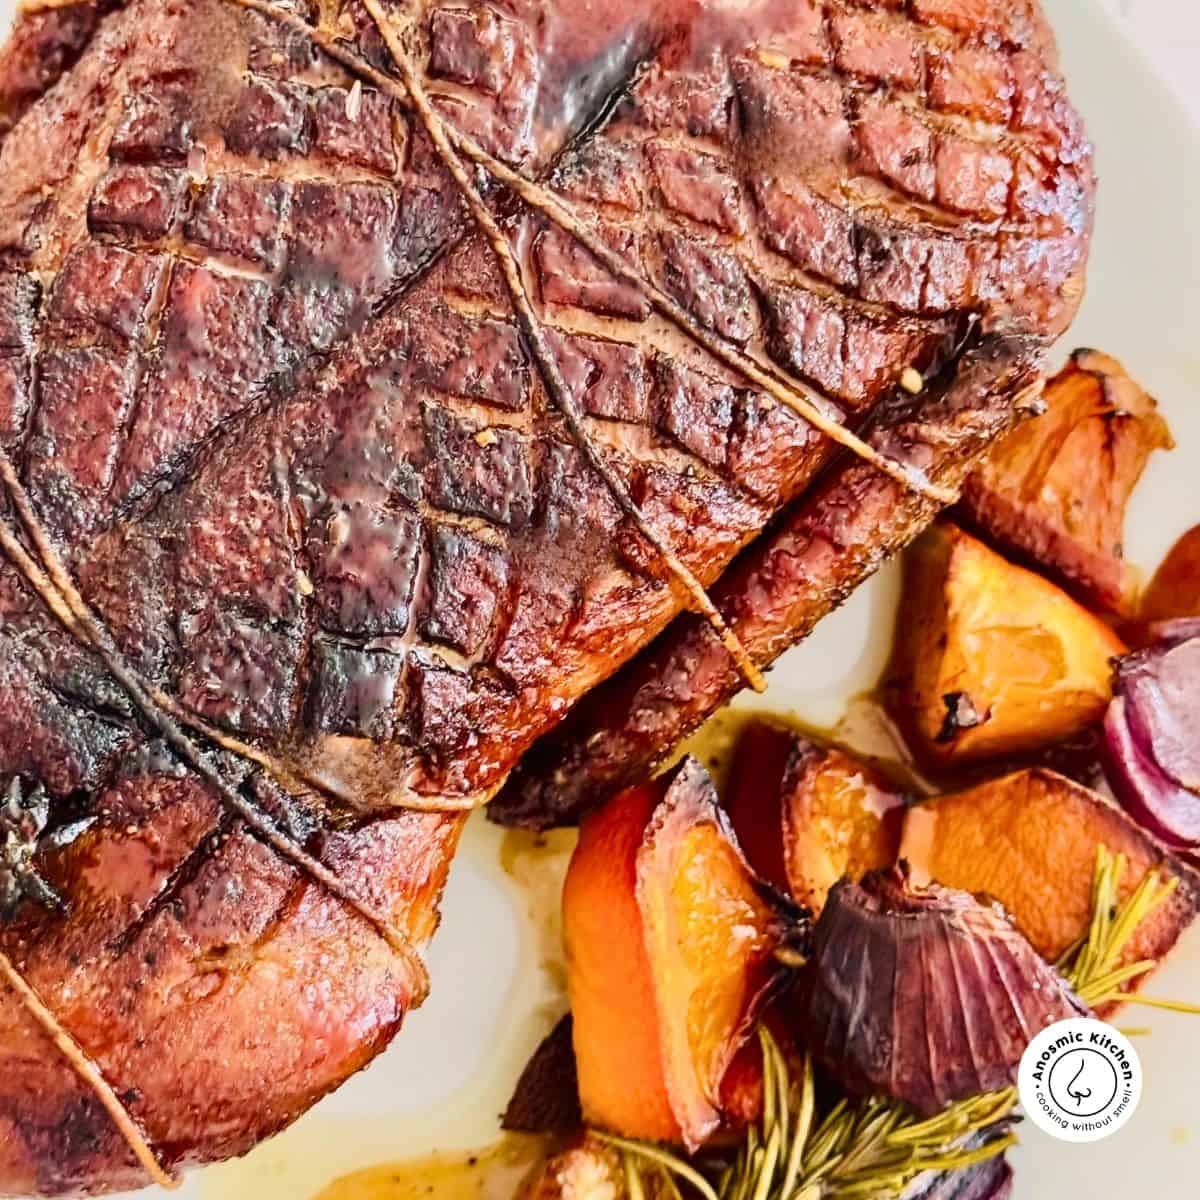
Internal Temperature
30 minutes per 500grams is my guideline but it's also important to use an instant-read thermometer for accuracy. If you don't have one, it's worth the investment they're affordable and will save you a lot of unnecessary guessing.
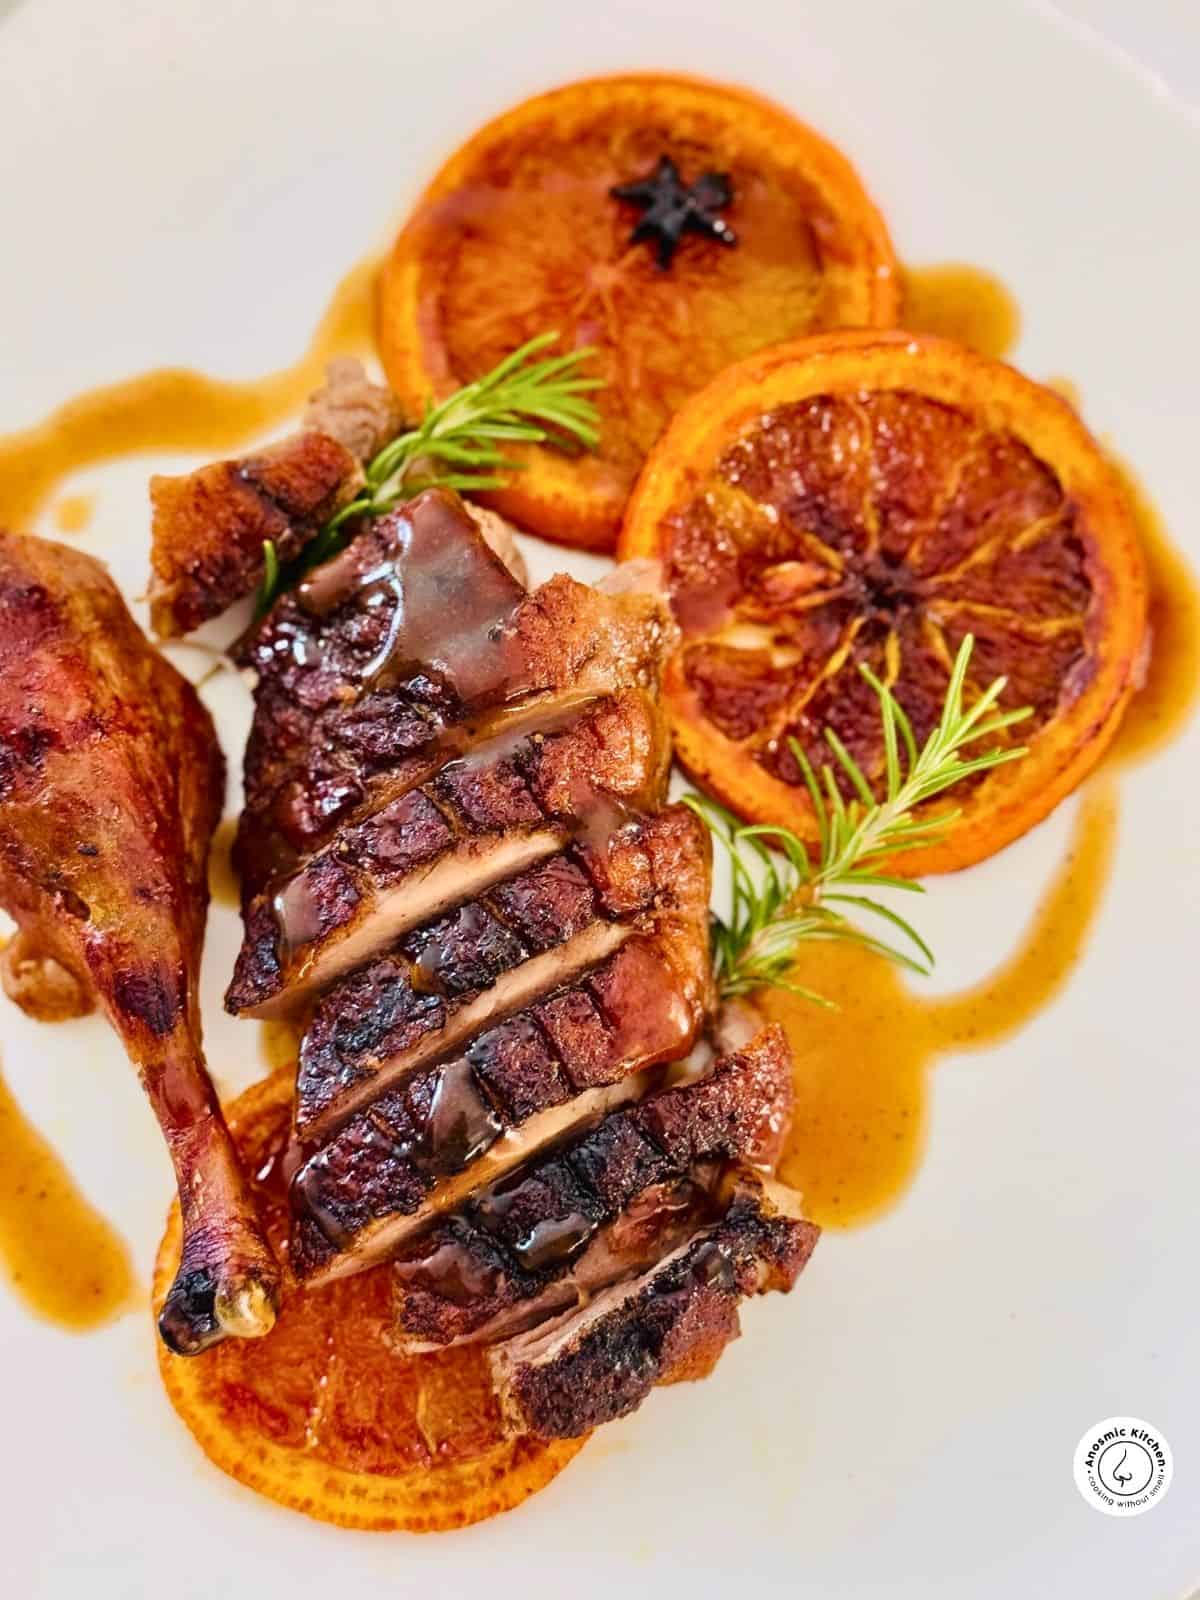
The recommended safe internal temperature for poultry is 74C (165F). Remember it will rise a few more degrees as it rests. You can take it out earlier as long as it's just a few degrees left because you can't be sure that it will rise more than a few degrees.
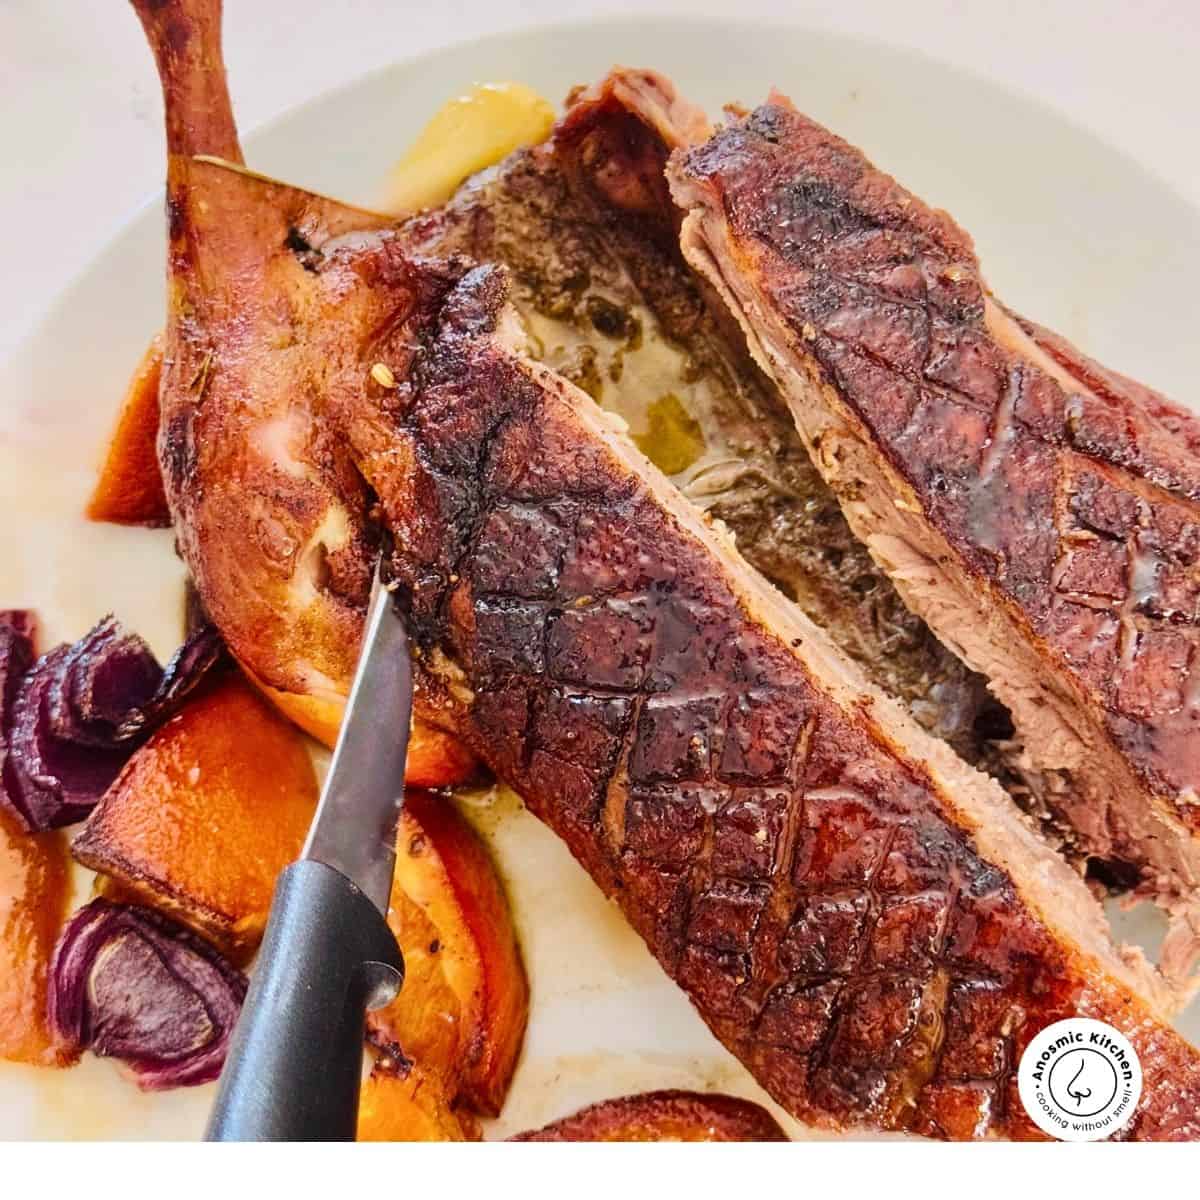
The risk of removing the roasted duck before it's safe internal temperature is that it may not reach another 5 or 6 degrees because that carryover cooking time (as the duck rests) depends on other factors like thickness of the duck and surrounding temperatures. I would suggest you take it out at 74C (165F) and let it rest for 15-20 minutes.
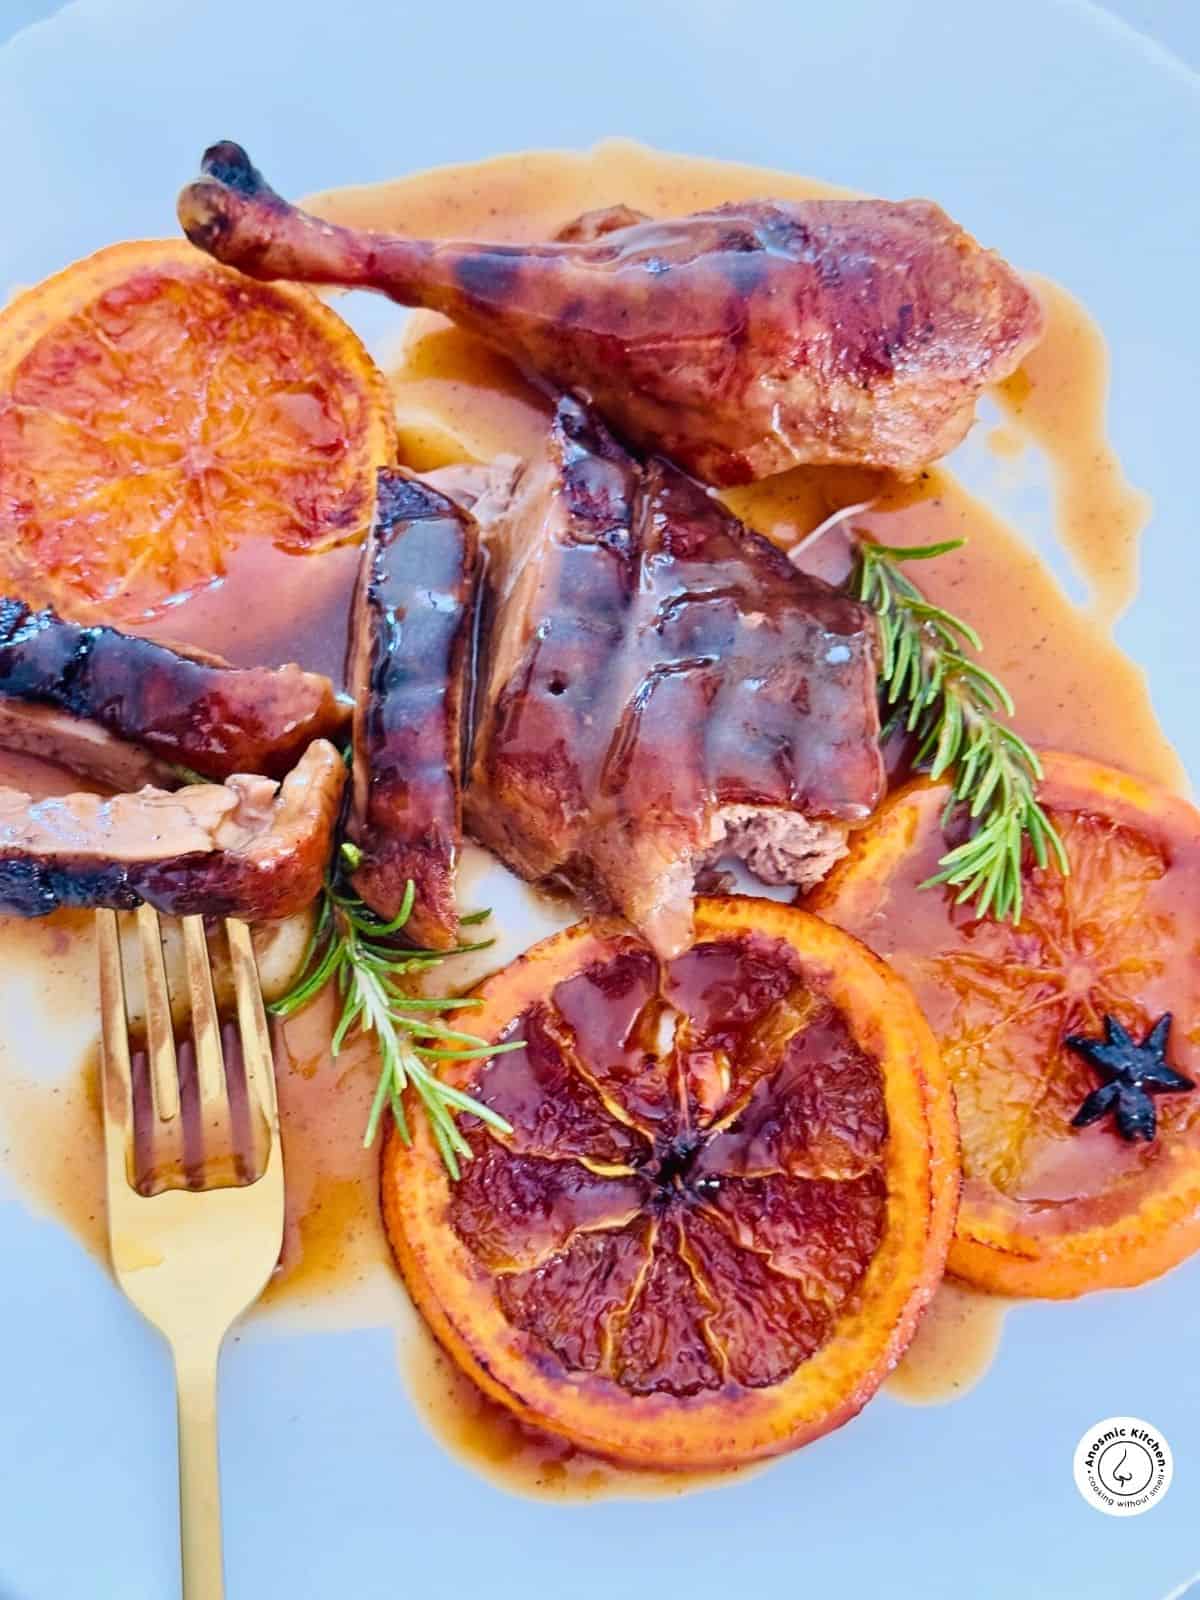
Serving Suggestions
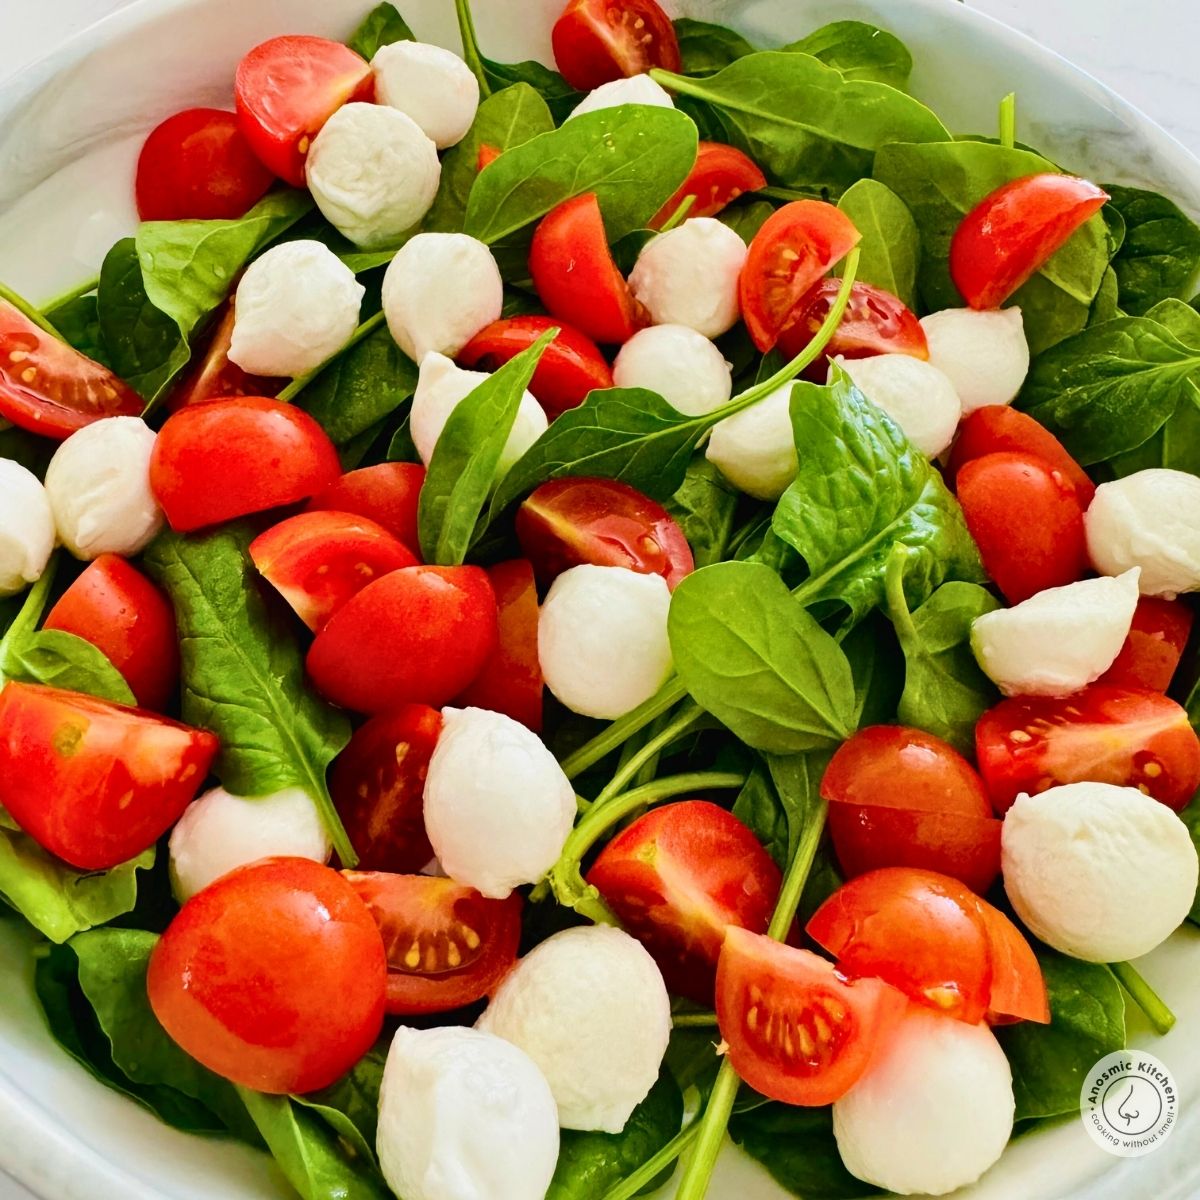
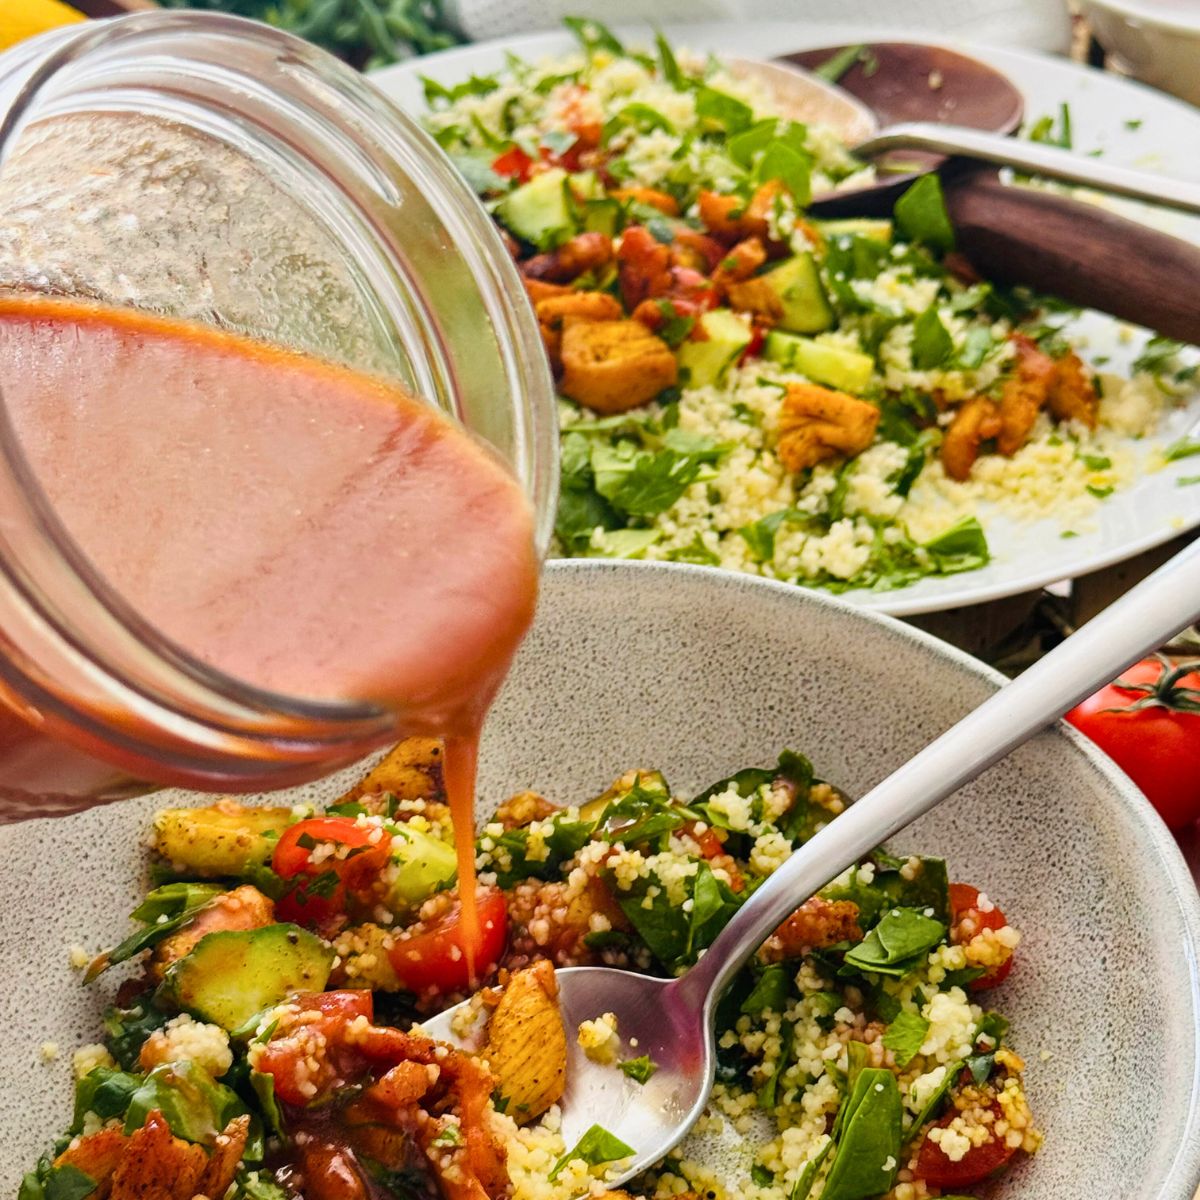
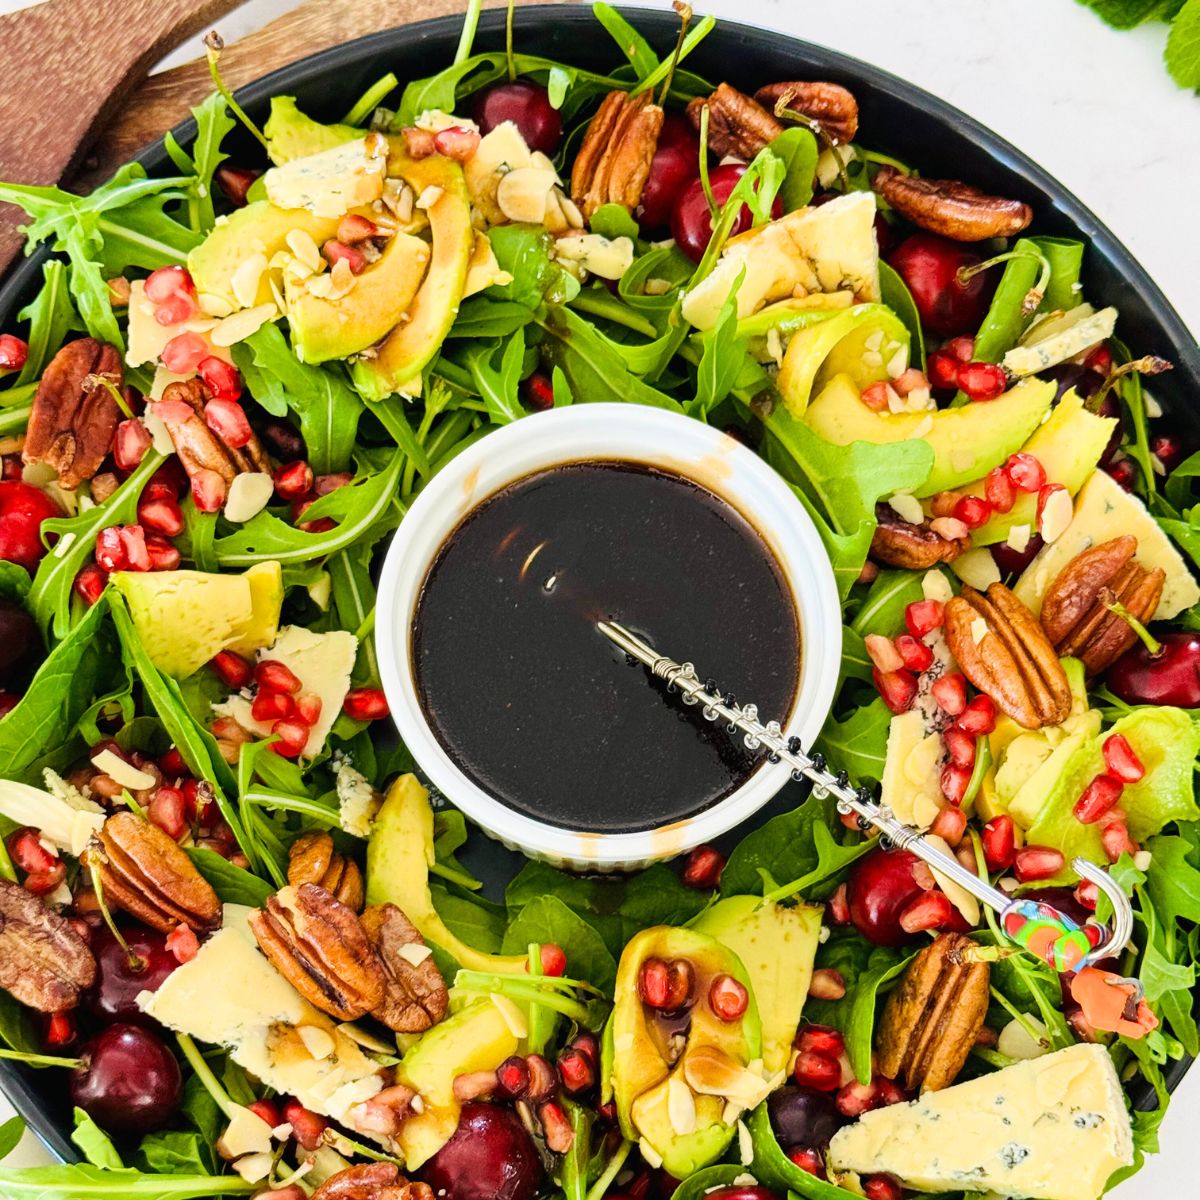
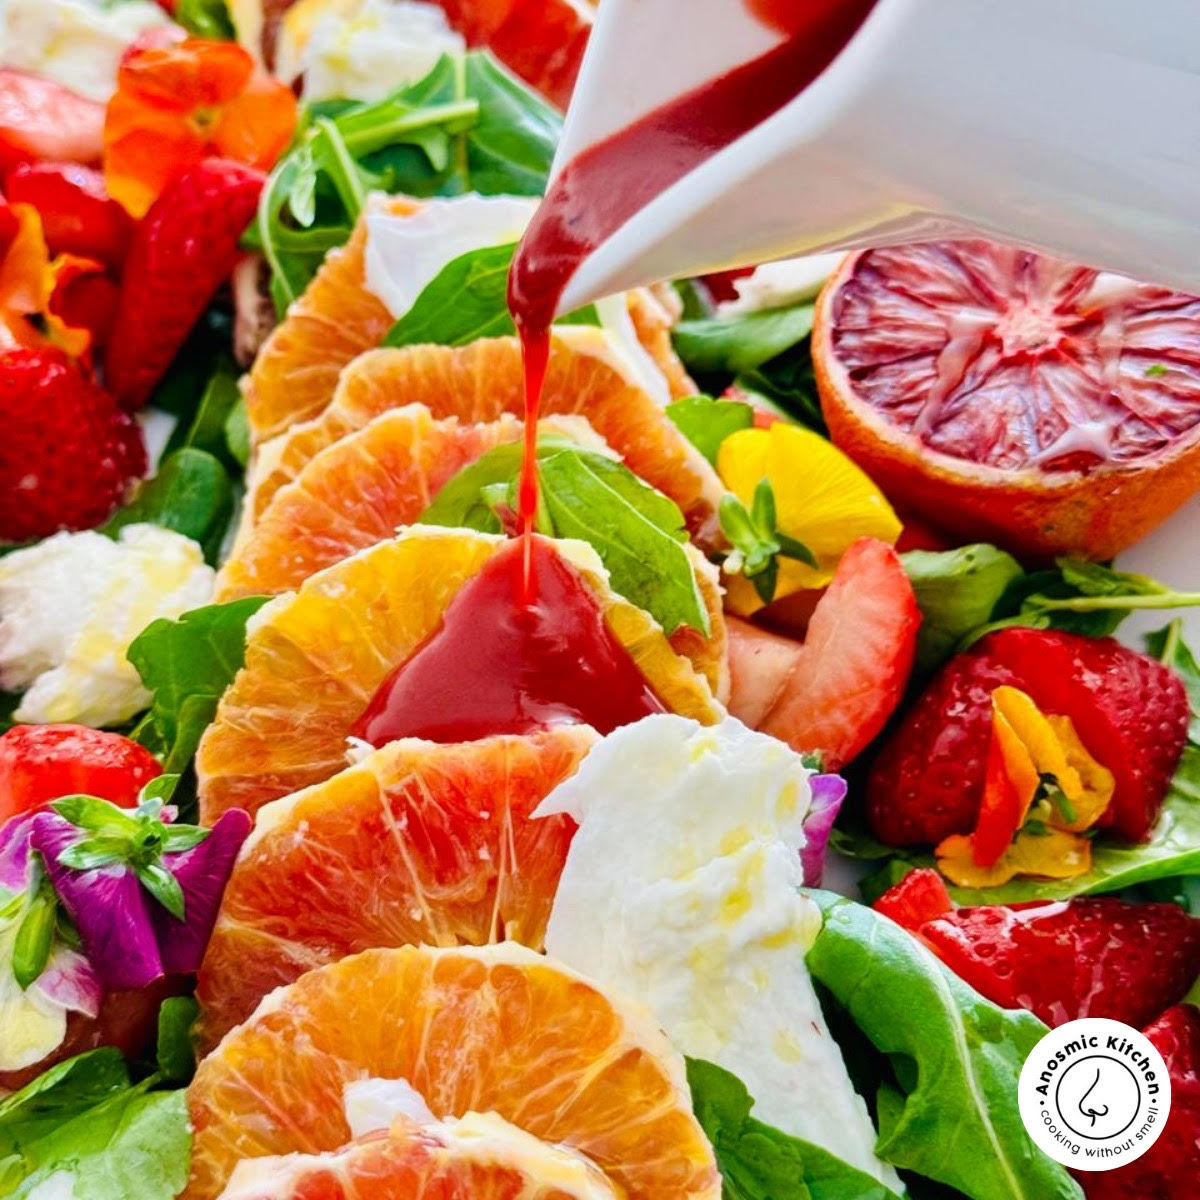
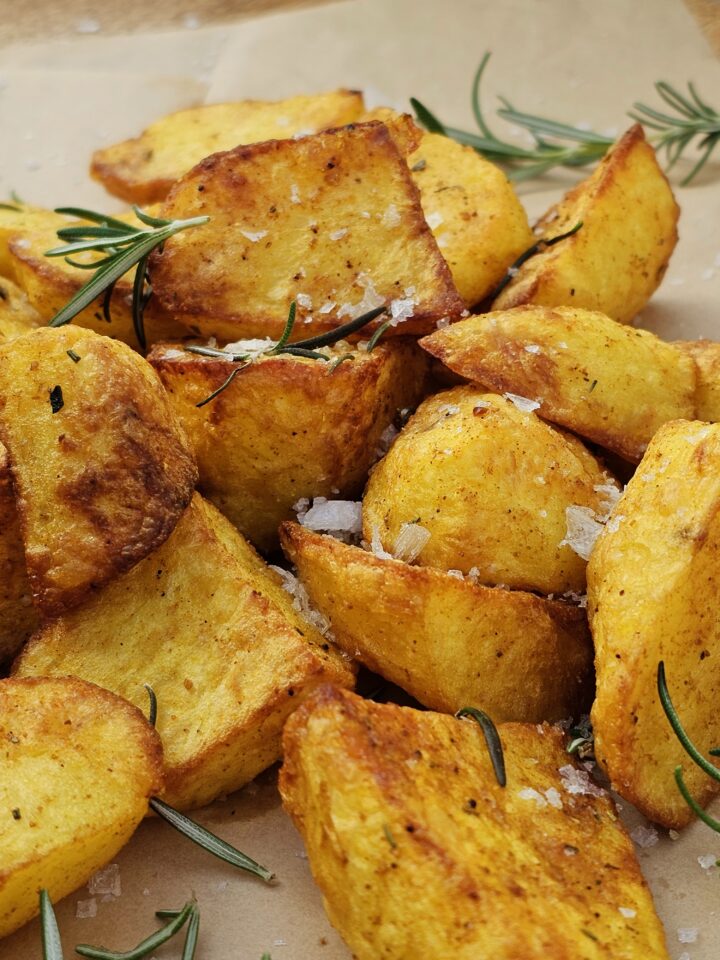
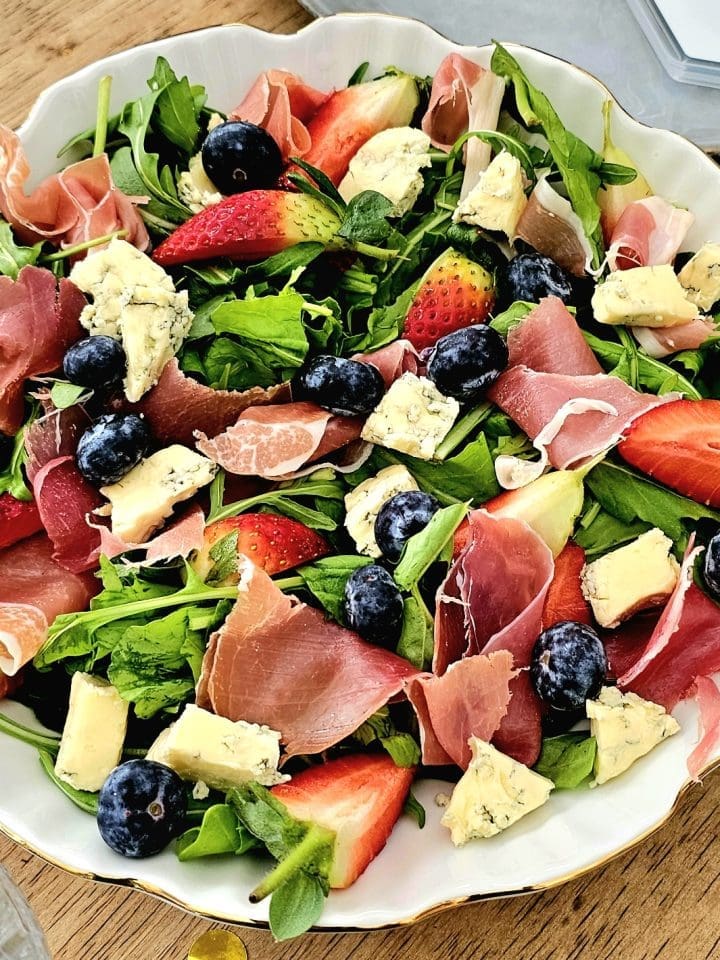
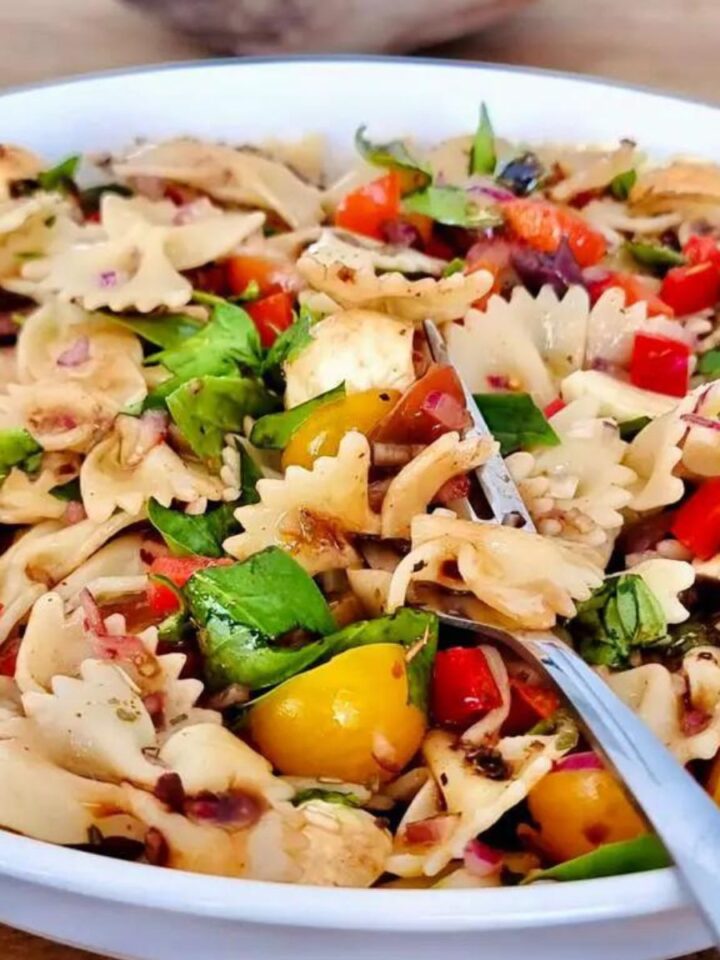
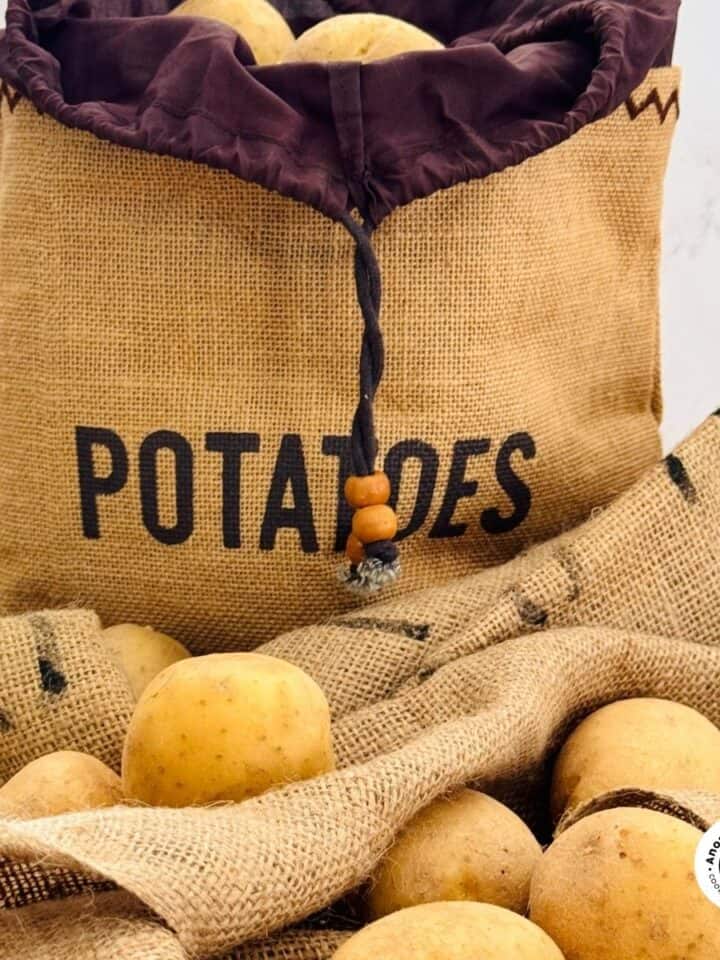
Roasted duck goes great with potatoes if you haven't already roasted some. Because duck is quite rich, a fresh salad is also lovely like a berry salad, I just love fruit with rich meat! Serve a fresh fruit salad as dessert to finish a delicious meal!
Frequently Asked Questions
No it's not at all difficult. It may appear a bit overwhelming but it's actually really easy and can be served in a number of ways.
30 minutes per kilo plus a minimum of 15 minutes resting time before you carve so the duck meat can rest and all the juice retained.
It roasts for most of the time uncovered. Only when you are glazing breastside up do I suggest you cover just to protect the glaze from burning. Before that, if you see any spots darken too much, lightly cover with foil.
Recommended Easy Roast Recipes
Serve Roast Duck With
I hope that you enjoyed reading this recipe and that you have found the information helpful and are ready to make roasted duck for your family. Enjoy!
5 Star Rating ⭐⭐⭐⭐⭐ If you enjoyed this recipe please take a moment to leave a rating and a comment. Your feedback helps me continue to provide you with high-quality, free recipes. Thank you for your support, and happy cooking!
Cripsy Whole Duck Roast Recipe With An Orange Sauce
Equipment
- Roasting pan
- Tray and rack to dry the duck out overnight
- Skillet
- Tongs
- Kitchen twine
Ingredients
- 2 kg whole duck (4.4lb)
- 3 teaspoons salt for brining
- 1 teaspoon salt for seasoning
- 1 teaspoon black pepper
- 1 tablespoon olive oil
- 2-3 large fresh oranges
- 1 whole bulb garlic, save 2 for the cavity.
- 3 medium red onions
- 4 sprigs Fresh rosemary sprigs, divided
- 1 tablespoon ground all spice
- 1 teaspoon fennel seeds
- 1 ½ cups water
Instructions
- Thaw: If frozen, remove the 2 kg whole duck (4.4lb) from the freezer to the fridge to thaw 2-3 days in advance of cooking (plus it will overnight to dry brine)
- Dry Brining: Remove the packaging around the duck and remove any giblets inside the cavity (if any) those can be kept for another recipe. Dry it well with kitchen paper and sprinkle 3 teaspoons salt for brining all over the duck including inside the cavity. Place it on a rack in the refrigerator overnight up to 2 days. A tray or plate under the rack is suggested to catch any drips overnight.
- Room Temperature Duck: Remove the duck from the fridge at least 30 minutes before cooking and start your prep while it reaches room temperature.
- Peheat the oven to 190C (374F).
- Score: Shake the duck off of all the salt and brush it off but don't wash it! The duck will not taste salty and you will be removing the work done overnight to tighten the skin. Use a sharp kitchen knife or stanley knife to make small cuts through the skin but not through to the fat. Make the slight cuts on the breast-side only creating diamond shapes.
- Duck Cavity: In the next step the seasoning is explained and while you spice also stuff the duck cavity with oranges pieces, 2 cloves of peeled garlic and 2 fresh rosemary sprigs. Seal with toothpicks.
- Season and spice: Add the1 tablespoon olive oil rub it into the duck all over it helps the spice stick then add 1 tablespoon ground all spice1 teaspoon black pepper and 1 teaspoon salt for seasoning and gently rub that in covering the entire duck. Use kitchen twine around the duck to tie the legs and wings to the body while cooking.
- Sear: You need to place a skillet on hight heat (no oil) the duck will render fat the minute it touches the skillet. Place the duck breast-side down first but watch the heat (all stoves are different). You are looking for a deep golden brown color then turn the duck over and sear the other side, once deep golden brown remove the duck from the heat and place on a plate. This step is very quick.
- Prep the roasting pan: Peel the 3 medium red onions and quarter them or cube whichever works to elevate the duck slightly. Do the same with the 2-3 large fresh oranges (wash the oranges) and cut into quarters or cubes and place these into the roasting pan along with fresh rosemary sprigs, divided (save 2 sprigs for the cavity),1 teaspoon fennel seeds and half to a whole 1 whole bulb garlic, save 2 for the cavity.
- Roast: Place the duck over the onions, oranges etc. and pour the1 ½ cups water into the tray and bake for one hour. While the duck cooks reheat glaze in a saucepan over medum heat to glaze in the next step.
- Glaze breast side down: Pull the tray out turn the duck breastside down and glaze, back into the oven for 15 to 20 minutes.
- Glaze breast side up: Turn it back breastside up and glaze the top and continue roasting for 20 minutes (lower rack) so the glaze doesnt burn. if you see spots darkening simply cover lightly with foil.
- Rest: Transfer the roasted duck to a plate to rest for 15-20 minutes and place the roasted oranges, onion and garlic on the plate to serve with the duck.
- Carve: Remove the twine and toothpicks and carve the duck. Serve with sauce/glaze, roasted oranges and onion. Enjoy!
Notes
Nutrition
Nutrition Disclaimer:
The nutritional information is provided for convenience and is only an estimate. It should not be used as a substitute for a professional nutritionist’s advice.









Comments
No Comments