A true and trusted easy homemade bread recipe that bakes a soft and fluffy loaf with a crunchy crust, without a Dutch-oven. Just a few simple tweaks that give you great results!
This recipe was first shared No electric mixer or stand mixer just a bowl, ingredients and your hands.
All purpose flour, salt, water and honey to help with the fermentation of the yeast. If you have never made bread before or have made bread but never seem to get it right then you are in the right place. Let's go through the few and simple points that might help make all the difference in your next loaf. It is not overwhelming to make bread especially this one which is a soft on the inside crusty on the outside homemade loaf that turns out perfectly every time!
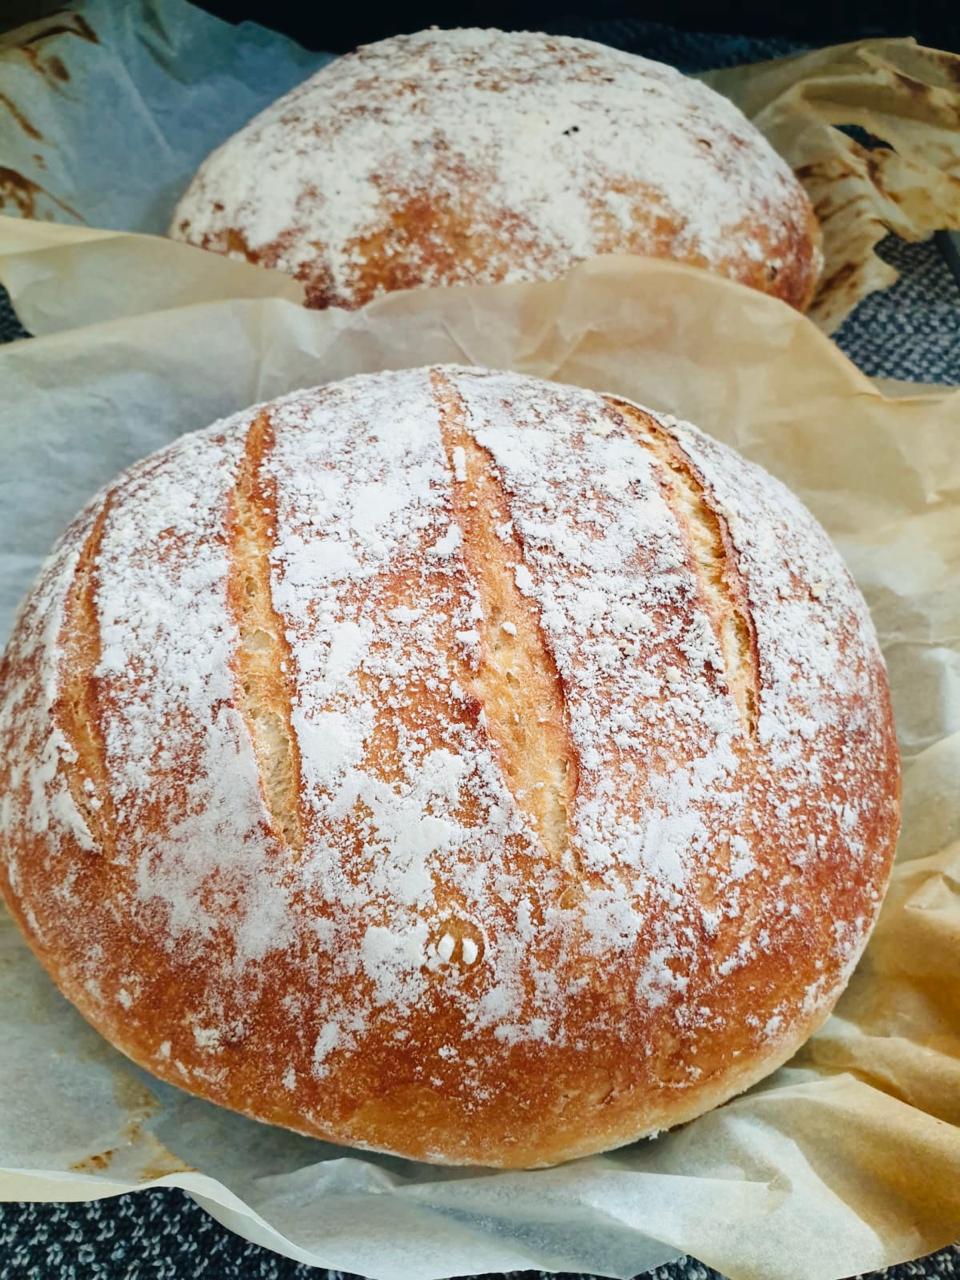
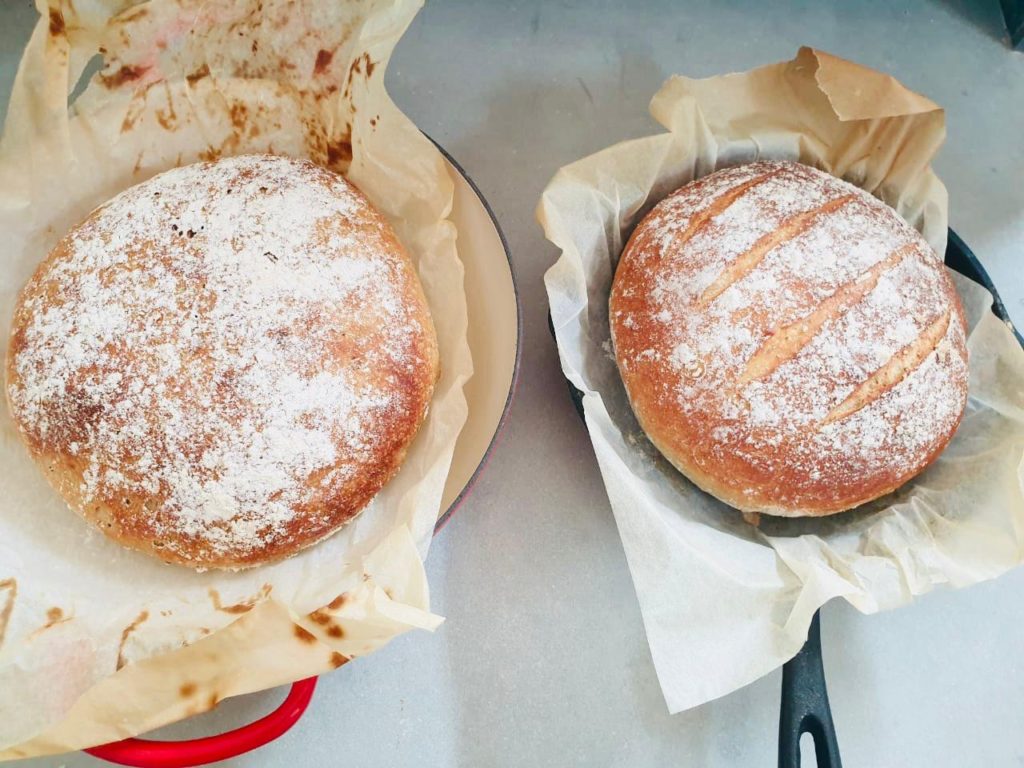
These are the 2 loaves that we baked at the same time, one brown with stoneground flour and one white with regular flour. If you want to know more of the brown loaf (stoneground) you can see it here.
Making bread doesn't have to be overwhelming and I think what makes it worse is that today there is always an overflow of information and people who are looking for that information don't know what to do anymore! I know that because when I trying Googling something like 'how to move a website' or something similar there is just so much information out there it all becomes too much as I'm sure applies to when you want a recipe. Not just any recipe a recipe you can trust, that's what is important.
EASY HOMEMADE BREAD RECIPE
You can relax. This recipe works. It works every single time.
As I mentioned when I posted my Easy Pizza Dough Recipe 5 Ingredients – Perfect Pizza – Video that making dough need not be complicated. You looking for a basic dough pizza then use that one and if you want the pizza thicker than we made it simply don't roll it too thin. I must admit that we like our pizza dough both thick and thin so it doesn't really matter we eat it how it comes out to the thickness that we rolled in although we tend to go with a thinner rather than thicker pizza base.
LET'S MAKE THIS BREAD!
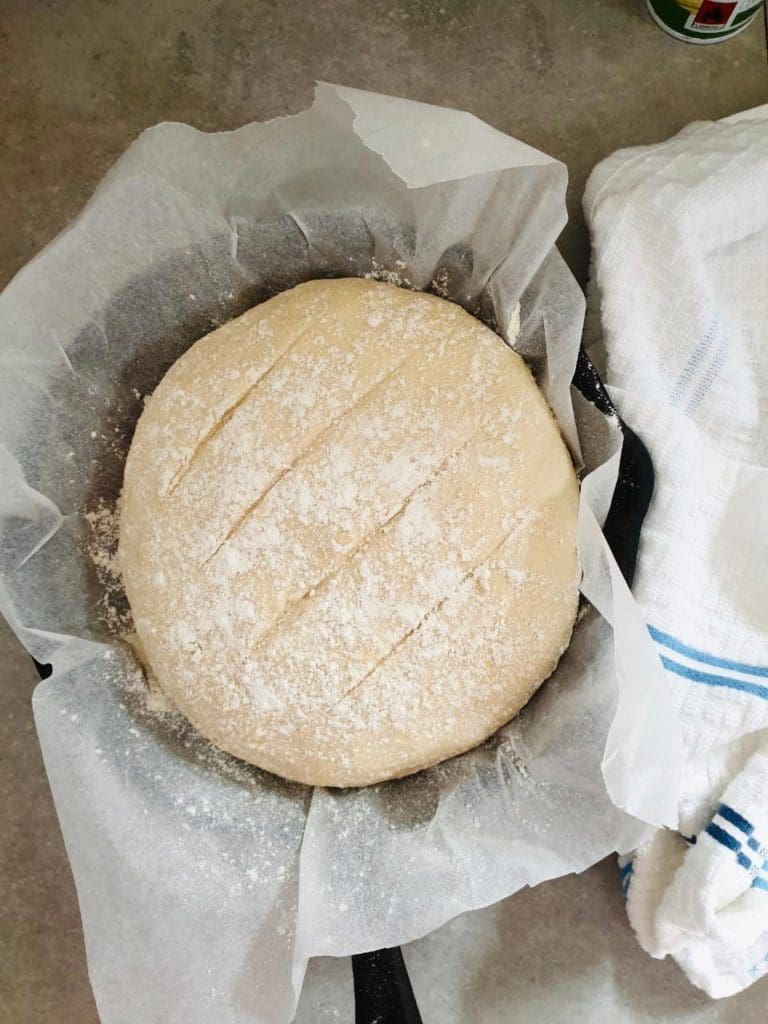
After you have mixed all the ingredients and spent some time kneading the dough into a pliable, flexible dough shape it into a circle or similar shape and get it into the pan.
As you can see this dough is sitting on baking paper but trust me when i tell you that if you don't have baking paper, your bread will still rise and it will still bake. If you have baking paper, then use it for better clean up!
No paper - use flour. Sprinkle flour over the pan and on top of the bread.
Knead the dough into the shape that you want it to look like when you done. I get it into a ball shape, leave it in a pan to rise and bake it in the same pan without kneading down a 2nd time or anything. When the dough has done it's rising job after an hour, straight into the oven to bake.
You can also use a bread tin to bake it but unless its not a large tin then stick with a flat skillet or pot.
Would you like to save this?
I'd like to receive tips & recipes from Anosmic Kitchen.
You can also let the dough rise in one pan and bake it in another. The only reason I use one pan, for resting/rising time and for baking is that we always believe the less you fiddle with the dough the better. You do spend about 10 minutes kneading it so any other fiddling should be kept to a minimum.


WHY CUT SLITS IN THE BREAD?
You mean besides the fact that it looks beautiful? 🙂
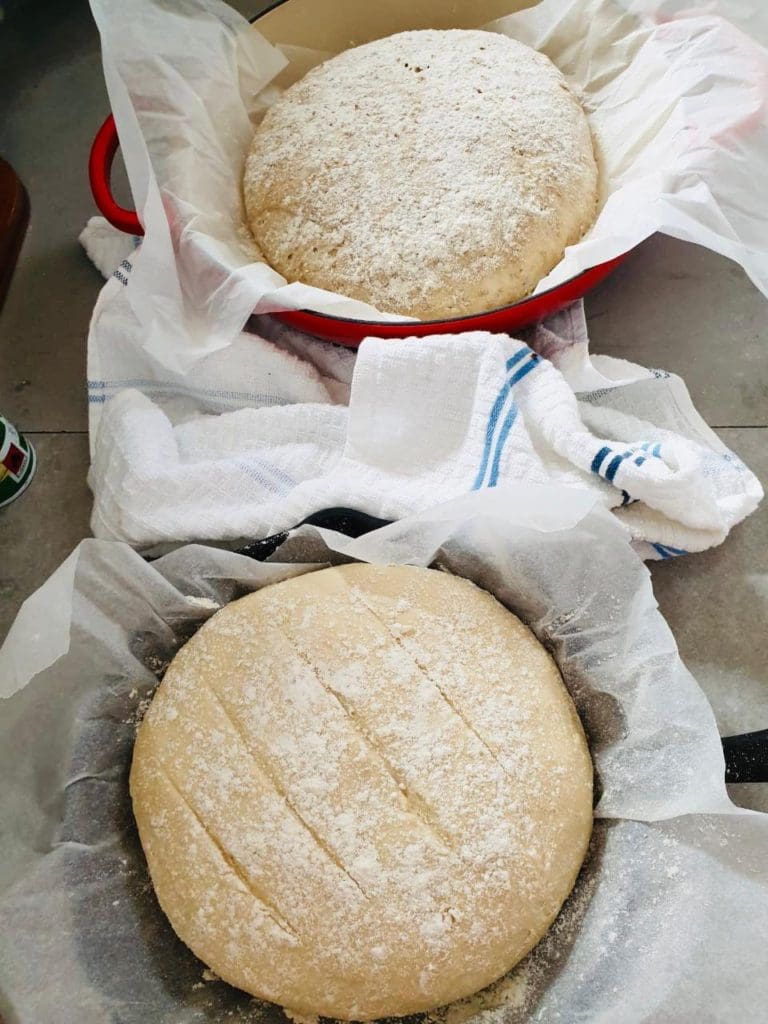
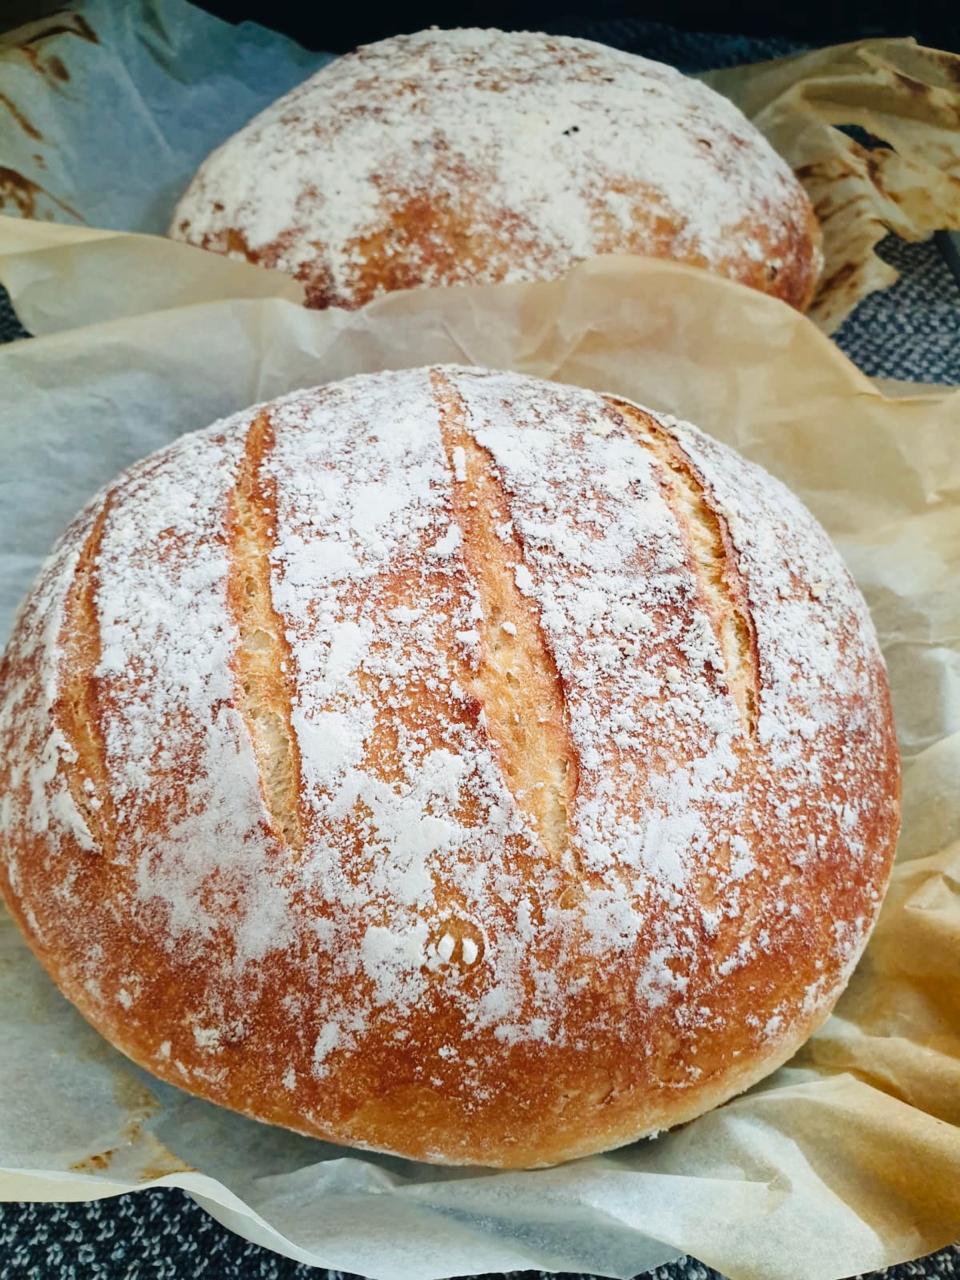
Use a sharp knife to cut small slits into the bread if you want, the slits don't have to be too wide or that slit will be more like a hole when it's baked. Okay, so think about it like this - when you cook with the lid of the pot on and the heat doesn't have anywhere to go what happens? The lid start jumping up because the pressure of the heat needs to escape right? Same with when especially use the microwave, the containers must have small holes inside to let the air out. The same with cutting slits. It's not just decorative it also allows the gas from the yeast which causes the rising to sort of flow freely or let the air out of the bread so to speak.
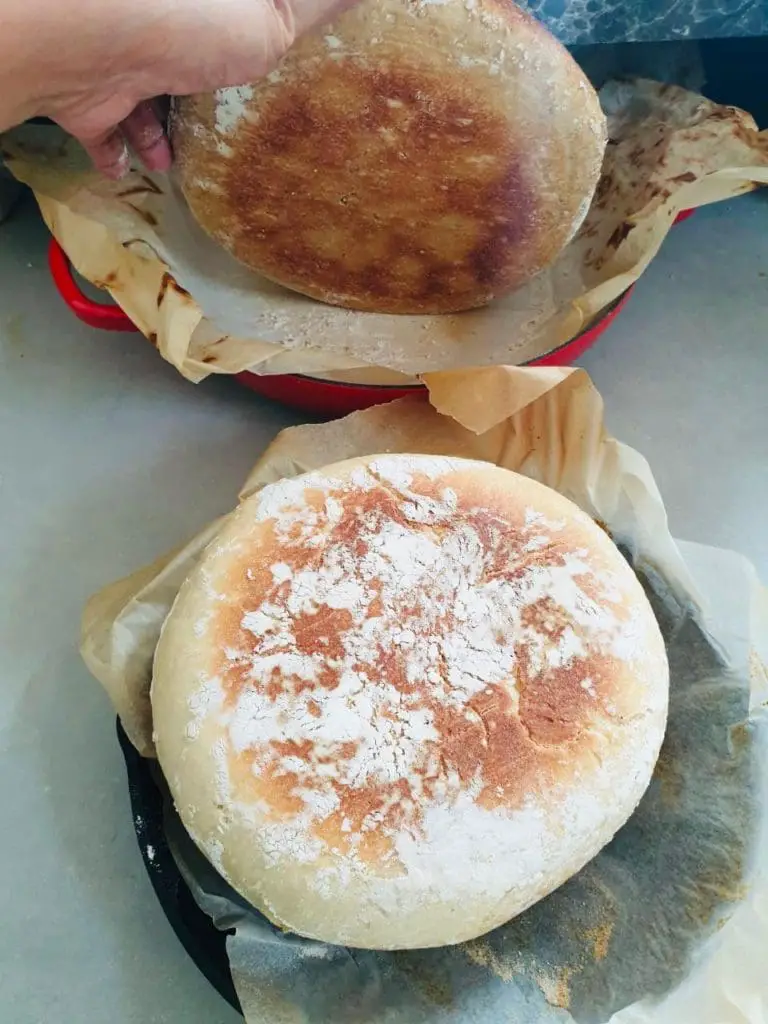
Anyway, if you don't do the slits then the bread will sort of come out a little uneven so if you're okay with that then go for it. The other loaf had no slits cut into it and this is what it looked like if you wan to take a look.
HONEY
i don't use honey in my bread but every time my husband and I decide to do something together the recipe changes a little (or a lot) because we have to combine our individual methods. I don't mind him adding honey to the recipe it's what he has always done and i think he adds it so that the rising process is much quicker which we've discussed and it does help speed up the time.
We added honey to one loaf and it rose in an hour and we left the 2nd one without honey and it took all night. It's not just the honey factor that the 2nd loaf didn't have it's also the type of flour used. Regular white flour and honey is powerful combination and the risk is almost zero!
Using alternative flours like stoneground or double zero needs a little more attention to detail. For my recipe on the stoneground flour loaf can see it it here.
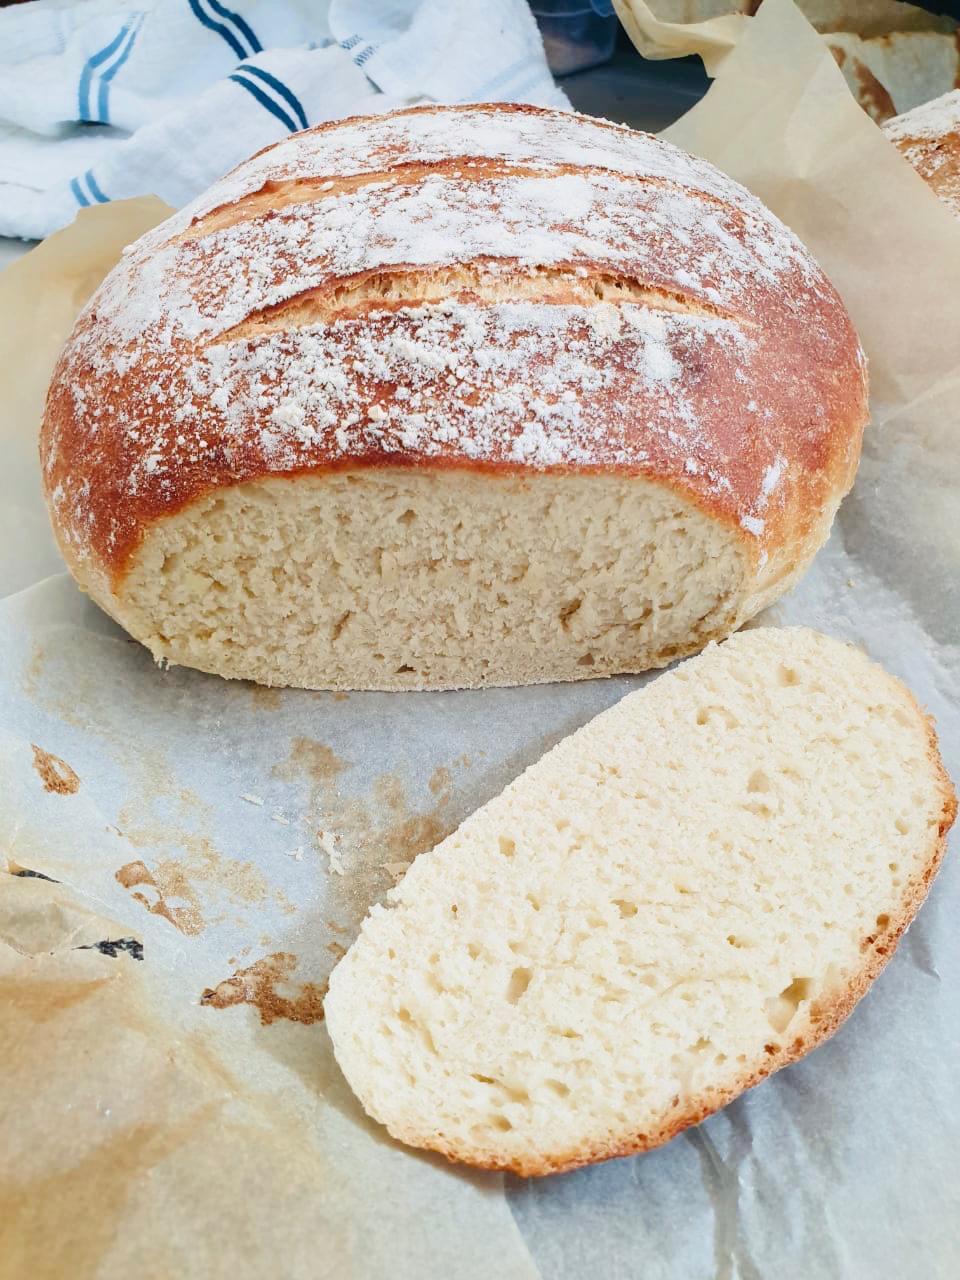
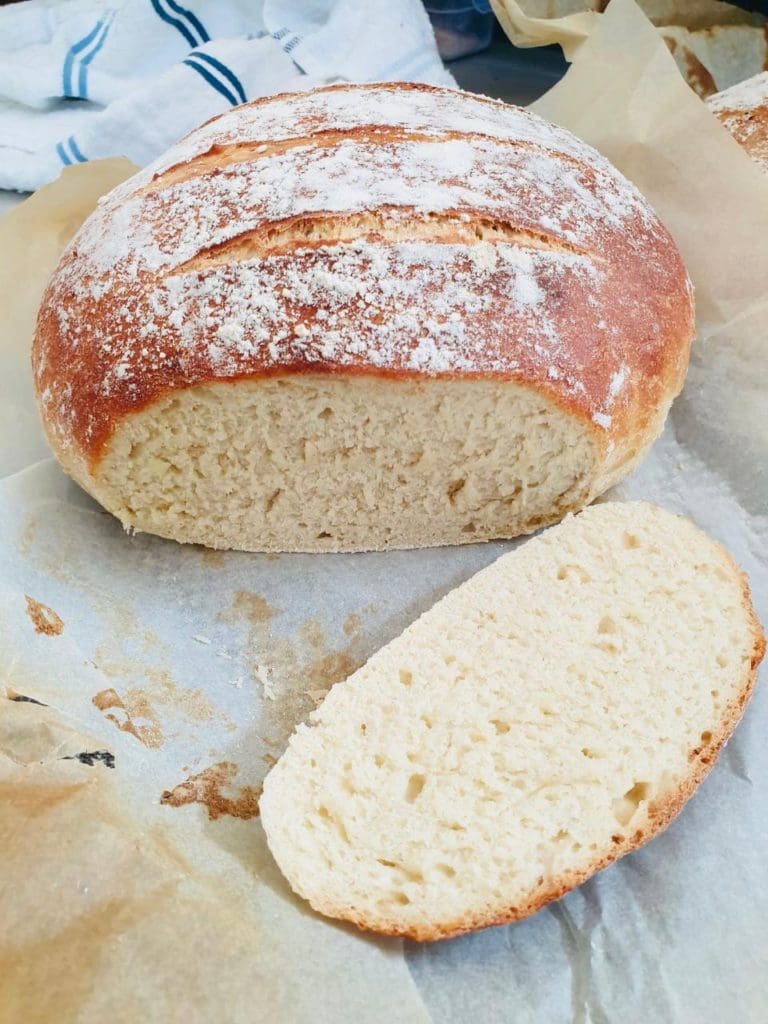
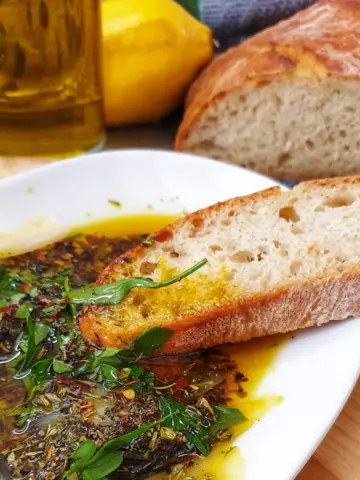
This is what you can expect when you cut your first slice! I would've taken a photo for you with butter next to it but we don't really use butter on bread except for the rare occasion but it's normally a drizzle of extra virgin olive oil, salt and oregano. You can see a short video of this on my Instagram..
The Best Easy Homemade Bread Recipe
- Total Time: 1 hour 35 minutes
- Yield: 10 people 1x
Description
An easy homemade bread recipe using No Dutch-oven, and made using either a stand mixer or a bowl and spoon will give you the perfect crunchy crust and a soft and fluffy inside loaf, baked in under 30 minutes!
Ingredients
- 500 grams Flour
- 7 grams Dry yeast (2 ¼ tsps)
- 2 tsps salt
- 1 tsp honey
- 2 cups Warm water
Instructions
- Yeast: In a bowl or measuring jug, add water and stir in the yeast and honey. Cover and set aside for 10 minutes until the yeast has a frothy surface.
- Dry Ingredients: Meanwhile, in the bowl of a stand mixer add the flour and salt. Using the dough hook attachment, combine the flour and salt, this takes 10 seconds on #2 setting.
- Combine: Pour the liquid (yeast mix) into the flour and salt. On a low setting, combine the ingredients into a soft dough.
- Mix: With the flour all incorporated, increase the speed from low to medium and mix for 5 minutes or until all the dough has left the bowl and has clung to the dough hook.
- Prep To Rise: Transfer the dough onto a floured work surface and knead for 3 to 5 minutes getting the dough into a soft ball shape. Drizzle ½ teaspoon over the bottom of the same mixing bowl (no need to wash) and place the dough inside the bowl. Brush the surface with oil, cover and leave in a draft free place to rise, for an hour.
- Preheat: 10 Minutes before the rising time is done Prep The Oven:Add 2 to 3 cups of water (the quantity depends on the depth of your oven tray) to an oven tray and place it in the bottom of your oven. Preheat the oven to 230 degrees Celsius.
- Shape: After an hour, the dough will be double in size. Turn it out onto a floured baking tray (the tray it will bake in). The dough will be soft and fluffly, you dont want to knead again, simply lift the sides and stretch and fold each piece, rotating the ball shape. Takes 2 to minutes. See video.
- Prep To Bake: Tuck the edges of the dough underneath and place it on the floured tray, seam side down. Sprinkle a tiny bit of flour over and cut slips on the top (optional)
- Cover the prepped dough to rest while the oven finishes to heat up.
- Bake for 15 minutes. Decrease the oven temperature to 200 degrees Celsius and continue baking for another 5 minutes or until the crust is golden brown.
- Cool: Remove from the oven and immediately transfer to a cooling board or rack to cool down before cutting into it.
Notes
Equipment:
Stand mixer with dough attachment OR a bowl with a wooden spoon.
Cooling Rack/Board
The bread may continue baking from the heat of the oven so once you remove it, transfer to a cooling rack/board. Over heating can also dry it out.
- Prep Time: 15 minutes
- Cook Time: 20 minutes
- Category: Breakfast, brunch, Dinner, lunch
- Cuisine: South African










Comments
No Comments