How To Make My Homemade Pita Bread
Pita bread or pockets whichever way you prefer to call them are fresh and easy to make but wait! There is a lot of ‘stuff’ I want to share with you first!
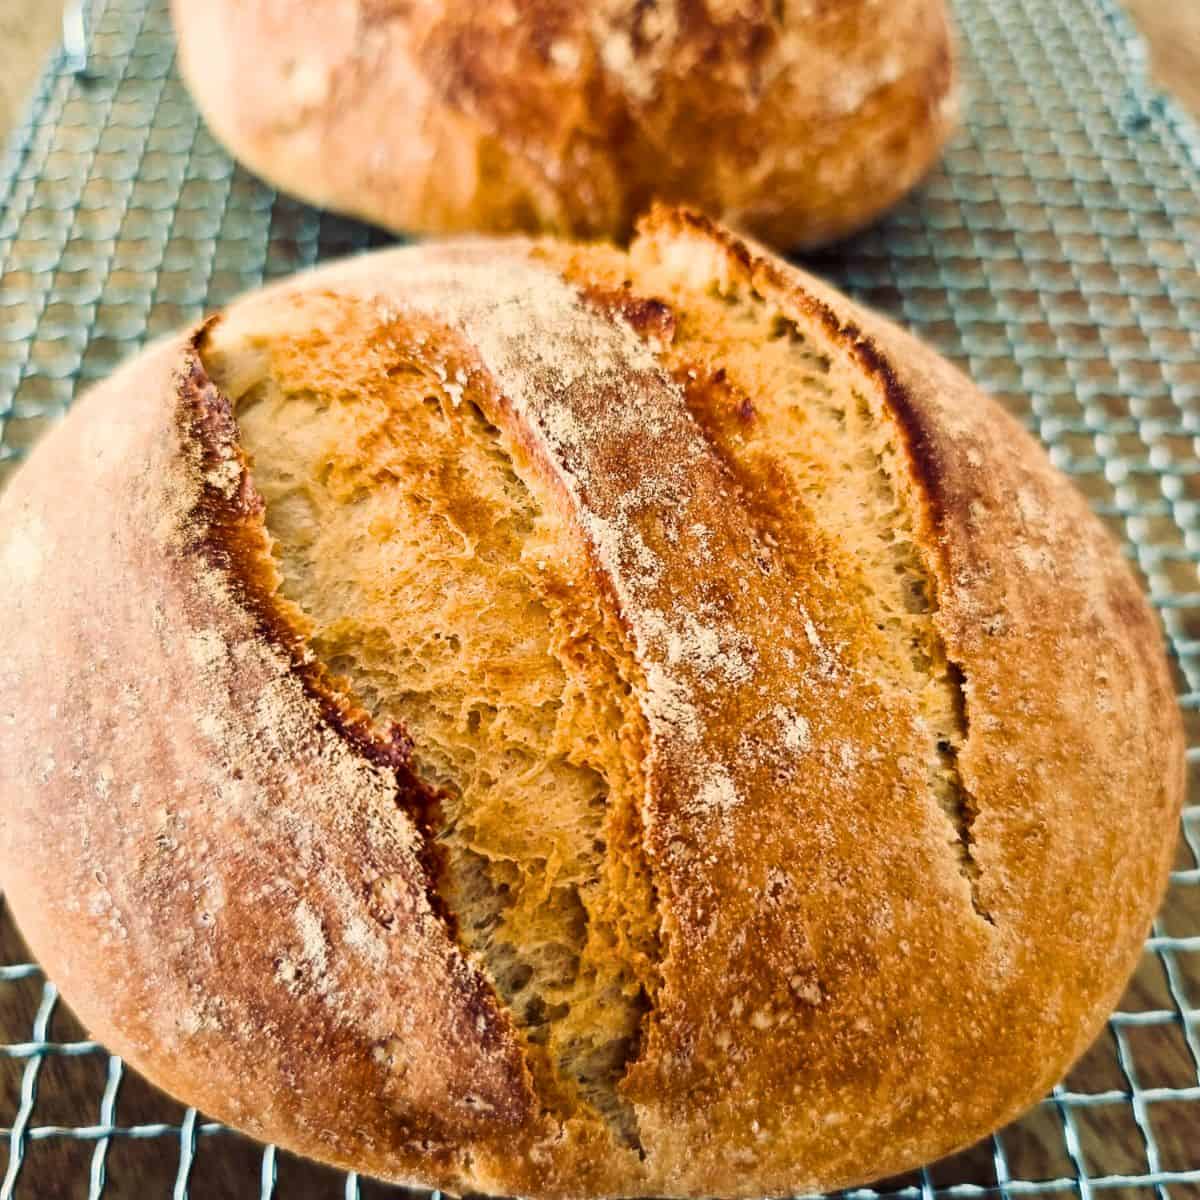
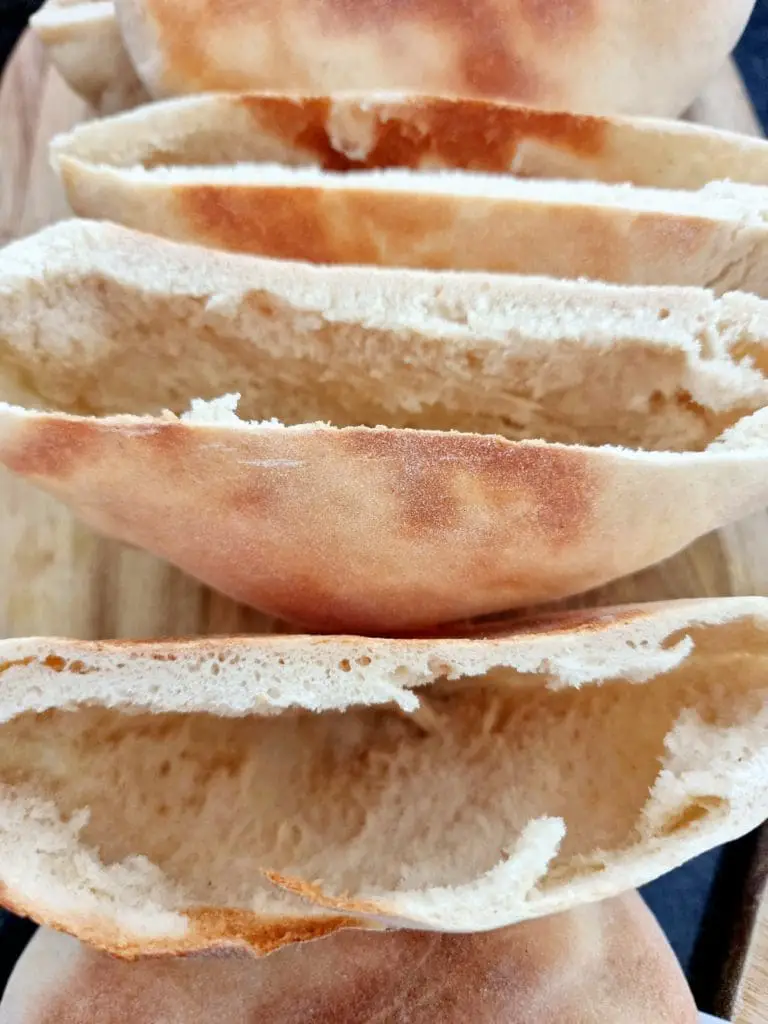
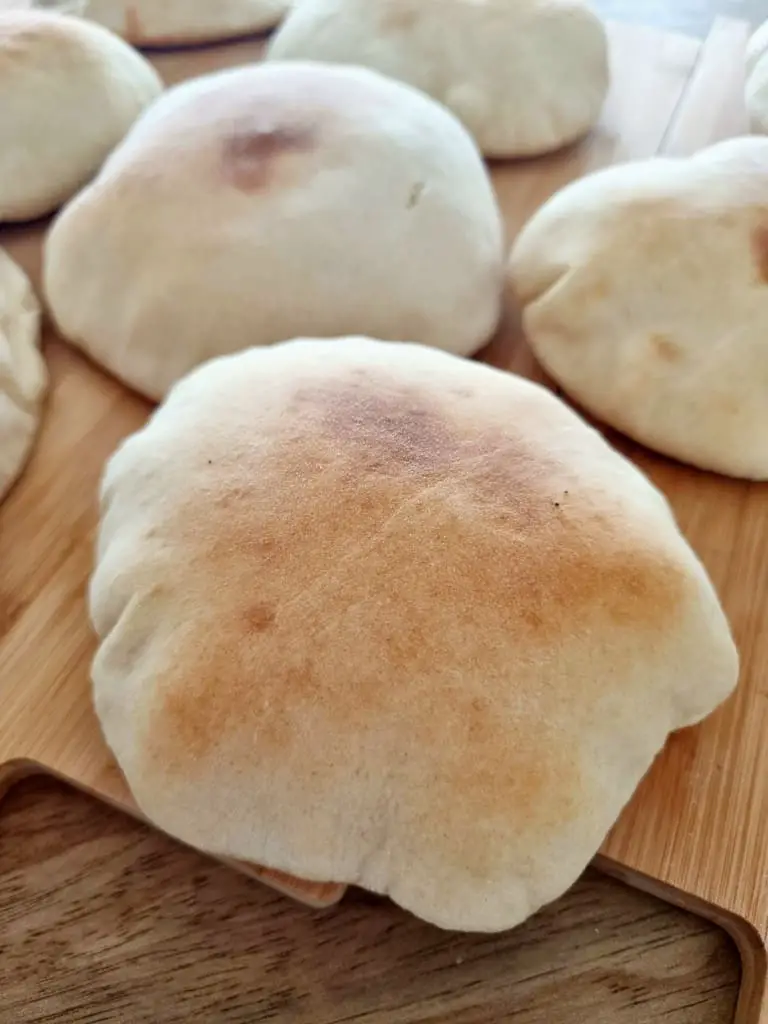
This is an easy pita bread recipe but how to get these beautiful rounds is what I’m sharing with you. Just look at those pockets! I was so excited and my goal here is to get you just as excited when you make them for your family.
Realistically pita bread is really good on it’s own especially if you’re a bread lover like me. The difference being that here you get to fill them and that’s the fun part. Whenever we make bread dough or pizza dough we love experimenting and taking it into calzones or little buns. The recipe is easy and when you have that beautiful soft dough you can shape it into whatever you like. Today however, I’m going to show you how I make our pita breads, how they can come out and what to use.

This is not a quick recipe because you have to make dough and let it rise. In this recipe we’re working with a stand mixer but you can do this by hand on the counter top. This recipe is so basic it reminds me of my husbands ‘century old’ bread recipe! No idea why I haven’t put it up on my blog, now noted.
How To Make Pita Bread
Start with the yeast, and while it froths up, prep the rest of the ingredients.
For the yeast;
- Add the water into a jug
- Pour the sugar and yeast into the water
- Stir and set it aside to bubble and become frothy on top. Roughly, 10 to 15 minutes.

Meanwhile, measure out your flour and salt.
By Hand
Add the flour and salt into a mixing bowl and whisk together. With a fork/ spoon /whisk.
Add the olive oil into the frothed yeast mixture.
Use a spatula to stir until the water and yeast mixture is combined into the flour, a couple seconds.
By Stand Mixer
Add the flour and salt into the bowl of the stand mixer and mix with a spoon or fork. No need to use the whisk attachment for this it’s a 10 second job!
Get the dough hook attachment on.
Pour the olive oil into the jug with the frothing yeast.
Pour the frothing yeast and water combo into the flour
Start the stand mixer using the number 2 setting.
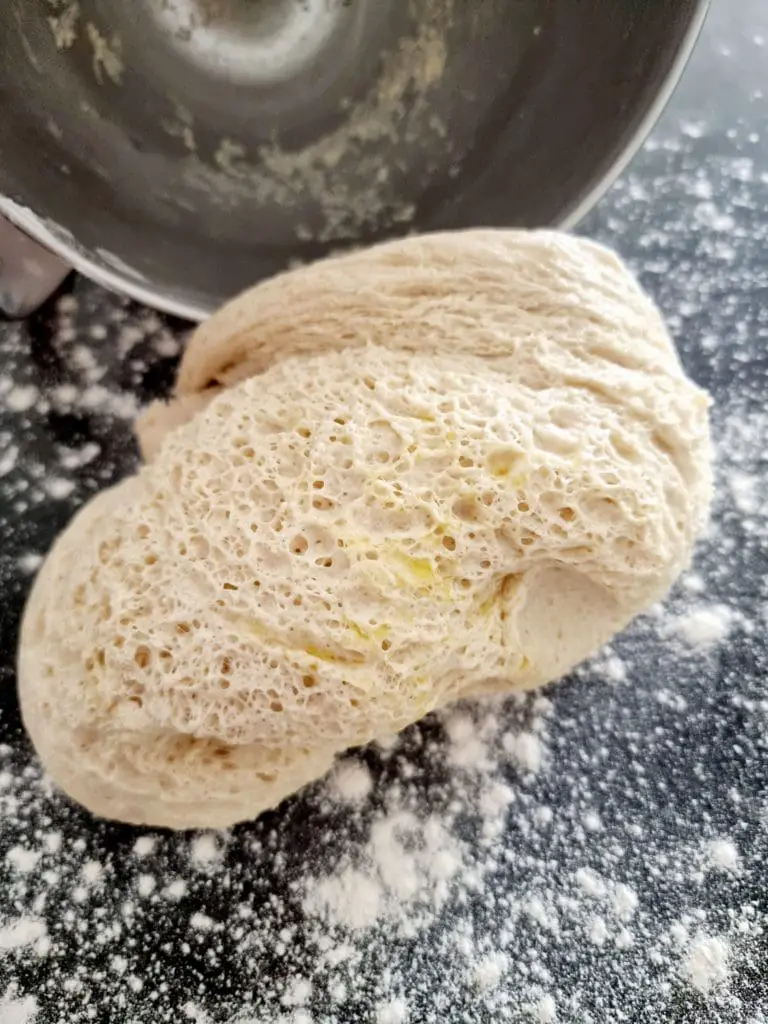
This will take about 5 minutes, after a minute you’ll need to stop and scrape the sides of the bowl. Your dough is ready when it has pulled away from the sides, when it’s one ball, around the hook.

For Both of The Above
Just because you’ve used a stand mixer to do the work (and it does) you still do the following.
You don’t have to but I found better results from it. If you’re not using a stand mixer then you must do the following more especially if you are baking without a stone and want to achieve the large pockets!
Flour
- Sprinkle a little flour on the work surface
- Get the dough on there and start kneading. Just gentle strokes of kneading, nothing hectic but you should knead for about 5 minutes. I used a stand mixer and still kneaded it for 2 minutes.
- Pour about a teaspoon of oil into the bowl and make sure you rub it around the dough ball as well. Cover the dough and let it rise for an hour and a half.

Once your dough has had the time to rise it’s time to get it back on the lightly floured surface to portion into balls and roll into circles.
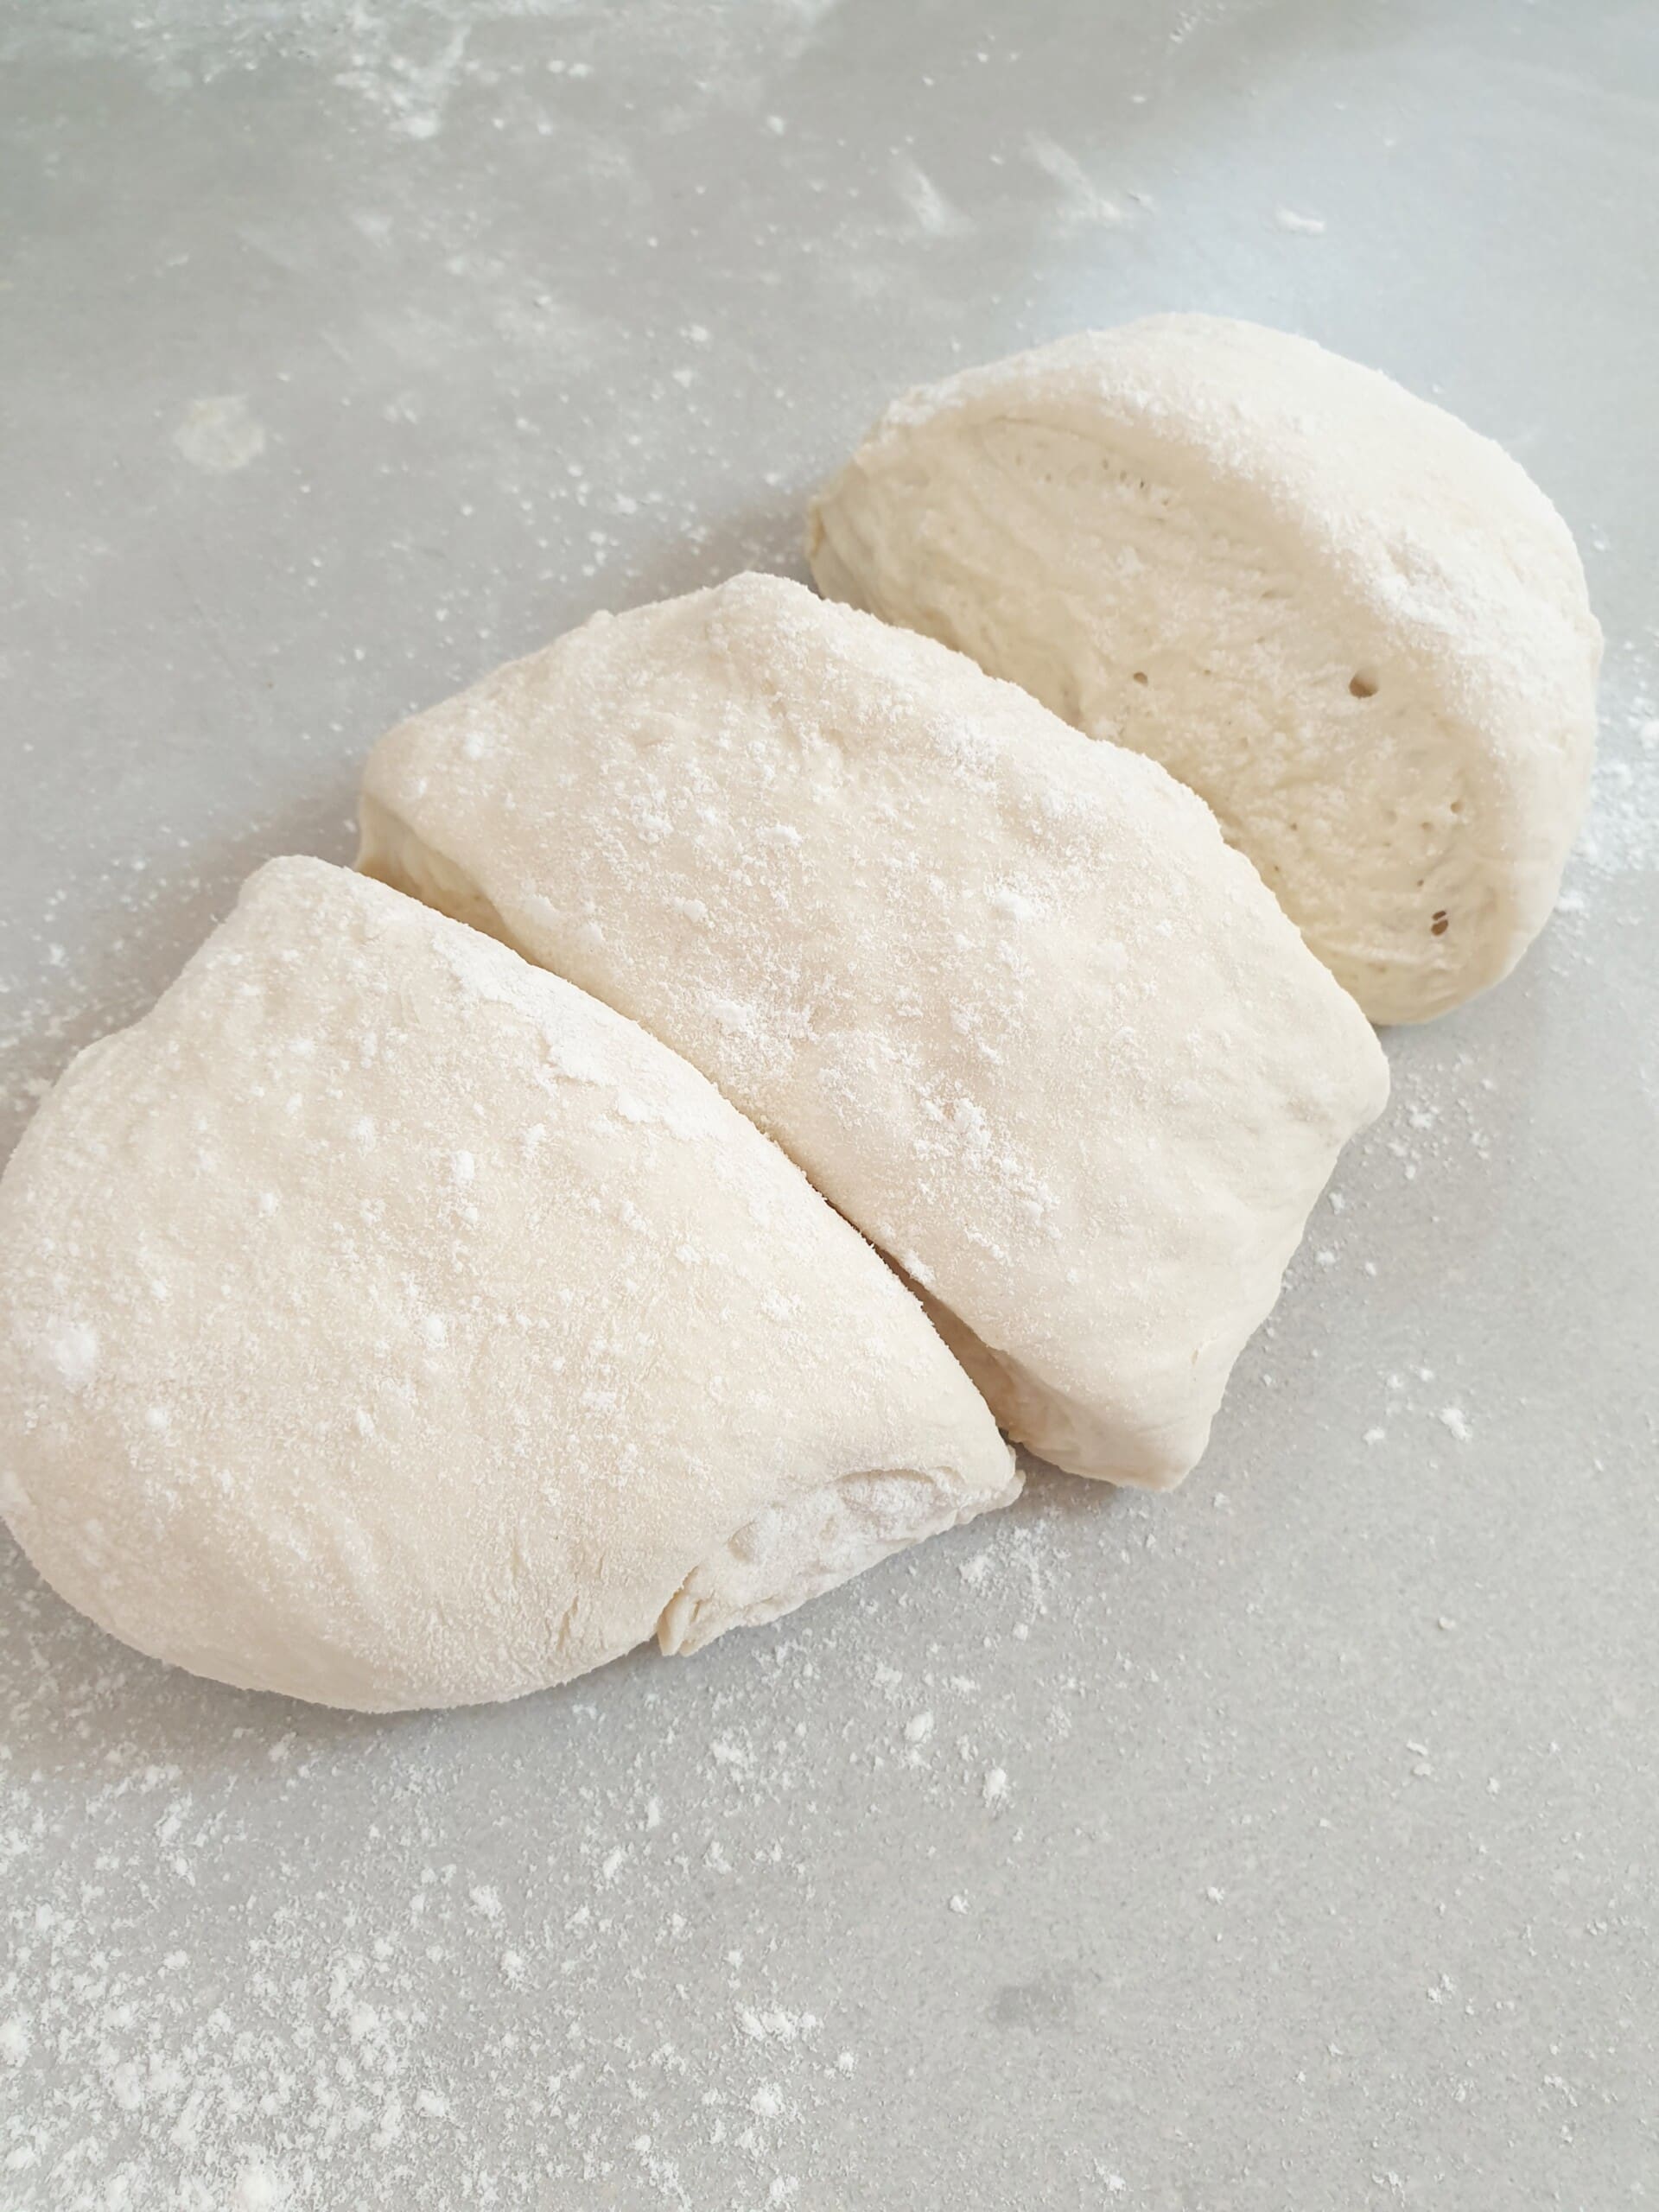
First, you cut the dough into 8 parts.
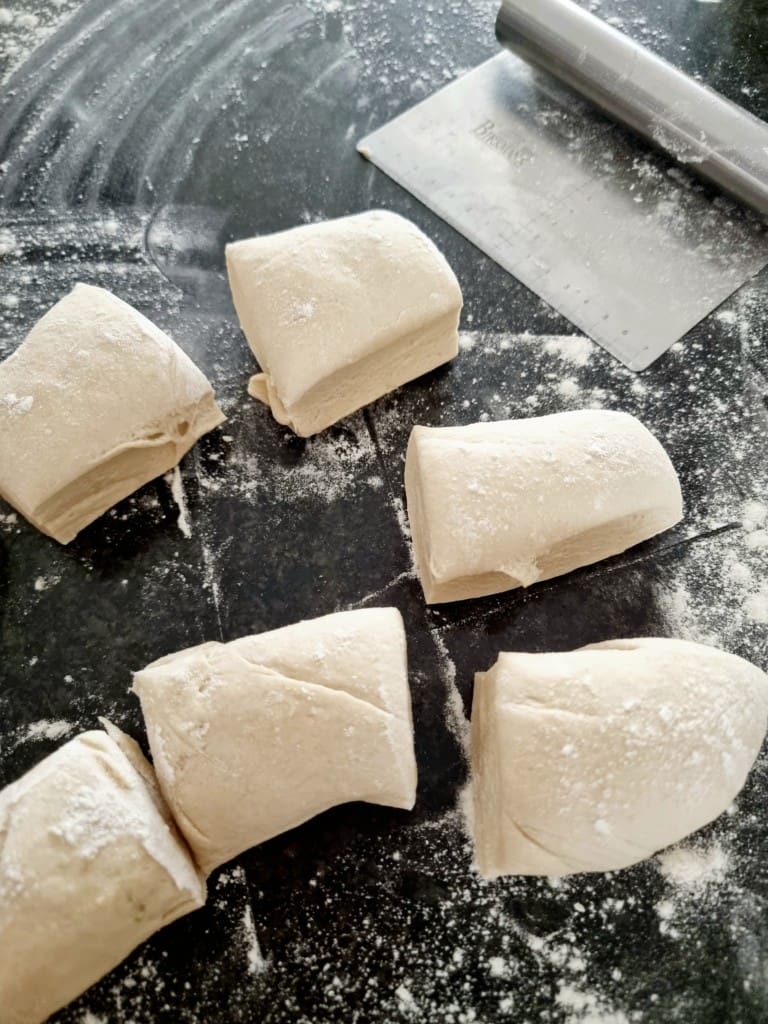
Then you roll each part into a ball. Gently pull the sides of the portion (which was more like a rectangular square) into the center tucking them in. Clasp it into the palm of your hand and shape into a ball.
If you roll it straight from the rectangle its more difficult to get a circle.
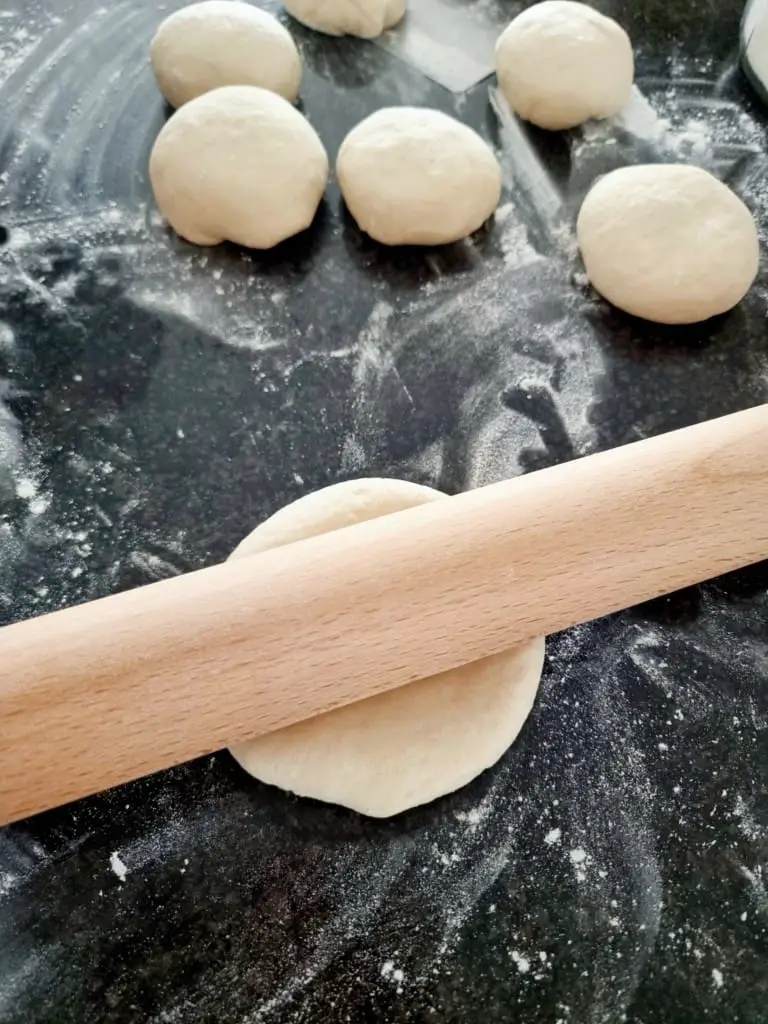
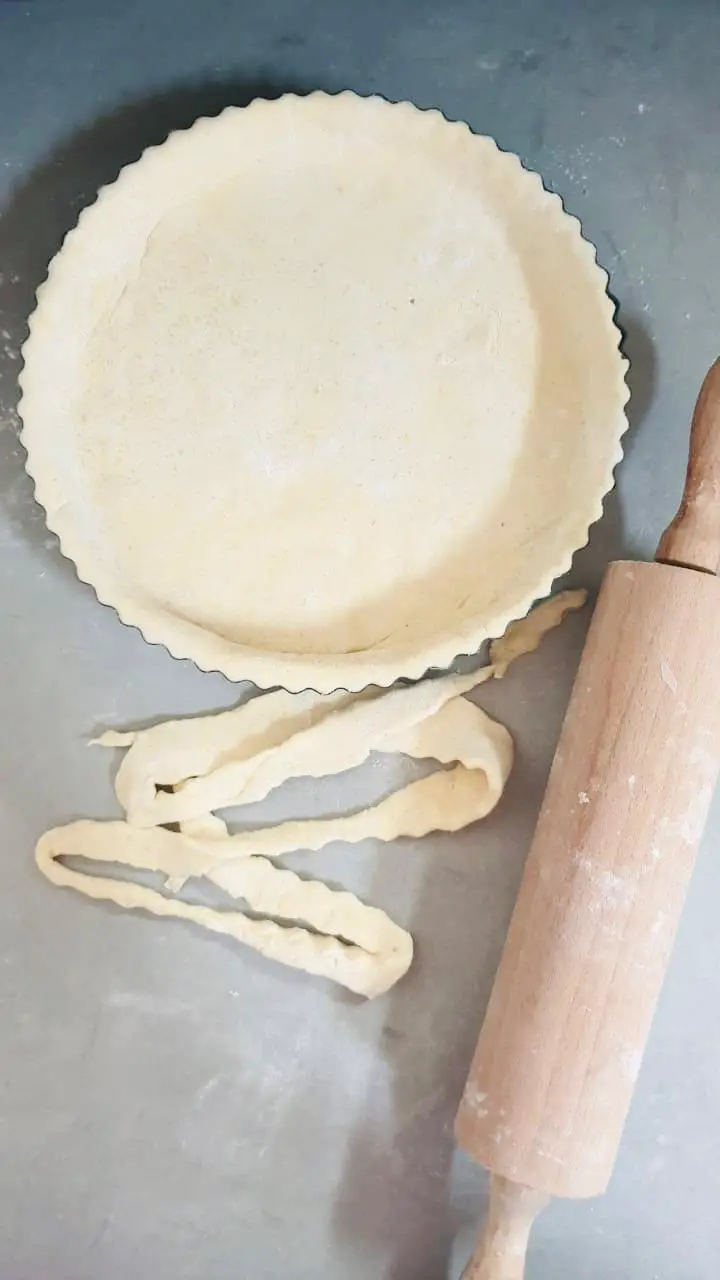
Using a rolling pin, roll each ball into a circle. But wait! Before you start rolling circles prepare a surface to put the rolled out circles on, for example a large lightly floured oven tray.
We don’t let them rise again instead what we do is this;
- roll each ball out into a circle
- lay it on a floured surface like an oven tray
- keep the rolled out circles covered with a cloth and also keep the balls covered while you roll
Now before we go on to baking them lets cover a few helpful paragraphs!
Ingredients, Method Tips & Suggestions For Pita Bread
It starts with getting your ingredients out and ready to go because no one wants to run around for ingredients, besides you probably have these;
YEAST – We need a rising agent so yeast is important. It always fascinates me how this tiny fungal biological something gets into the water and flour and creates this unbelievable fluffy dough!
YEAST I’ve used Anchor yeast and they come in a convenient little package of 5 packets. Each packet is 7 grams which is roughly two teaspoons and for most of my yeast requiring recipes I toss the packet in (considering the amount of flour that you’re using).
SUGAR I don’t always add it to my bread dough recipes but this time I added about a teaspoon of regular table white sugar to feed the yeast.
WATER You need warm water. Not hot or it will kill the yeast, not cold or the the yeast wont rise. Luke warm water which with a thermometer should be 32 to 43°C / 105 to 115°F. Like I’ve said a million times, I’m very old fashioned in some things (maybe most) so I still stick my knuckle into the water to get the right temperature. The problem is it depends on so many factors like where my hormones are at that day so I may be off mark! For this reason I do use my kitchen thermometer for accuracy. (The knuckle business has worked for generations by the way).
Now that we have combined the water, sugar and yeast are waiting for the yeast to proof we get the next ingredients ready.
To Mix The Flour Types or Not
FLOUR I’ve used cake flour in this recipe however if you only have AP (all purpose flour) then go with that. Cake flour has a lower protein content and less gluten therefore yields a much softer, more delicate result. Look, I wont go into detail but you can add part cake flour and part whole wheat flour. For us, we prefer just cake flour because I’ve made it by combining cake and bread flour, cake and whole wheat flour and just cake flour works for our family. I find the combination makes the dough a bit tough, so a bit more kneading muscle and I’m not interested 🙂
SALT Always for balance and taste.
OLIVE OIL You can add this into the proofed yeast (as explained above) because olive oil does enhance the flavor and texture of the pita bread.
Let’s Talk About Stand Mixer and Kneading
Once you know which method you going with you’re halfway there :)! Okay so let’s get the dry ingredients into the mixing bowl. One thing I will suggest is that although the stand mixer does half the job for you, still get it onto a floured surface and knead. That 5 minutes helps strengthen the dough or maybe a stand mixer will always be new for me because I still love the feel of the dough on my hands.
First for about 2 minutes on setting 2 just to get the ingredients started. I then lift the hook up and scrape down the sides and keep going for another 5 to 7 minutes. When you see the dough form a ball and you have a clean bowl it’s time get it out and prepare for it to rest. It’s been working hard for you!
Is Kneading Important / Necessary
A stand mixer is a lot easier but this dough is not that difficult to knead. You can actually add all your ingredients into a bowl (without even proofing the yeast). Like my bread dough that so many of you love???? and you can still get the dough to rise and then you shape. Personally I find that that 3 to 5 minutes gentle kneading makes a difference in this recipe.
With dough it depends on what you’re making for example if you’re making fresh pasta, you can’t think the ‘from scratch’ approach without the use of a machine, it’s just not a thing. You simply have to use a pasta machine to roll. Pasta dough is not like bread dough, it wont bend. Bread dough is softer and much easier to knead.
Tips and Suggestions
These tips and suggestions are from my kitchen to yours, what I know for sure works and doesn’t.
Fresh is Best Use fresh yeast and if you’re not sure, proof it or check the date!
Rising Time You’re going to leave the yeast to proof for 10 minutes and the dough for an hour. Decide where you want to keep the dough while it rises but it should be in a draught free zone. My dough zone is the oven. I cover it with a kitchen cloth / towel and into the oven she goes, light on for warmth. In the summer the light part is not necessary but it’s been really cold this winter so I’ve been using the light for warmth.
Prepping the Dough Circles You may get 2 smaller parts in comparison to the rest when you cut the dough into 8 equal parts, keep going, the 2 smaller parts on the end will come out obviously smaller. However, if perfection is your thing, weigh each part to be certain that they are the same weight. This is when the seamstress in me comes out because I’m about to tell you to whip your measuring tape out. (It works too!)
Covering and Resting The Dough Circles This part is important because this dough gives you a beautiful bubbly dough rise and the goal is to maintain that throughout the process.
To have an idea of how to roll the part into a ball see this recipe and vide here.
How Many Times Does The Dough Rise
The First Rise Is immediately after you’ve combined all the ingredients, given it a gentle 5 minute knead.
The Second Rise Is after you’ve cut the dough into parts, shaped circles and and then cover those circles as you roll the rest. There are two things that happen here;
- You allow yourself time to shape the balls into the right size circles that you want. The circles are covered while you roll the rest out which means that they are resting under the cloth.
- By the time you are done with rolling all the circles, it’s been a good 10 minutes, even 12 because you’re not under pressure. This time allows the dough to rest which is important for the rise we want.
Baking Methods
Lastly, let’s talk about the baking methods
I have made this recipe a few times and it never ever, not once given me these beautiful pockets. This was the direct result of a hot stone and in our case a pizza oven stone.


The results I got when I baked it in a skillet or an oven tray, same temperature as above. The images below are from the stove top, skillet. Even though I don’t have a photo of the result from using a regular baking tray (oven) they were more or less the same in thickness.


The results are really dependent on what you want as an outcome. For me each time I made pita bread and it didn’t rise as it did now, I was not happy it felt like naan bread. My husband who loves this pita/naan bread variation politely said – why don’t you bake it outside in the pizza oven? The rest is history, it was like light bulb and I immediately went to work. When I saw them rise in the pizza oven, to say I was delighted is an understatement. That afternoon, my husband started receiving photos of pita bread 🙂
More Bread Related Recipes
How to Store Pita Bread
Actually as simple as most bread, in the fridge in a sealed container and it keeps very well for a couple of days. If you freezing I have no idea exactly how long as I’ve never done this but I’m sure it’s like regular bread. When I do freeze my bread all I do is use a zip lock bag and it stays well. If your freezer is full or iced then you may have to double up on the protection.
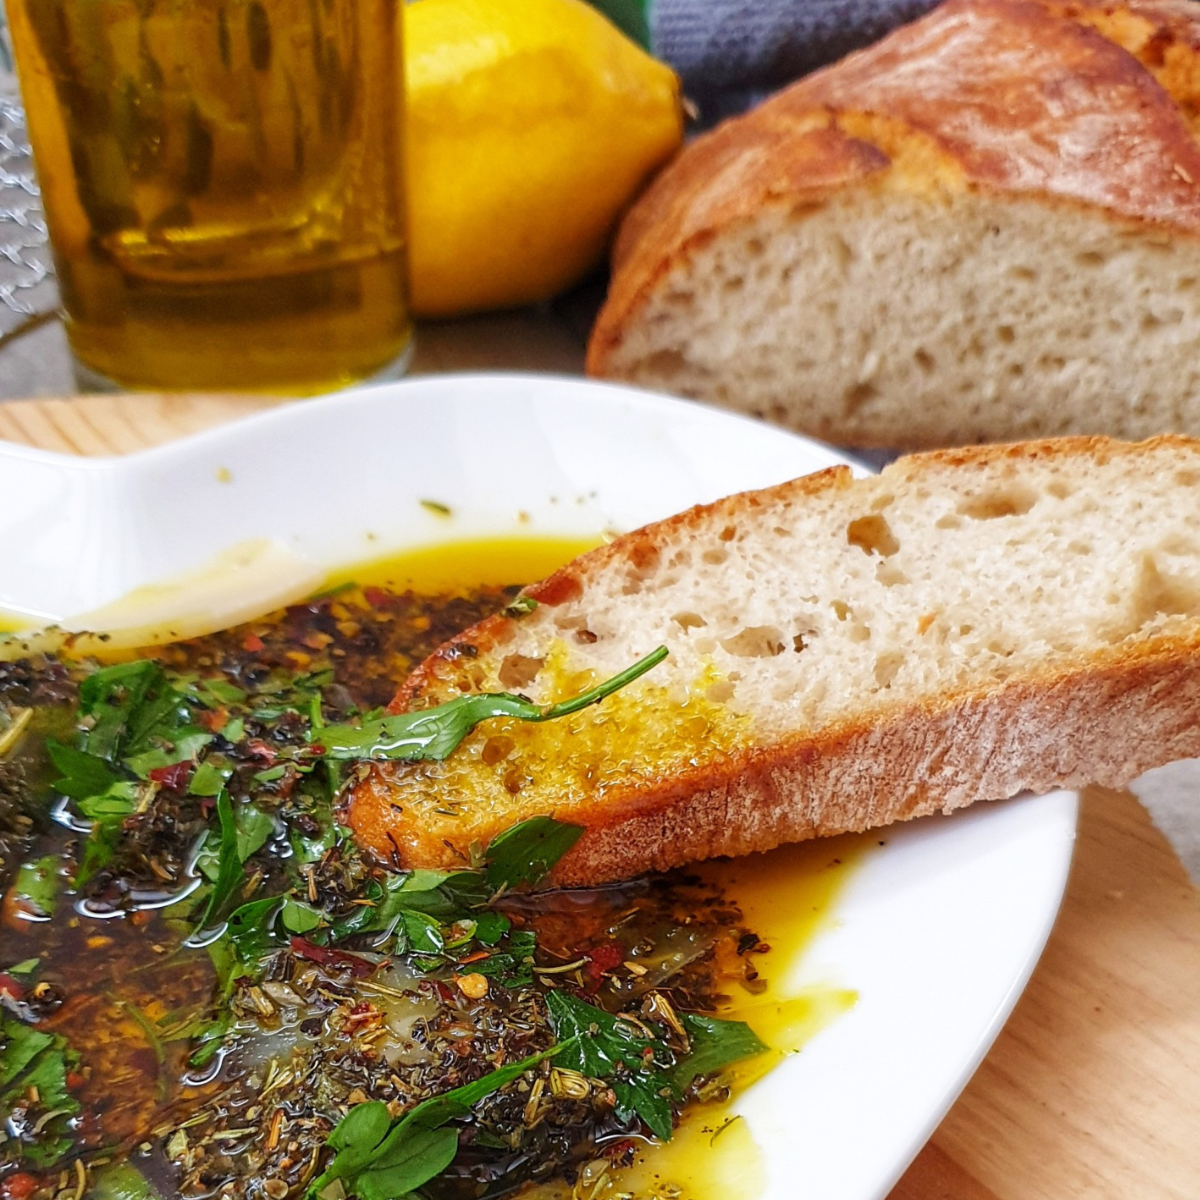
Pita Fillings
This is the best part of pita bread! You get to fill the pita bread yourself for the family or what I prefer doing is making it an occasion! Spread all the fillings out in individual bowls and platters and get everyone to do it themselves. You don’t only get to make your family happy but you also encourage that special bonding time and the whole occasion becomes more than just the pita bread, and that’s the whole idea of cooking❤️

Okay friends and family, now you know how to make the best pita bread! All the tips, images and suggestions including the recipe card below.
I really hope that you enjoy making this pita bread recipe as much as I have! I know it’s a lot of information but how else would you get the knack of it right? Besides, I need to fill you in and then you can go and fill up your family!
If you try this Pita Bread recipe please feel free to leave me a comment and a star rating! And if you take a photo of your dish and share it on Instagram, please tag me @anosmickitchen and use the hashtag #anosmickitchen because I love seeing your remakes! Happy cooking????
Pita Bread
Ingredients
- 1 1/2 cups warm water 110°F / 43°C
- 1/2 tsp sugar
- 1 pkt dry yeast about 2 teaspoons / 7grams
- 1 cup flour See notes below on how to level the flour
- 2 tbsps olive oil
- 2 cups flour
- 1 tsp salt
Instructions
- In a mixing bowl add the water, sugar and yeast followed by 1/4 cup of the flour Let it sit for 10 minutes or until you see the top frothy and bubbly.
- In another bowl measure out the flour and salt, combine.
- Once the yeast is frothy (10 or so minutes later) add the olive oil. Using A Stand Mixer: Attach the dough hook, and start to gradually add the flour and salt mixture as the stand mixer combines the ingredients. You may have to stop and scrape the sides of the bowl down and continue. Speed #2 is generally a good place to be on, 5 minutes. When the dough moves away from the sides of the bowl and clings to the dough hook, take it out and onto a lightly floured surface. Knead it for 2 to 3 minutes to get it into a ball. Oil the same stand mixer bowl with about a teaspoon of olive oil and rub it around the dough as well. Cover and rise for 1.5 hours until it doubles in size.
- Using Your Hands Add the remaining flour into the bowl with the frothy yeast followed by the salt and mix with a spatula/wooden spoon until you can't mix it anymore then get it out of the bowl and onto a lightly floured surface. Knead the dough for 5 minutes into a ball (gentle kneading nothing hectic). Oil the same mixing bowl with about a teaspoon of olive oil and rub it around the dough as well. Cover and rise for 1.5 hours until it doubles in size.
- Preheat the oven to 500°F / 250 (260) C° and place a your pizza stone or baking tray at the bottom of the rack.
Preheat The Oven
- Preheat the oven if you're using a hot stone, pizza oven or baking tray. For the skillet on the stove top you will get to preheating it later.
Roll Into Dough Circles
- When The Dough Has Doubled: Remove the dough from the bowl onto a clean kitchen counter sprinkled with a little flour and divide it into 8 parts. This is where you can either immediately continue to the next step or you can weigh each part to get an equal size. Keep the dough parts covered with a slightly damp kitchen cloth while working.

- Shape each one of those parts into a ball and each ball gets rolled out into a circle. Keep dough balls covered with a slightly damp kitchen cloth while working.
- Once all the dough circles are rolled out, bake each one or however many you can fit on your oven tray / hot stone or pizza oven and bake for approximately 3 minutes or until puffed up. Once they are puffed up remove them from the oven, place on a cooling rack until properly cooled, about 5 minutes. After 5 minutes, cover them with a clean kitchen cloth / kitchen towel, just to keep them from drying out.


Stove Top Skillet (Preheated)
- Heat the skillet until piping hot, to test pour a tablespoon of water onto the pan and if it sizzles you know it's ready.
- Brush about half teaspoon of oil onto the skillet and place each pizza dough circle into the hot skillet. When you see it puff up flip it and cook the other side.
Oven Baking Pita Bread
- The oven should be preheated to 482°F / 250 °C.Place the hot stone or skillet into the oven, 2nd lower rack from the bottom.If your oven is properly heated, it should take about 3 minutes for the pita bread to puff. Flip it and cook the other side for about a minute or 2.
Pizza Oven
- Preheat to 500 °C / 932°F
- Depending on the size of the pizza stone you should be able to get about 3 dough circles at a time.
- Close the door until they puff up.