There are a few dishes to beat a delicious roast for Sunday lunch and this topside meat roast is no exceptions. We love preparing roast meat recipes for family, friends and special occasions, unless it's summer when no one wants to get the oven on. On those days there's the speedy air fryer to the rescue for recipes like Air Fryer Chicken Roast or Roast Beef With Gravy (Air Fryer)
My big love for meat roasts irrespective of what meat you use beef, pork, lamb or chicken is that they are so easy to make and require very little hands on time. Any leftovers provide fantastic sandwiches and re-fried meat, just take a look at this Warm Beef Wraps with Labneh. Everyone can make a roast because its incredibly simple and with a few tips below you'll be making a super delicious roast!
What Is Topside Beef
It's the long and lean inner muscle of the cows thigh, a cheaper cut of meat and good for roast and slow cooking. Even though it's a lean cut, it still has some fat to help it keep moist while cooking. When choosing your beef topside, try and go for one with a little more fat covering the 'top side'.
Is Topside A Good Beef Cut?
Topside is that round-top roast meat that you've seen at the store, usually with a layer of fat covering the top, hence the name 'topside'. It's usually sold soft meat (no bones), lean and a little fat covering the top-side. Topside of beef has gained the name 'poor man's sirloin' since the meat is so lean, this cut comes from the cows thigh.
In cooking, fat equals flavor and fat has also been known to resemble wealth in some cultures. Much like the Italian tradition of pork sausage at New Year.
How To Cook Topside Beef Roast
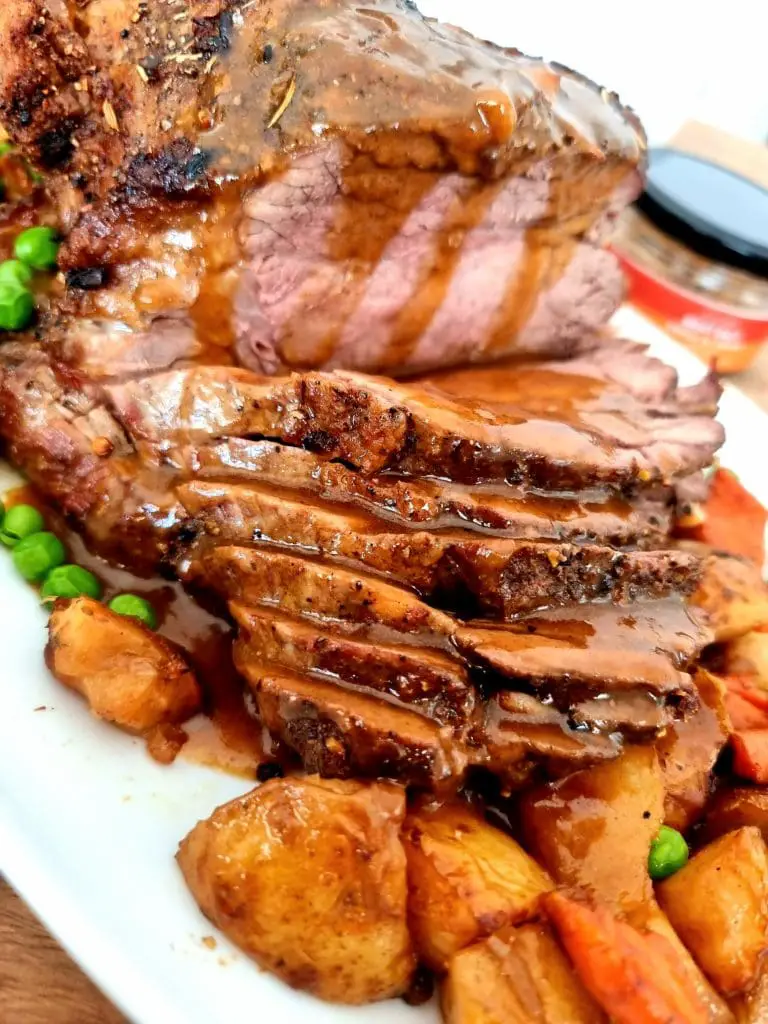
Topside roast beef can be served rare, medium rare, medium or well done. I'm not suggesting well done beef because it's not pleasant to eat tough beef, (we like ours less pink more medium) but you can certainly make it nice and pink. I tend to go with medium depending on who is being served and their preference. Naturally, topside, like most meat roasts, are insanely delicious when served with gravy and roast potatoes.
Is It Safe To Leave Meat Out Of The Fridge For 2 Hours?
The first tip here is take the meat out of the fridge an hour before you start cooking and not more than 2 hours to prevent harmful bacteria. If you are in the summer season as we are in South Africa right now then definitely not more than an hour. The best case scenario is give meat time to thaw so from the freezer to the fridge overnight and then from the fridge to sit on the countertop for 30 minutes to an hour. If the weather is not extremely hot that day, you can push another hour but that's the maximum. More than 2 hours, the meat becomes unsafe to eat and harmless bacteria can now become harmful bacteria and they multiply! For more information on this topic you can visit this website here.
Topside Meat Roast Cooking Method
You can do this out of two ways;
- a) roast the beef on high which gives the meat a good color and flavor, but just for the first couple of minutes and then you drop the heat for the remaining cooking time OR
- b) roast the beef on the regular 180 C / 356 F and the drop it even lower. This way the roast becomes nice and tender with less shrinkage.
I find that the best of both worlds works miracles here. Either starting the roast on high heat 200° C /400° F for 20 to 30 minutes and then reducing the heat to very low for the remainder of the cooking time. Or, roasting on low first and then increasing the heat towards the end of cooking time. This recipe, we cook the beef low first and increase the heat towards the end of cooking time.
Can I Cook Beef Topside On 200° C /400° F
Yes you can. You also don't have to. Heres the thing, beef topside can be a tough cut if not cooked properly and personally I would sugges that if you are cooking on 200 C / 400 F then make it for the first 15 minutes just to get a nice sear on the meat. Immediately after that, drop the heat to 160° C / 320° F and cook for the remaining time.
Topside Beef Cooking Times
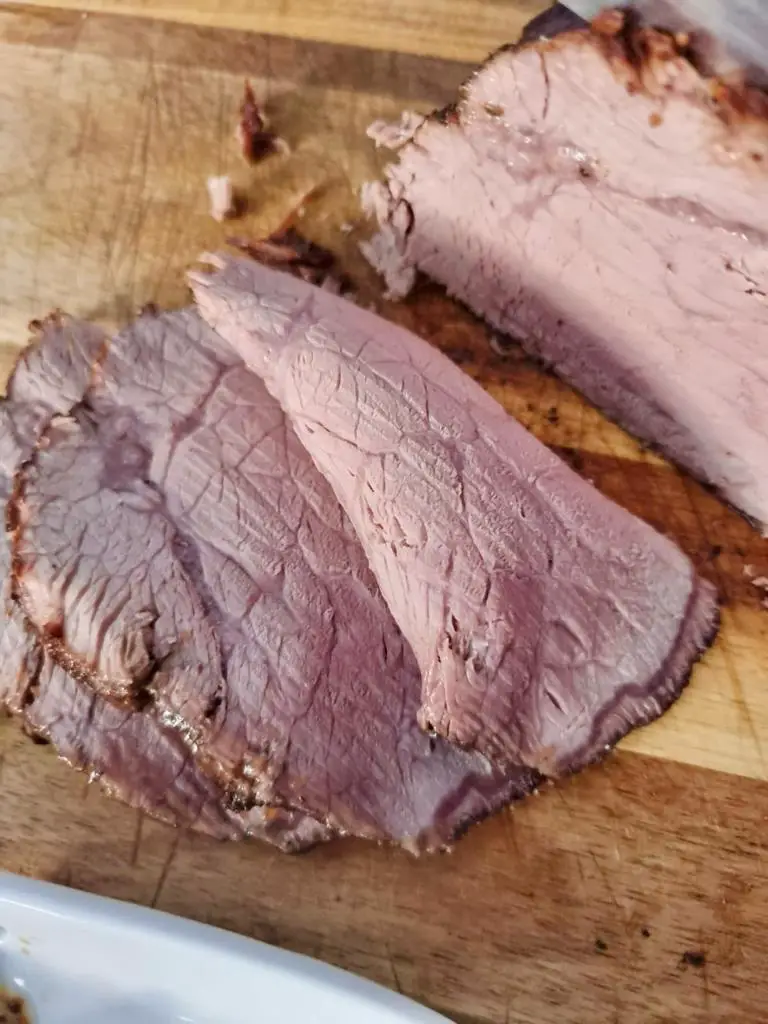
It will depend on the weight of your beef joint and if you prefer rare meat, medium or well done. For beef the internal temperaure should be rare 50C / medium 60C and well done 70C. The best way is to cook your beef 20 minutes for every 500grams that's a good guideline that works well. So in this case, our beef roast was 1.5kg and cooked for a total of an hour. Check the recipe card below for the full details.
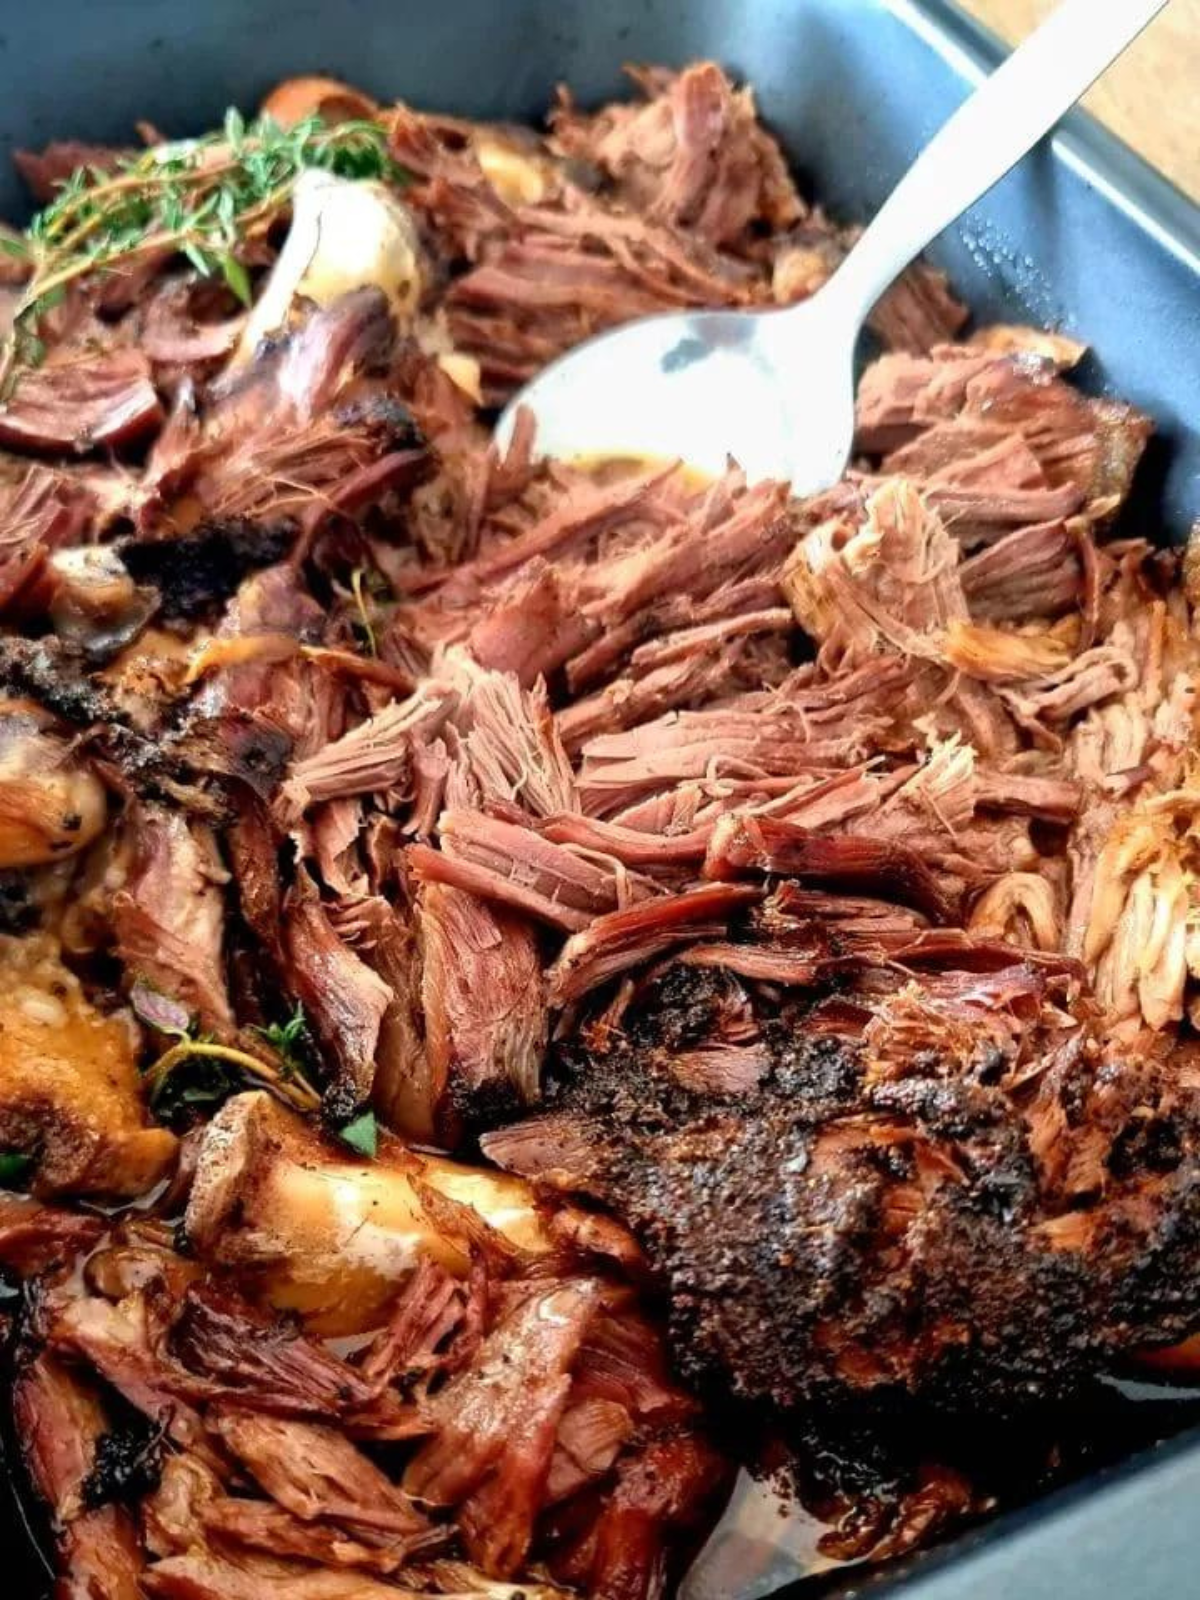
Need a recipe where you can place the meat in the oven and not worry about regulating the heat? Try my Slow Roast Leg of Lamb (bone-in where the heat is a constant low.
Which Are The Best (Preferred) Cuts of Beef?
The cuts of sirloin and rib are the ones always cooked on the bone because these are the cuts that seem to be best which ofcourse are not always the easiest when it comes to cutting/carving. That and they are also rather costly. We're talking about a cut that comes primarily from the mid-section like, rib-eye and filet migno. Do they deserve the 'best' title, one hundred percent.
Do You Cook Beef Roast With The Net On?
Just as when you are making a gammon turkey roast, the same applies to beef roast. If it comes with the net on, it's there for a reason which is normally to hold the meat together. Cooking the roast with the bet on, helps maintain the joint to cook evenly.
Do You Cook A Beef Join Fat Side Up or Fat Side Down?
Fat side up! All the drippings that come from that fat layer will drip onto the rest of the beef and make it absolutely delicious!
Basting
Don't forget to baste, baste and baste! You can baste once which would be halfway throughout cooking or you can baste twice, using the liquied from the pan. For me, basting is king because it takes a couple of seconds to remove it, baste and immediatley back in the oven. The flavor at the end is always worth it!
Browning The Beef
Another opportunity to baste! In the last 10 to 15 minutes, baste uncovered till brown.
Resting The Beef
Yes. Very important to rest the meat on a plate because of the juices and cover it loosley with alluminium foil. You can, if you want remove the net before resting the meat but I find it best to rest the meat first and then remove the net. Two reasons; it's too hot to touch and the net can get stuck to the meat if you pull at it. This beef roast has worked hard for you, wait 20 to 30 minutes before you slice into it. Remove the net halfway through, so after 15 minutes.
Carving Beef Roast
This is one of those easy roast meats to slice since there are no bones and not much fat, it slices beautifully into thin or thick slices.
Storage Before Roasting
Keep your uncooked meat in its original packaging in a covered container as a safety precaution from it contaminating any of your other foods in the fridge. Make sure to use by the sell by date. If you not using the meat on the day and would prefer freezing then freeze it for no longer than 2 to 3 months. Defrost when you're ready to cook the meat moving it from the freezer to the fridge the night before and on the day from the fridge to the sink to properly thaw.
Would you like to save this?
I'd like to receive tips & recipes from Anosmic Kitchen.
When it is in the fridge make sure it's in a container covered and away from other foods.
Ingredients
Topside roast meat: The size that you buy will depend on how many people you are serving. I seem to always take the in-between size that can easily serve 4 - 6 people and that's roughly a 1.6kg joint.
Vegetables: Carrots, celery and potatoes which are completely optional in this recipe but serve beautifully and deliciously with the beef. This recipe also serves as a "one-pot" meal because they cook at the same time.
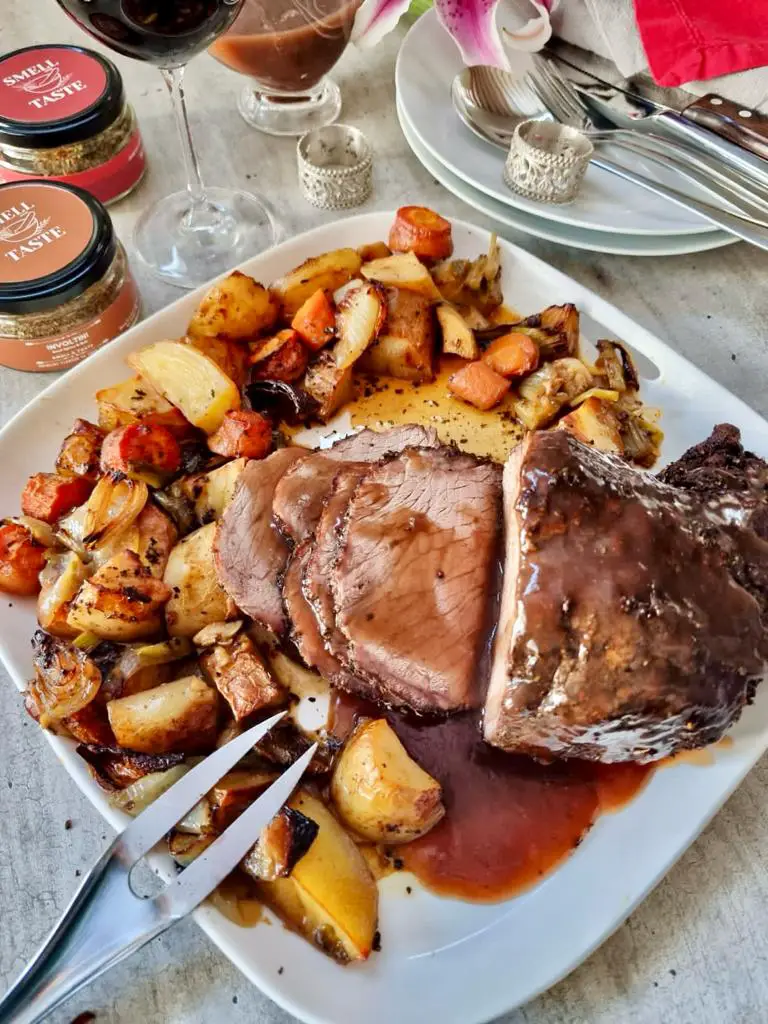
Meat salt spice: You can use a simple blend of salt and pepper and we use this one or you can use a specific meat salt, this is the one we use.
Olive oil: To drizzle over the beef roast just before roasting.
Gravy: Beef stock, maizena or flour
Peas: We love peas so they're added to roasts and mashed potatoes often and frozen peas are easy to prepare. The peas are optional but they do complement the dish and you can add after the veggies have cooked.
How To Make Topside Meat Roast
Defrost and Thaw Remove the roast from the fridge an hour before cooking. If the roast is frozen it needs to moved from the freezer to the fridge overnight and brought to room temperature the day of cooking.
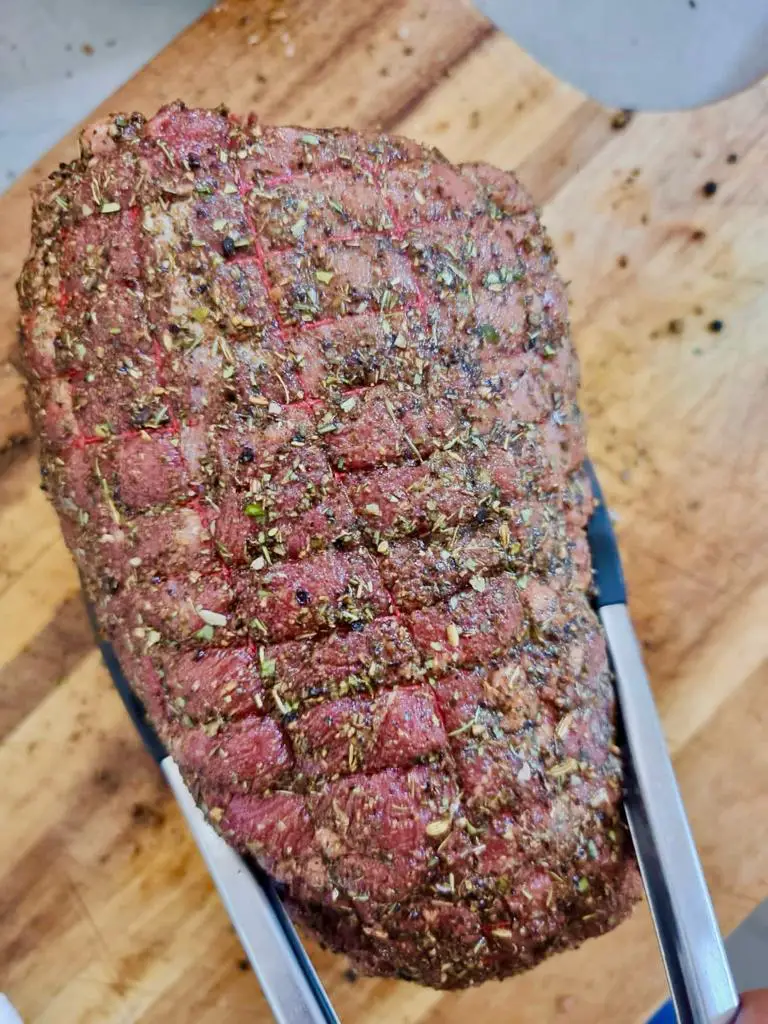
Seasoning and spice: Roast meat can very easily be prepared with a simple salt and pepper seasoning but a little spice seasoning can truly elevate the dish. You can use a specific beef seasoning, dried or fresh garlic and other herbs like rosemary, thyme, sage and bay leaves, it's entirely about your preference. We use this meat seasoning.
Olive oil: Combine the olive oil with the seasoning or dry herbs and form a paste that will be used for coating over the beef. Use a brush or your fingers to spread it across the meat. Garlic can be inserted into the beef by cutting little slits on the side of the beef and inserting garlic cloves. Bay leaves can be added to the fresh veggies. Now you can wait for the incredible aroma in your kitchen while the beef cooks itself into an oblivious delicious dinner!
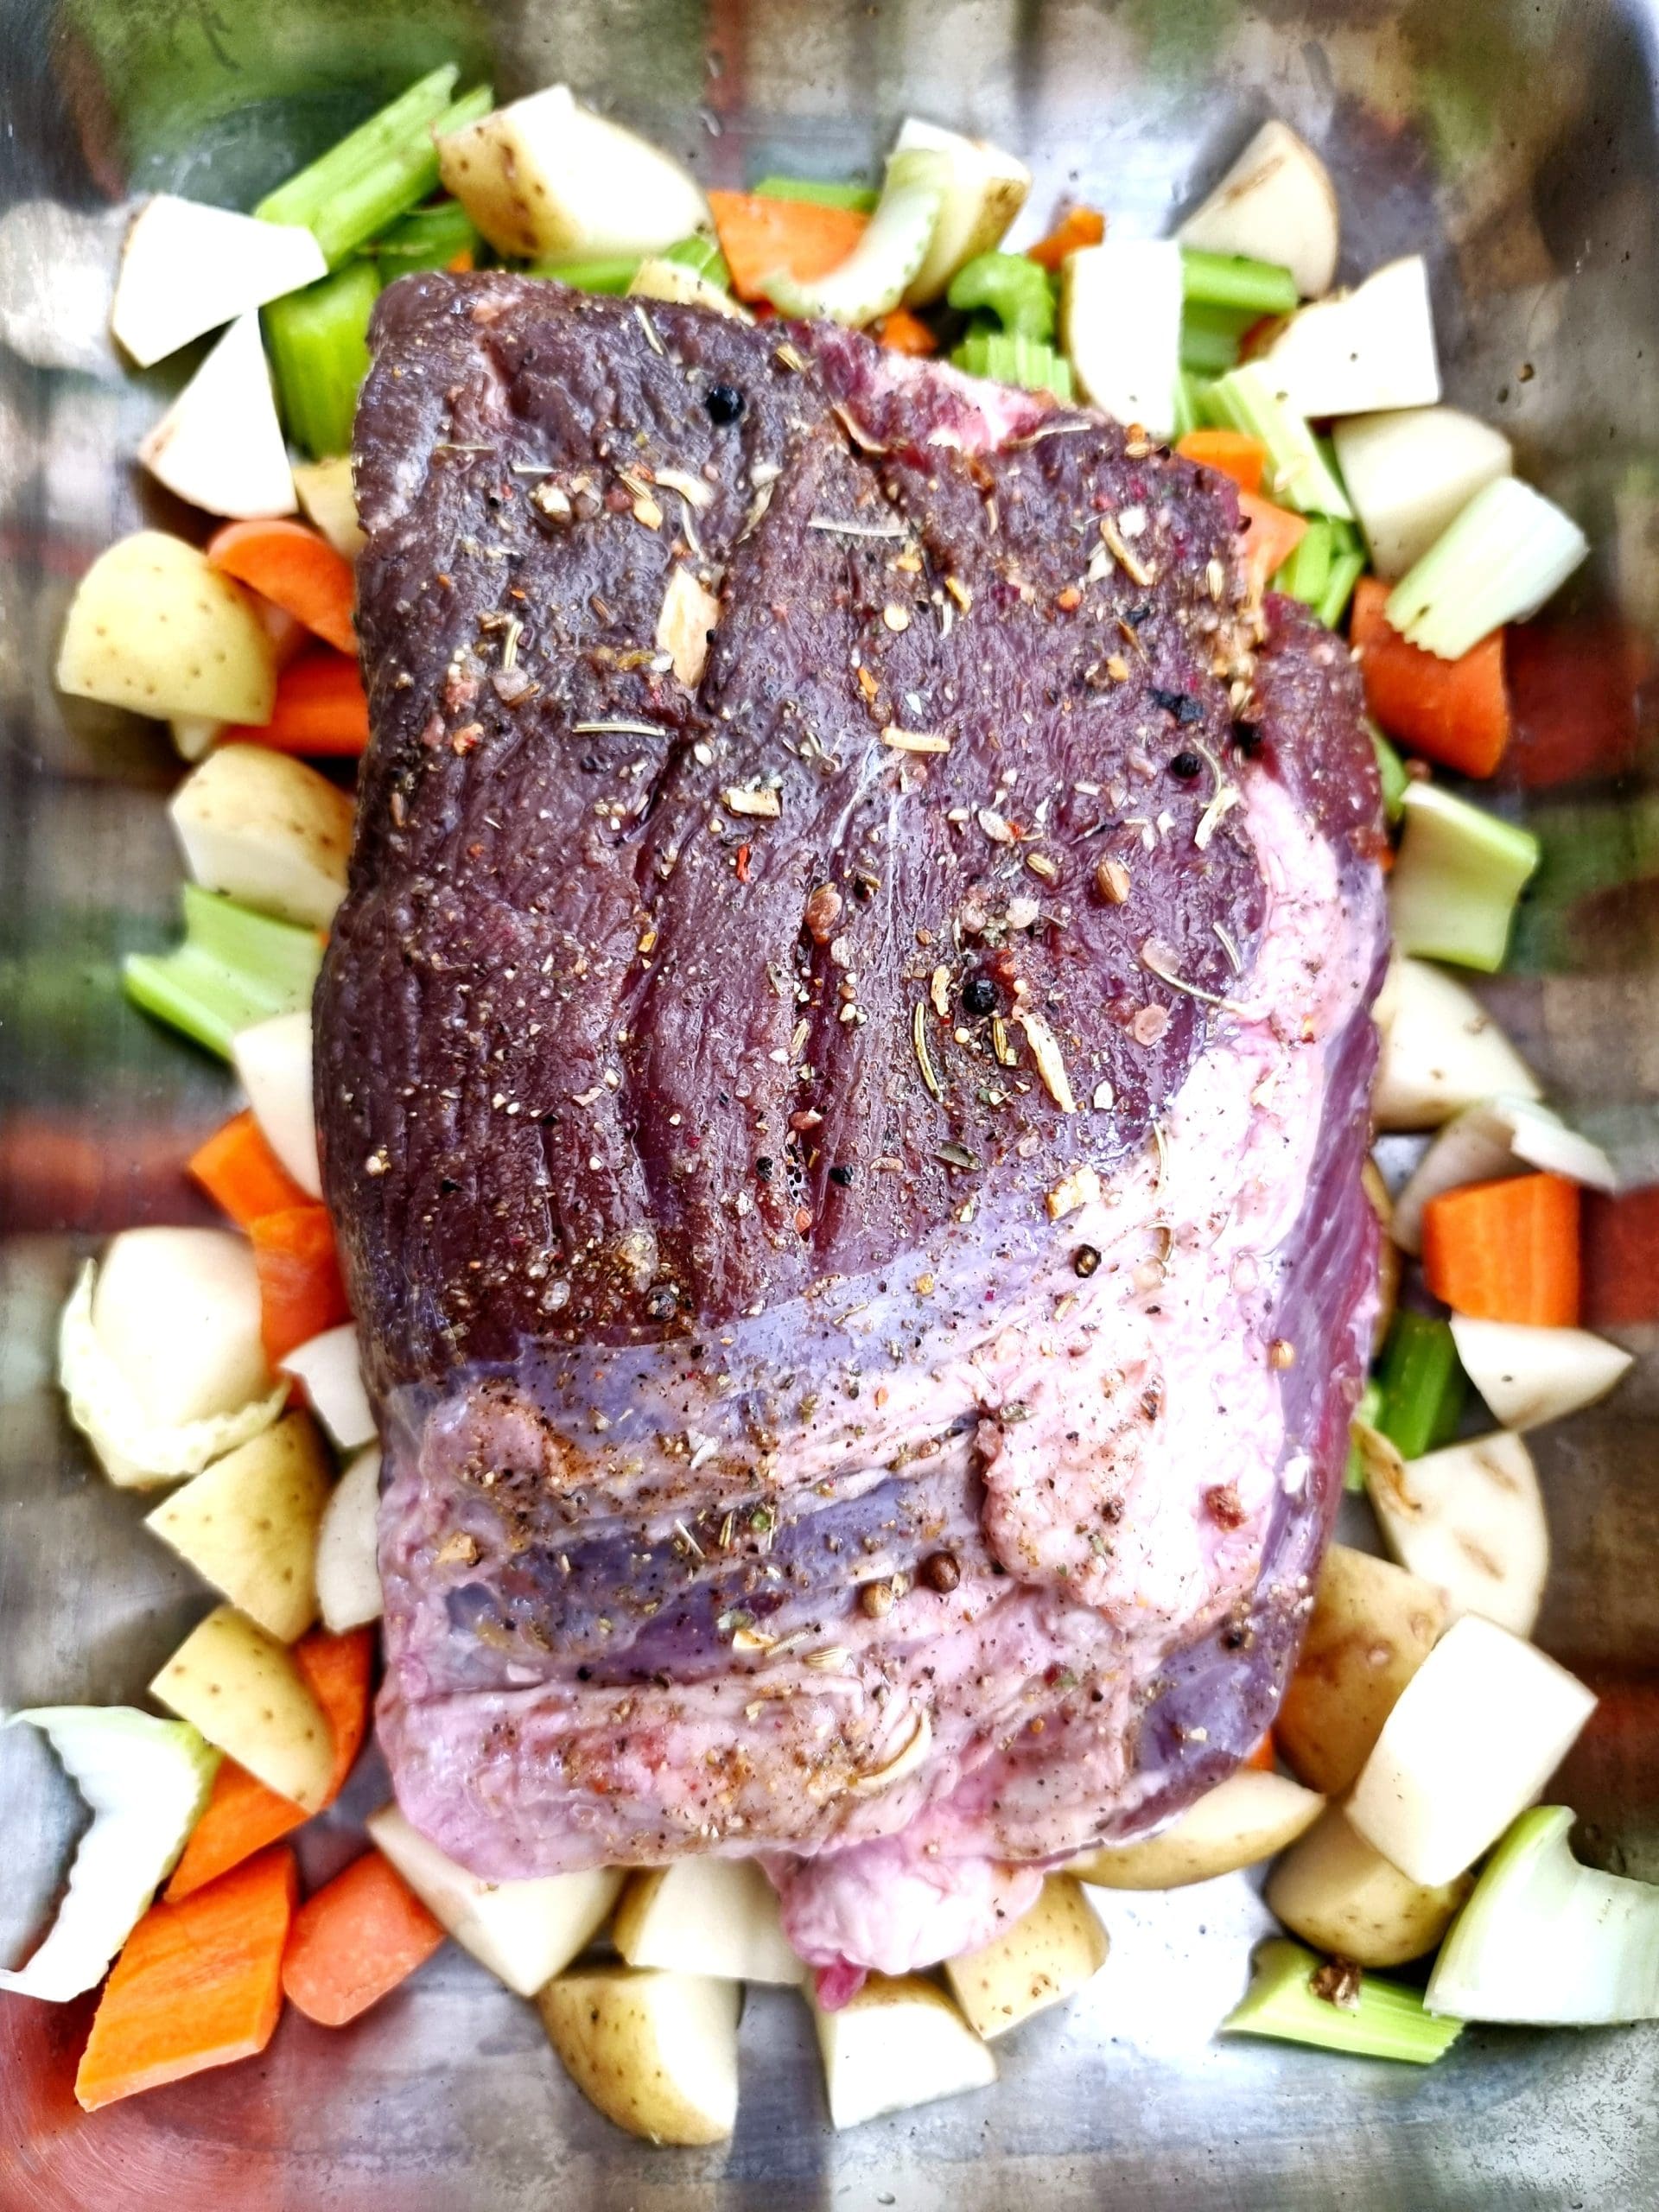
Vegetables
There's no need to peel the vegetables!
Simply roughly chop the carrots, celery stems and potatoes. Add them to the oven tray and roast with the meat.
Meanwhile microwave the frozen peas on high for 4 to 5 minutes.
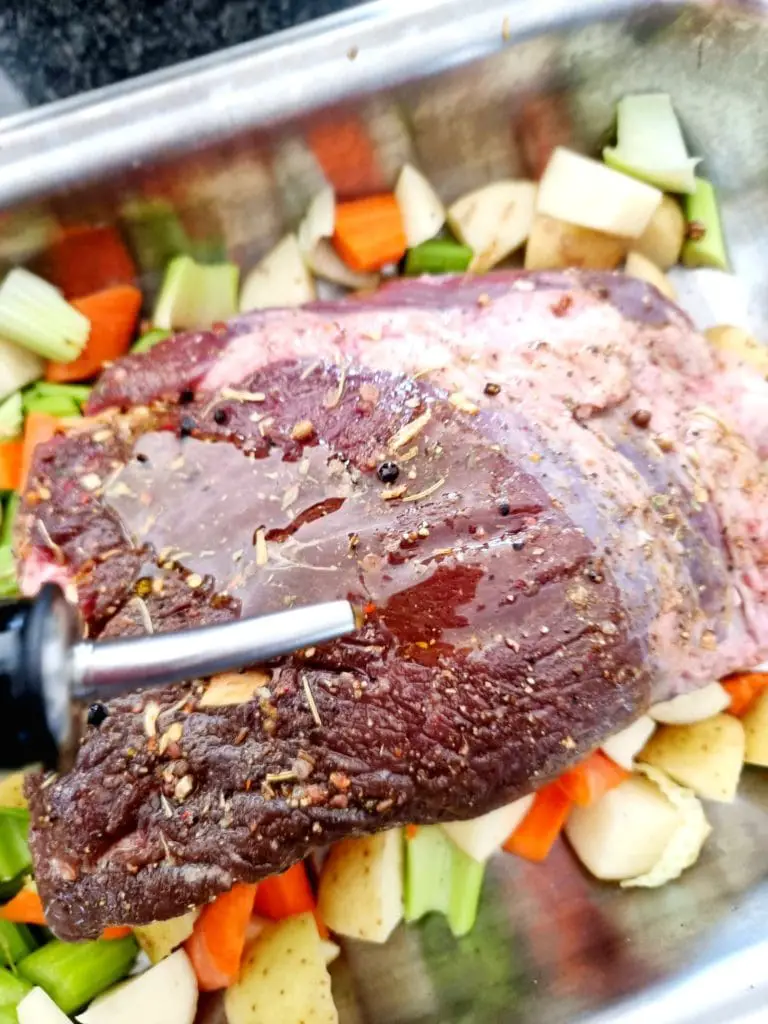
Layer of fat up! See the image below.
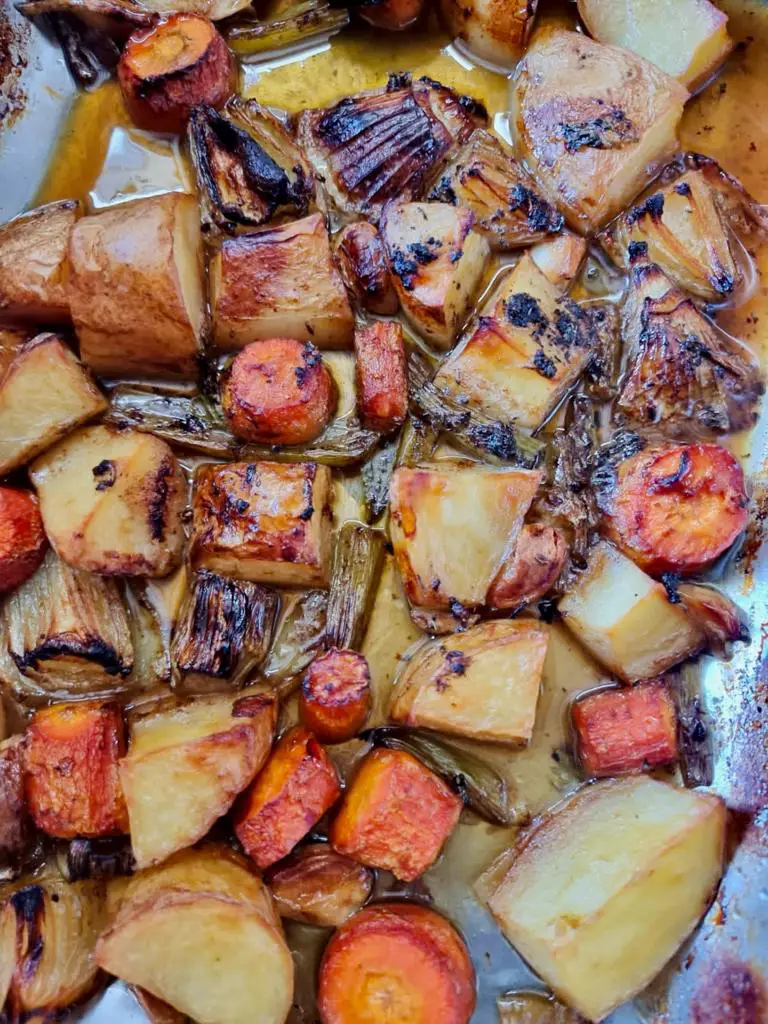
Once the roast is cooked remove it from the pan and rest it covered with foil on a separate plate. Scoop the carrots and potatoes out and place them in to another oven proof dish. Drizzle with about a tablespoon of olive oil and back into the oven. Turn up the heat to 200 degree Celsius and bake till a light golden brown.
Resting The Topside Meat Roast
I think every one of my meat roast recipes touches on resting the meat and I can't seem to emphasize it enough! Granted there are times that you cannot wait for 30 minutes but you must at least give the meat 20 minutes to rest. When I made this Slow Roast Leg of Lamb (bone-in) I made it rest for 45 minutes to an hour and I cannot tell you what a difference it made!
When you rest the meat you give the juices a chance to redistribute or reabsorb into the meat. Yes you will have a little juice on the plate so simply pour that into the gravy and give it a mix however, if you don't have a gravy use it to pour back over the meat or sliced meat.
This is the perfect time to not rush and enjoy turning the heat up on the oven to roast the veggies and to make the gravy.
Gravy
Spoon any fat from the roasting tray (a couple spoons) and discard and then you're left with the pan the juices.
TIP Make sure to use a solid pan (one that doesn't warp or is flimsy) to roast the meat and it should also be able to go on the stove. You want the pan to roast the meat and then to go onto the stove while you make the gravy in the same pan. If not, you have to transfer the gravy and veg into another pan to make it on the stove (and wash another pan).
The remaining celery and bits of carrots and potatoes in the roasting tray? Get that onto the stove top on medium heat. Add the beef stock leaving behind just a little for the slurry! Stir and let it simmer to a thick gravy consistency. Add the Maizena into the remaining bit of stock and use a spoon to mix it into a smooth slurry. Pour it into the gravy and remove from heat once the gravy is a thick smooth consistency.
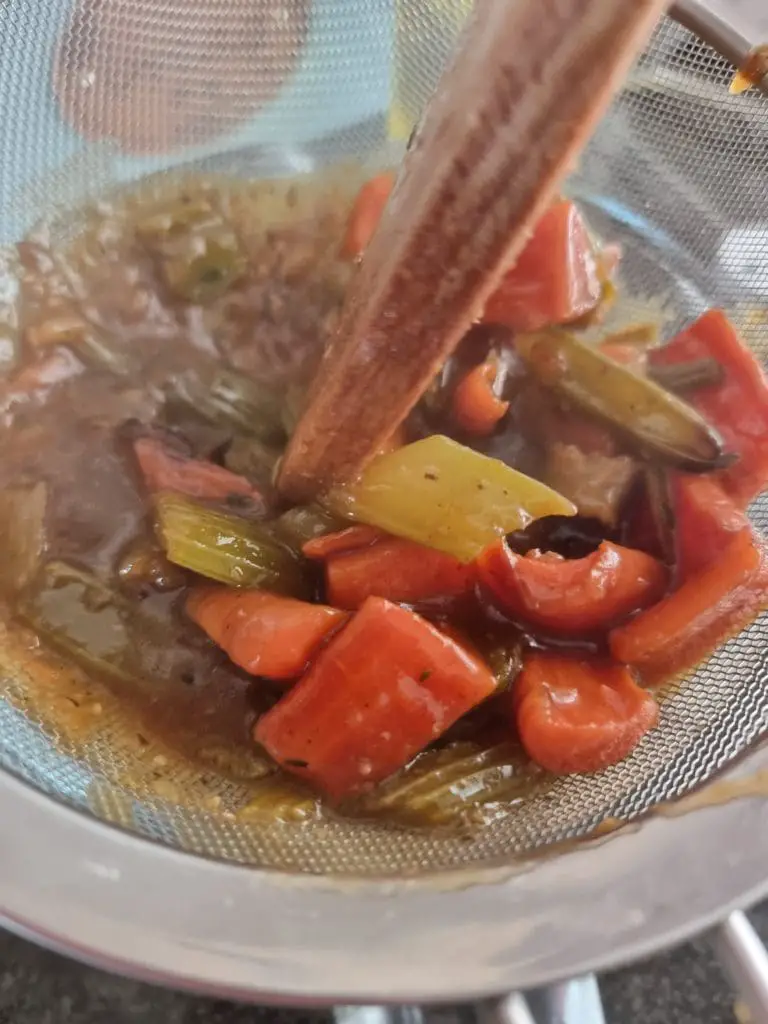
Pour through a sieve and serve with the potato, carrot bake, peas and topside roast.
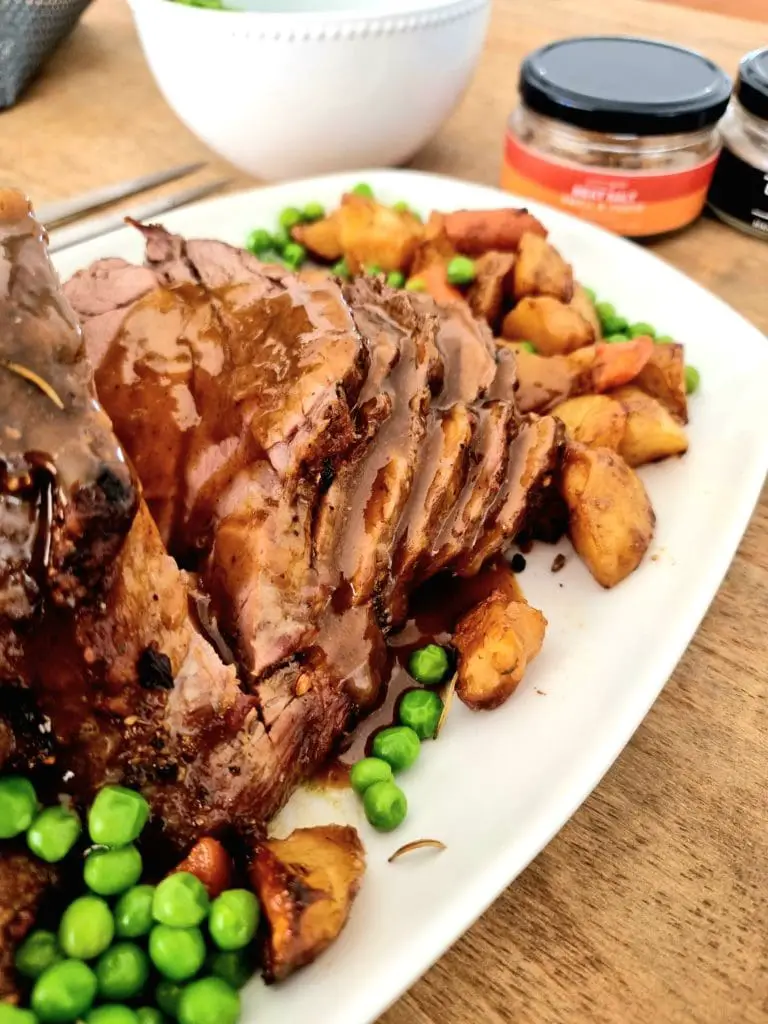
Serving
It goes without saying that roast meat goes with roast potatoes so that's a wonderful place to start. I must admit that we don't always have roast potatoes with a meat roast sometimes we opt for a Mashed Potato and Peas or this topside meat roast where the potatoes and carrots were not only good for a gravy but as a side dish too! That and peas which added an extra layer of textured food and a nice pop of color (and my husband loves peas!)
Roast Dinner Recipes
Topside Roast Beef With Vegetables and Gravy
- Total Time: 1 hour 40 minutes
- Yield: 6 people 1x
Description
There are a few dishes to beat a meat roast for dinner or a Sunday lunch and it's easy to see why. This topside roast beef is easy to make and has loads of comfort with every forkful!
Ingredients
Roast Beef
- make sure your roasting tray and oven and stove top proof as we will be using both.
- 1.5 topside of beef (about 6 people serving)
- 2 Tsps. meat salt Smell and Taste
- 3 Tbsps. olive oil
Veg Base or Potato Trivet
- 2 celery stems (roughly chopped)
- 3 carrots (rinsed and roughly chopped no need to peel)
- 4 potatoes rinsed and chopped into smaller pieces
Gravy
- 1 Tbsp. Maizena or flour
- 5 Tbsps. dash of water to make a thin paste or slurry with the maizena (or use 5 tablespoons of water)
- Veggies and juices from the roasted beef (leave them in the pan when you remove the roast to rest_
- 2 Tsps. Beef stock powder
- 2 ¼ cups water
- Taste for salt and pepper (optional)
Instructions
- Preheat the oven to 180 degrees C.
- Clean and chop the vegetables and add into the roasting tray.
- Pour the meat salt onto a small plate or bowl and pour the oil in. Make a paste that's not too thick so add oil if necessary. Rub onto the meat roast, place the meat over the vegetables and bake uncovered for 20 minutes.
- Lower the heat to 160 and continue roasting for another 35 minutes.
- Mix the Maizena with the dash of water and set aside. Add the stock powder into a jug, pour in the water, mix.
- Remove the meat from the oven, place on a separate plate and rest covered for 20 to 30 minutes.
Gravy
- Place the oven tray over the stove top and bring to a medium simmer, carefully add the maizena slurry while mixing it into the veggies and pan juices. Now carefully pour in the stock powder and water mix a little at a time depending on how much gravy you want. Taste for salt and pepper. Pour through a sift/colander keeping back the veggies, keep the aside in a jug.
- Serve up with the veggies! No use tossing them out because they're cooked tender and loaded with flavor. Optional (what I do) Keep the oven on after removing roast to rest. Make the gravy, put through a sieve/sift, toss the veggies back into the roasting tray, drizzle a bit of olive oil, turn the heat up to 220 and place the veggies back in the oven for 5 minutes or so to brown just slightly.
- Prep Time: 20 minutes
- Cook Time: 1 hour
- Category: Roast Dinner
Nutrition
- Calories: 202
- Sugar: 3
- Sodium: 472
- Fat: 8
- Saturated Fat: 1
- Carbohydrates: 30
- Fiber: 4
- Protein: 4
- Cholesterol: 1







Comments
No Comments