This easy no-knead bread recipe is persistently on repeat in our home! It has the best crunchy crust and soft inside. I've shared so many tips and suggestions in this post, I'm sure you will find it helpful.
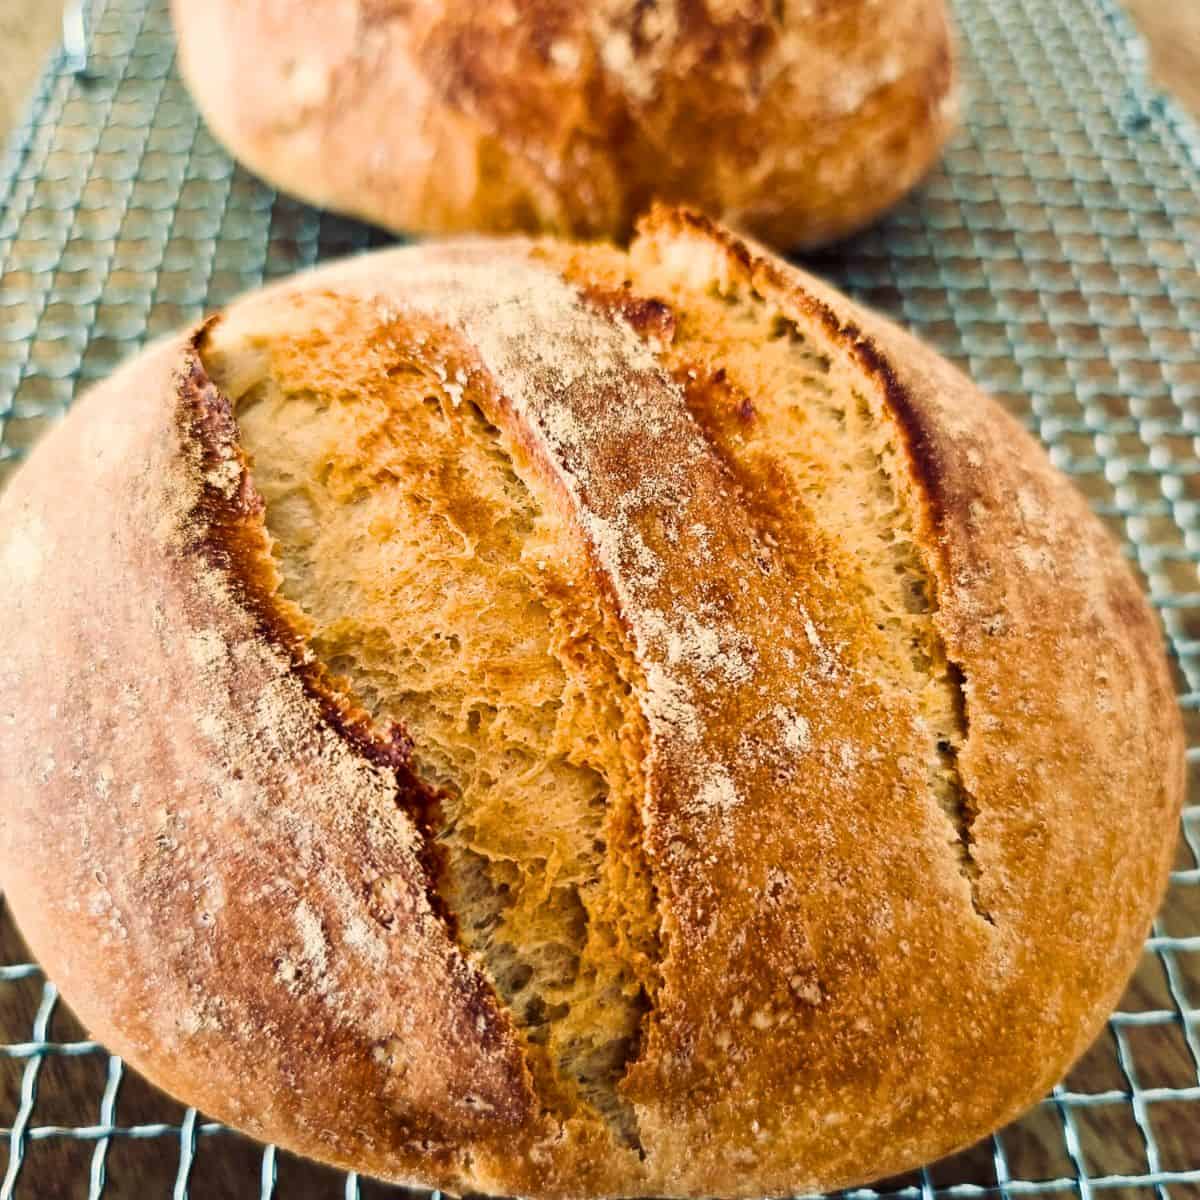
Easy Bread Recipe
You can find all types of bread at your grocery store from keto, ciabatta and special whole grain bread, but there is nothing quite like homemade.
If you don't yet make your own bread, you are in for a pleasant delicious surprise because not only is it easy, it's also dependable.
I don't always make my own bread unless it's during the winter months when my brain doesn't function without comfort food! But during the warmer months, not really because I'm trying to make up for the winter by focusing on healthier recipes 🙂
The paradox of life 🙂
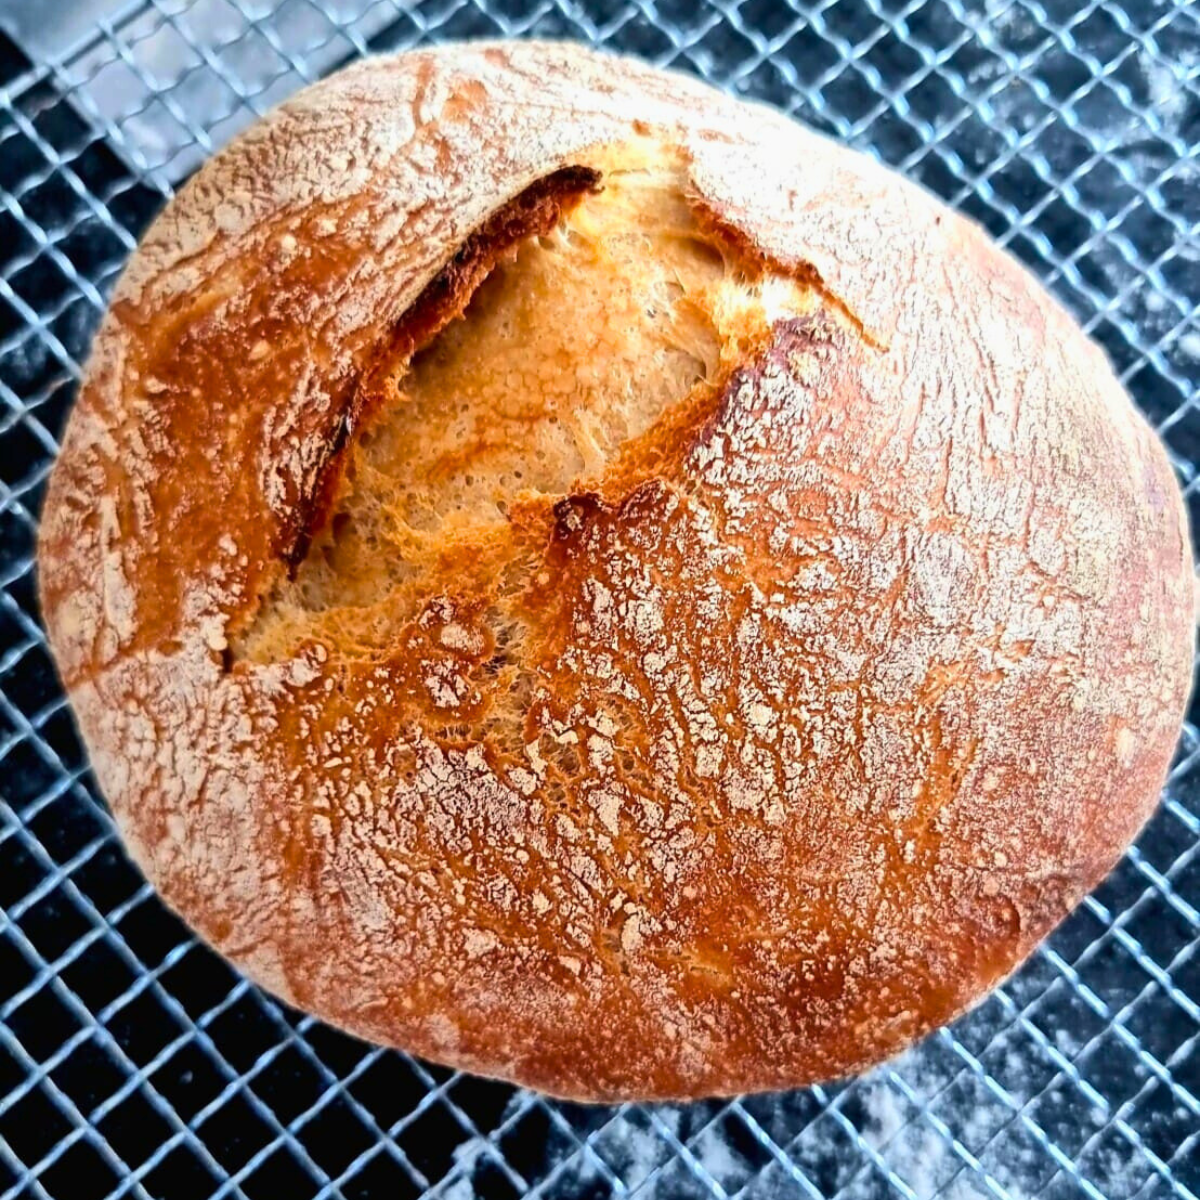
In this post, you will learn how to make bread by hand or a stand mixer and oven bake it in a Dutch oven or on a baking tray. My bread baking recipes are always inspired by each other! What starts with one loaf leads to pizza like The Easiest Pizza Base Recipe and my Homemade Ciabatta Bread and Naan.
Why You Should Make This Easy No-Knead Bread
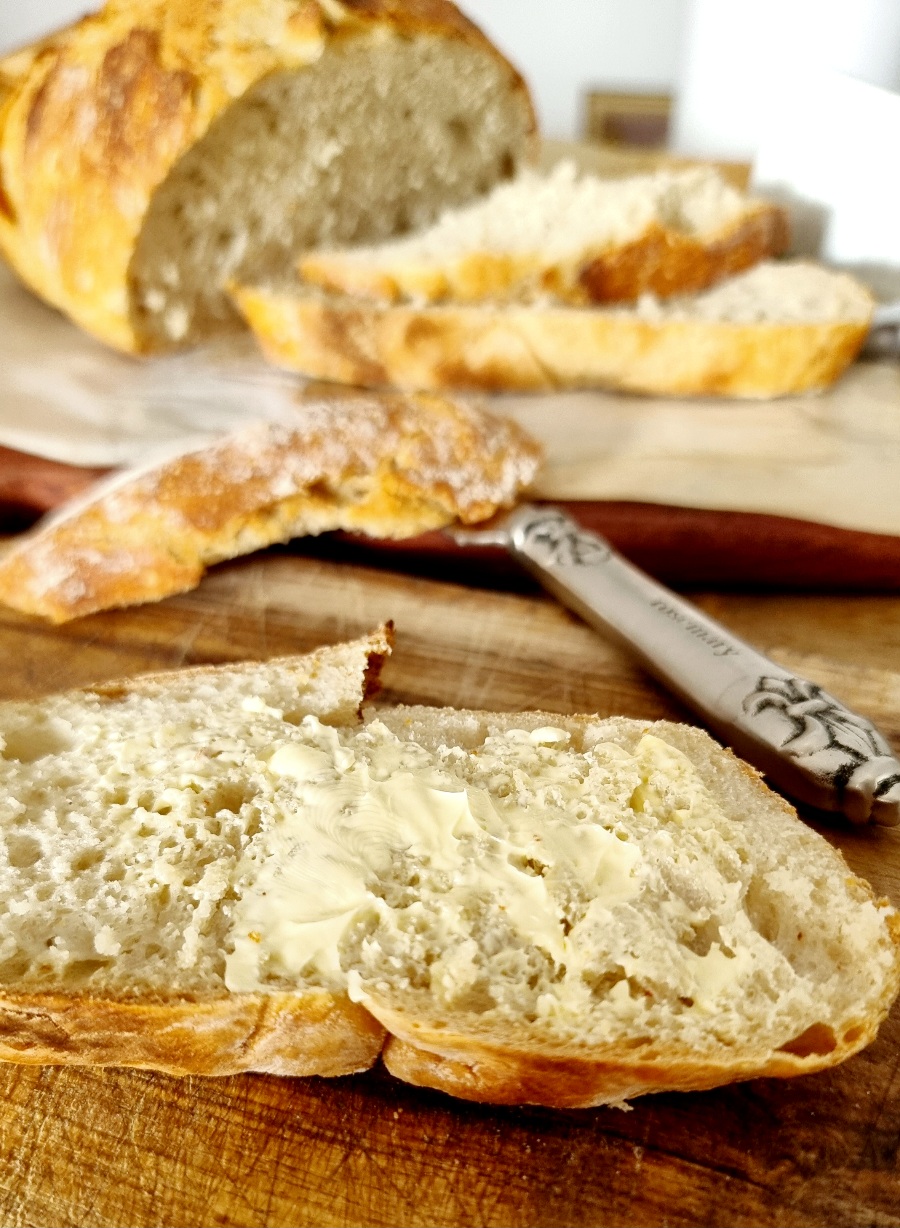
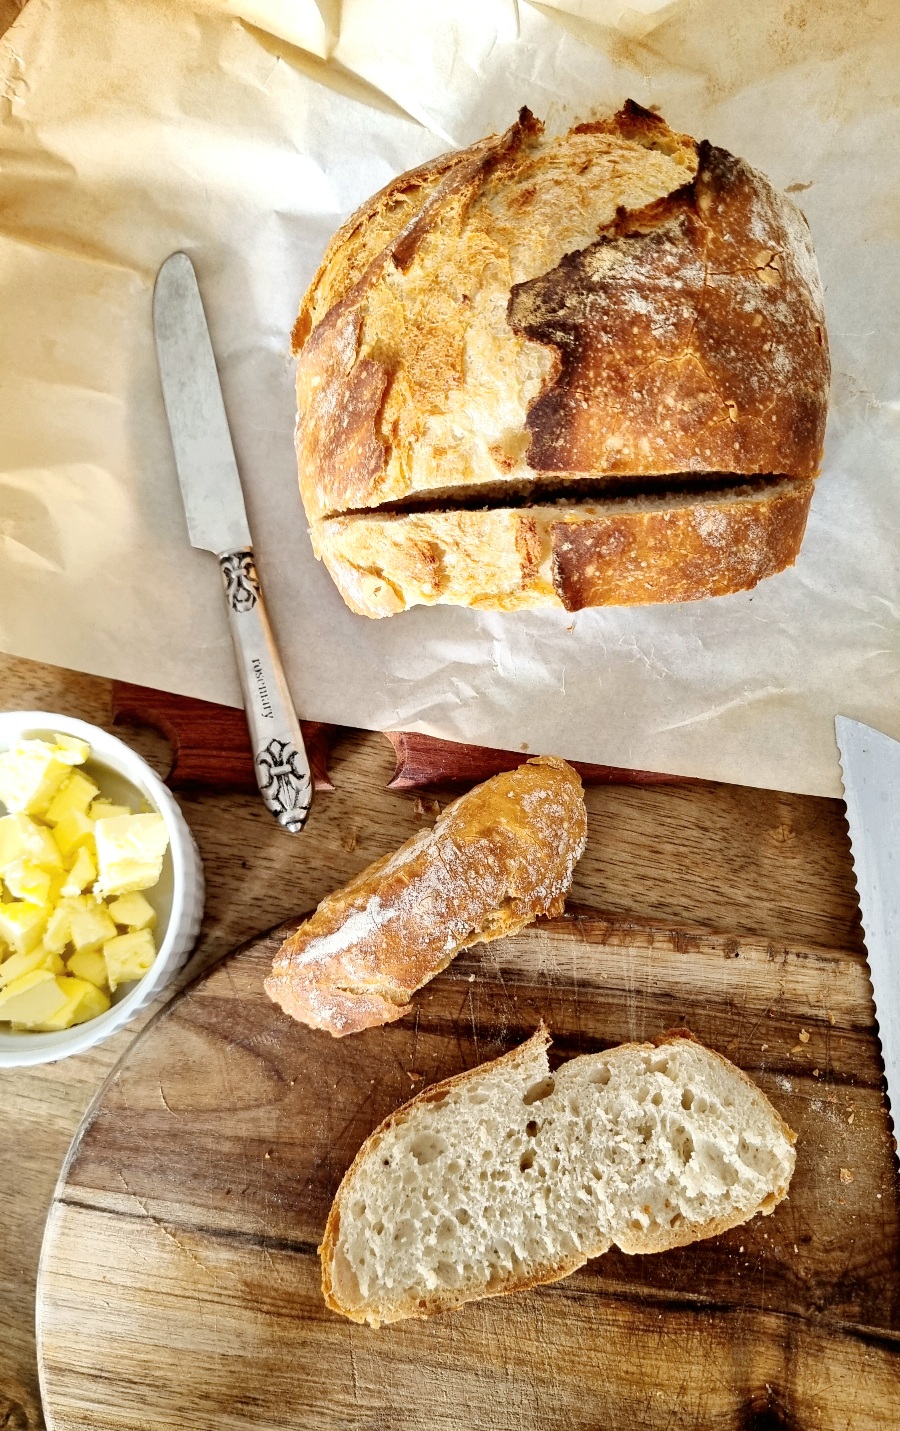
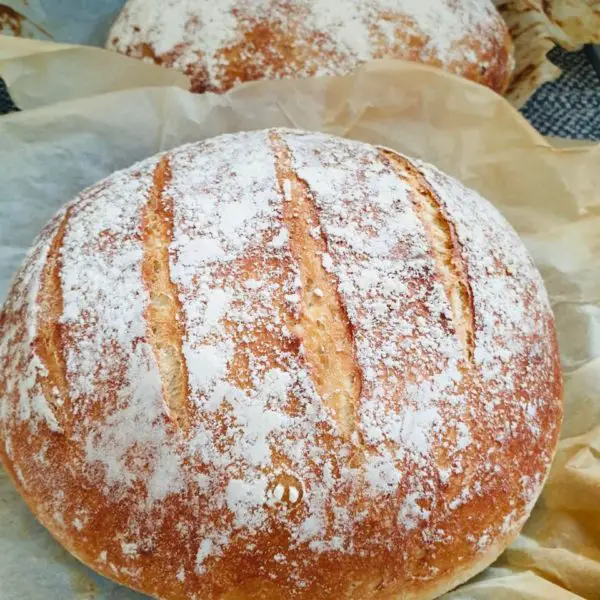
Easy - And there's no kneading to be done but the beauty is, that if you do want to knead as you bring the dough together, you can, it will not compromise the success of the recipe. You'll just end up with a tighter crumb rather than larger holes in the bread.
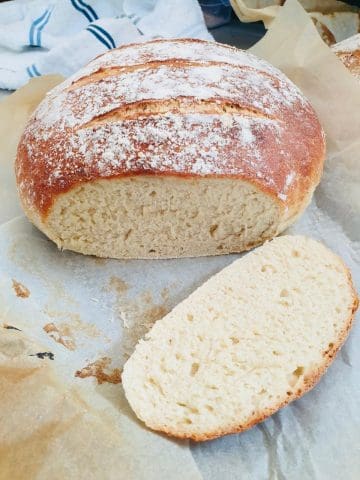
Tight crumb loaf in the image above!
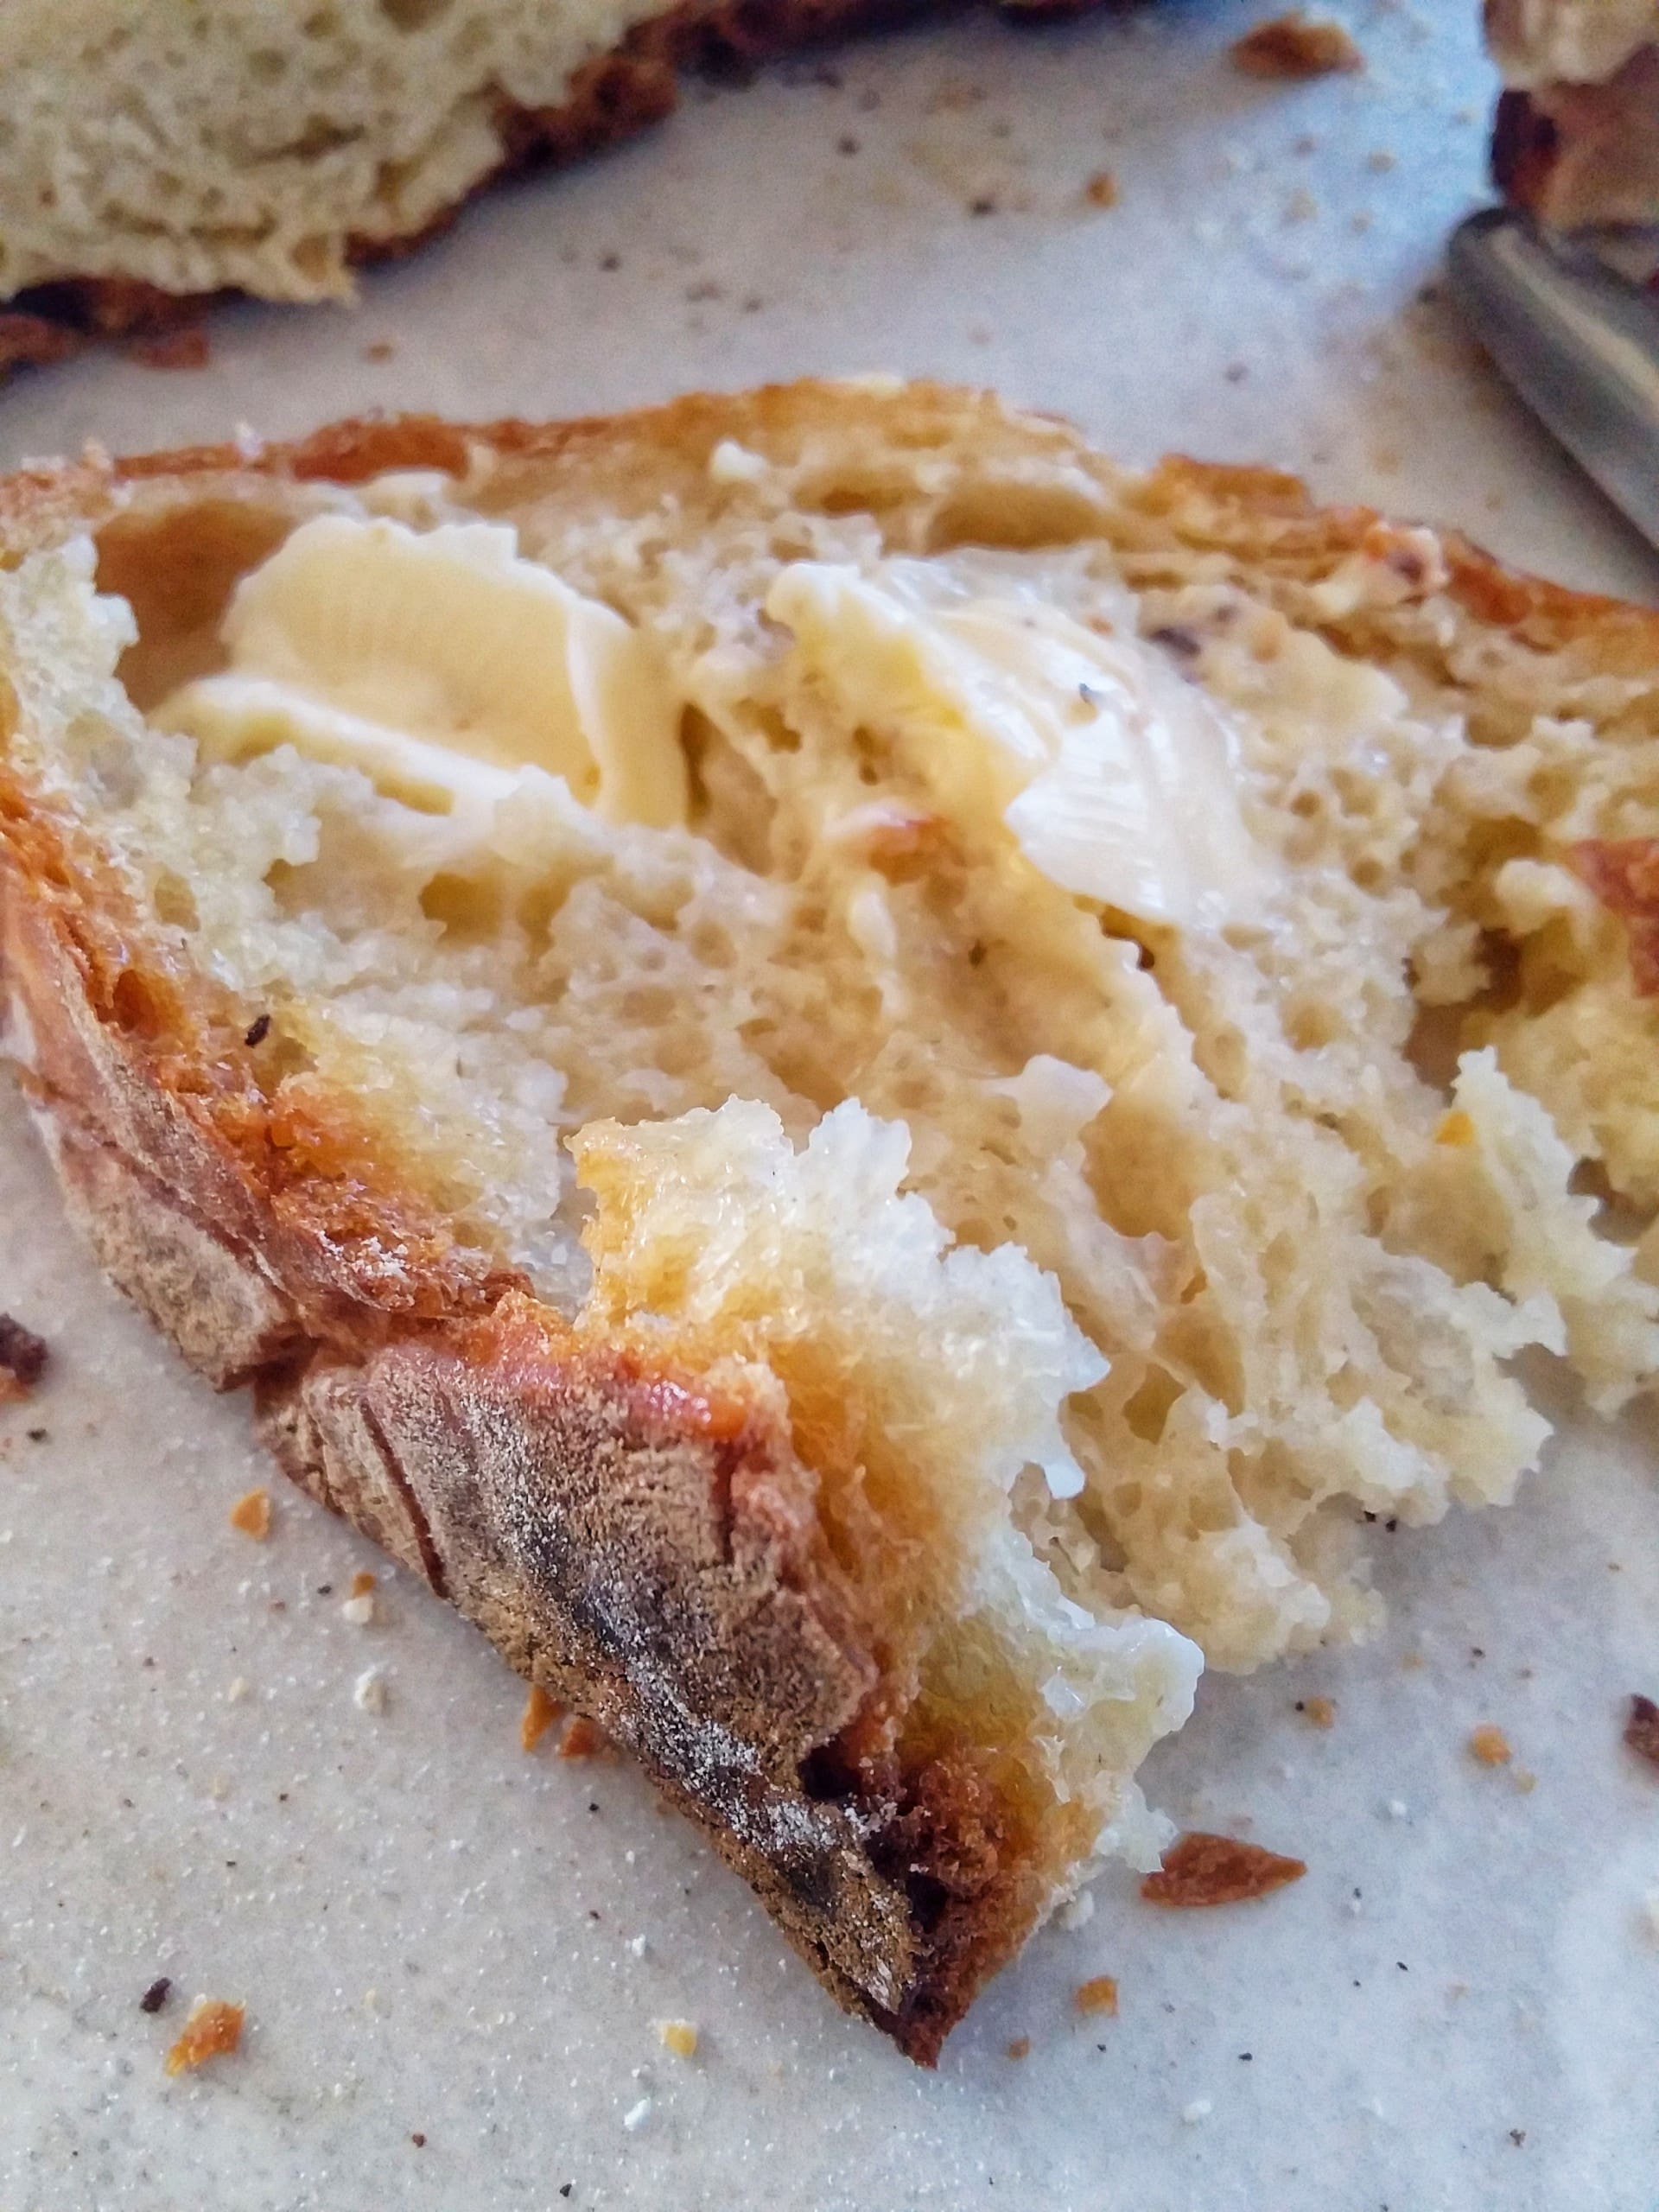
Below - Larger holes - no kneading!
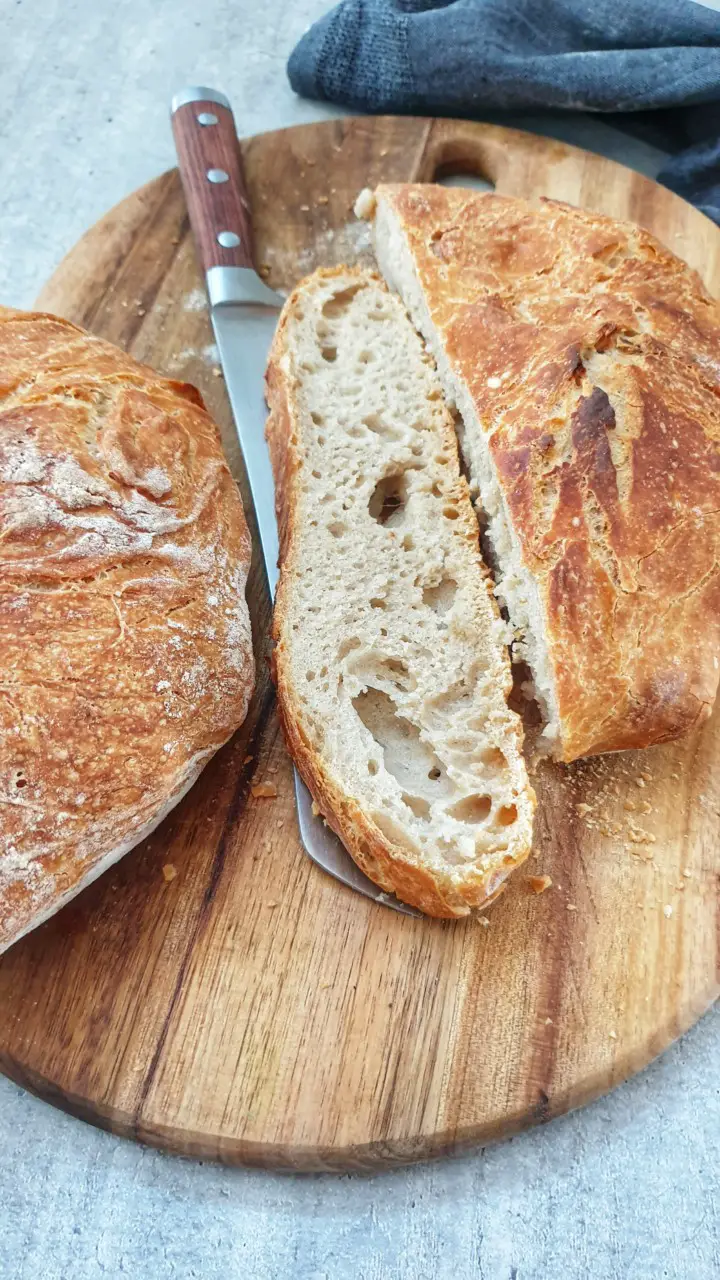
You can make it in a bowl, on a stone, countertop or stand mixer. Whatever works for you
Another benefit - If you're not ready to bake it when it rises, you can leave it and bake hours later. I've kept the dough in the fridge for 2 nights. Convenient and the the flavors have time to develop!
Ingredients
These are the ingredients that you will need to make this recipe, including water!
Four ingredients:
- Flour
- Salt
- Yeast
- Water
Flour: You can use cake flour. In South Africa it's the most commonly used flour. AP (All Purpose Flour) is what you will see on a lot of recipes, however, it's not that easy to find in SA and when you do, you'll probably pay an arm and a leg for it!
Which flour is best?
Cake flour produces a light and fluffy texture so its wonderful for foods like pancakes and cakes etc. For bread, it will give you a very soft and fluffy bread, no problem.
My bread recipes use cake flour, bread flour and pure rye flour. If, you like a more rustic textured loaf, you can combine bread flour and cake flour. Bread flour has more protein in which means more gluten which produces a more chewy bread with those nice big holes you see. It really depends on what you prefer. For me I have to combine the flours or make different loaves because we have different preferences for the texture.
Salt: Always for balance and taste unless you don't take salt.
Yeast: Yeast is the rising agent needed to make the dough rise. A lot of recipes might call for sugar because sugar or honey helps feed the yeast but this recipe doesn't call for any sweetener. Make sure your yeast is fresh, if you bake all the time then you know how to test your yeast but for those who don't, do this:
Yeast Proofing:
In a ½ cup of lukewarm water (warm to the touch), add 1 teaspoon of yeast.
Set aside and wait 5 to 10 to minutes. If the yeast gets a frothy creamy surface, you have active yeasts and can use it, otherwise, toss it and start again.
if your yeast is active you won't have to wait thr full 10 minutes, you will start to see a change happening after 5 minutes.
Water: The water is necessary for the yeast (yeast fermentation) and for the dough to obtain a dough consistency.
Here's how To Make Easy No Knead Bread
We make so much bread so whatever I share in this post is a result of tried and tested 100 x over!
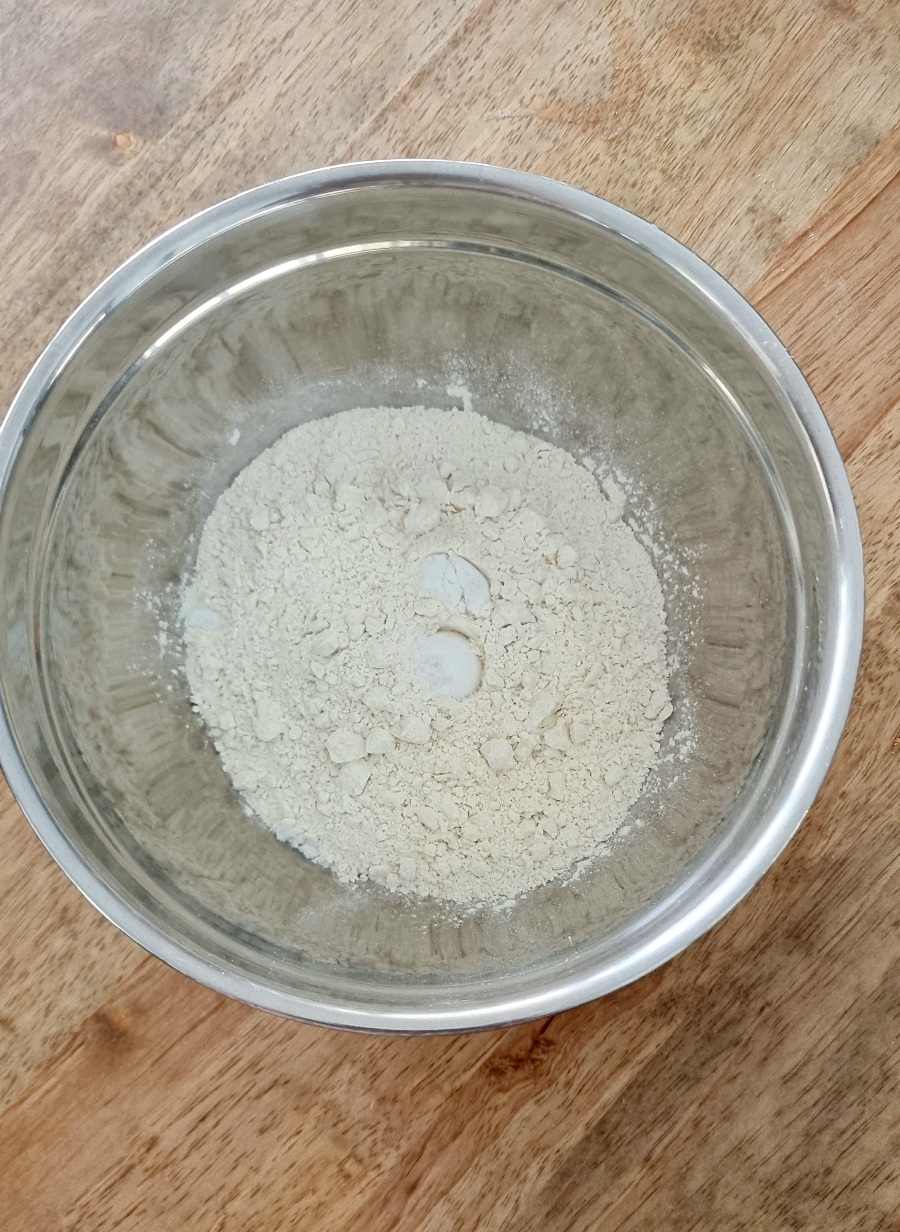
Add the flour and salt into a bowl. Whisk/mix together.
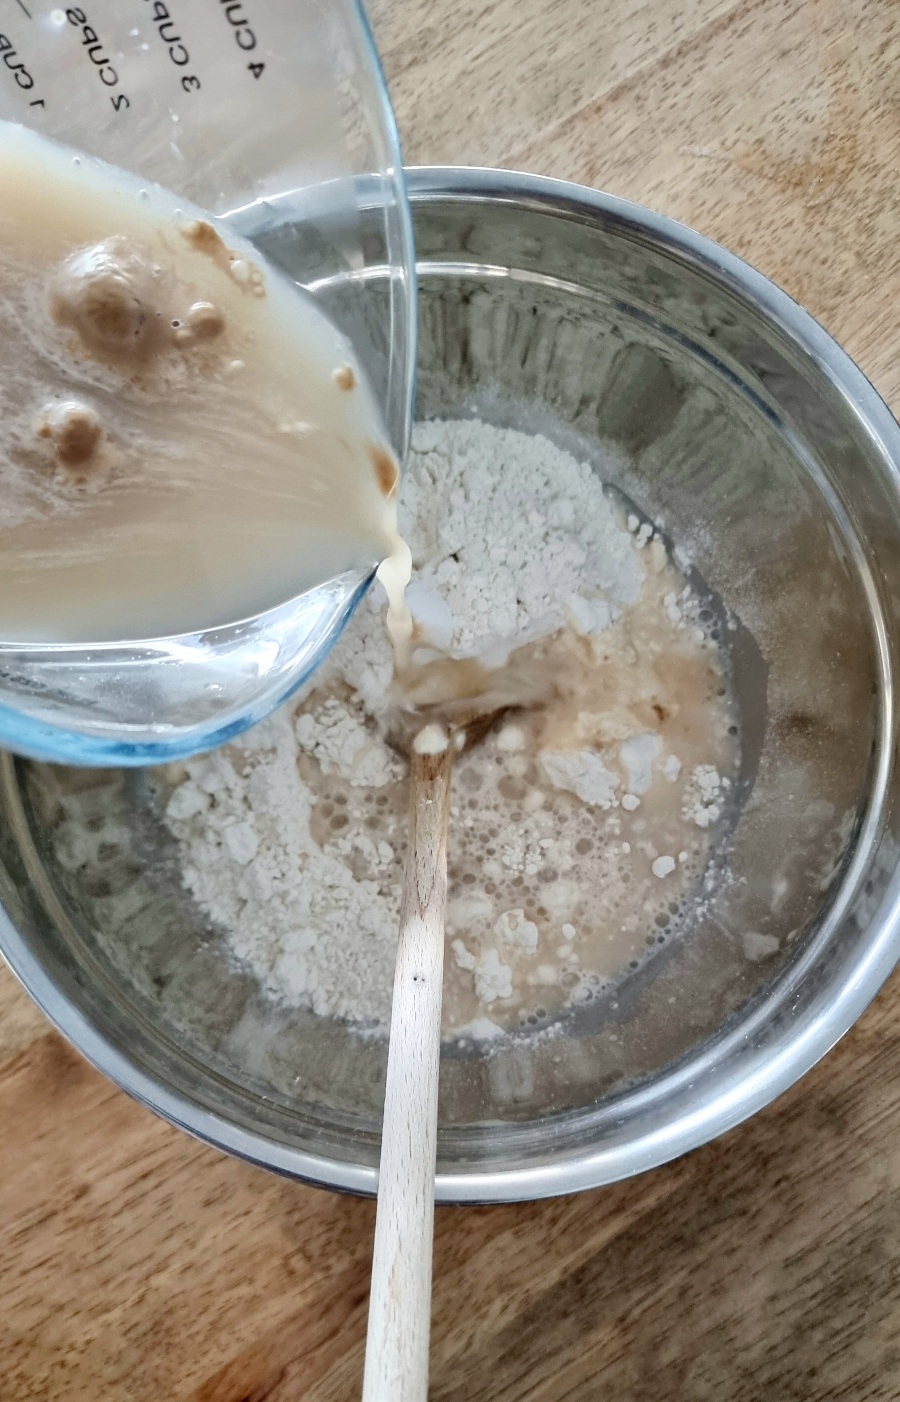
Pour the proofed yeast and warm water into the bowl.
Or add the yeast directly into the flour and salt followed by the warm water. Both methods work.
Mix together with a spoon. This takes about 2 minutes just until the flour is incorporated into a wet dough.
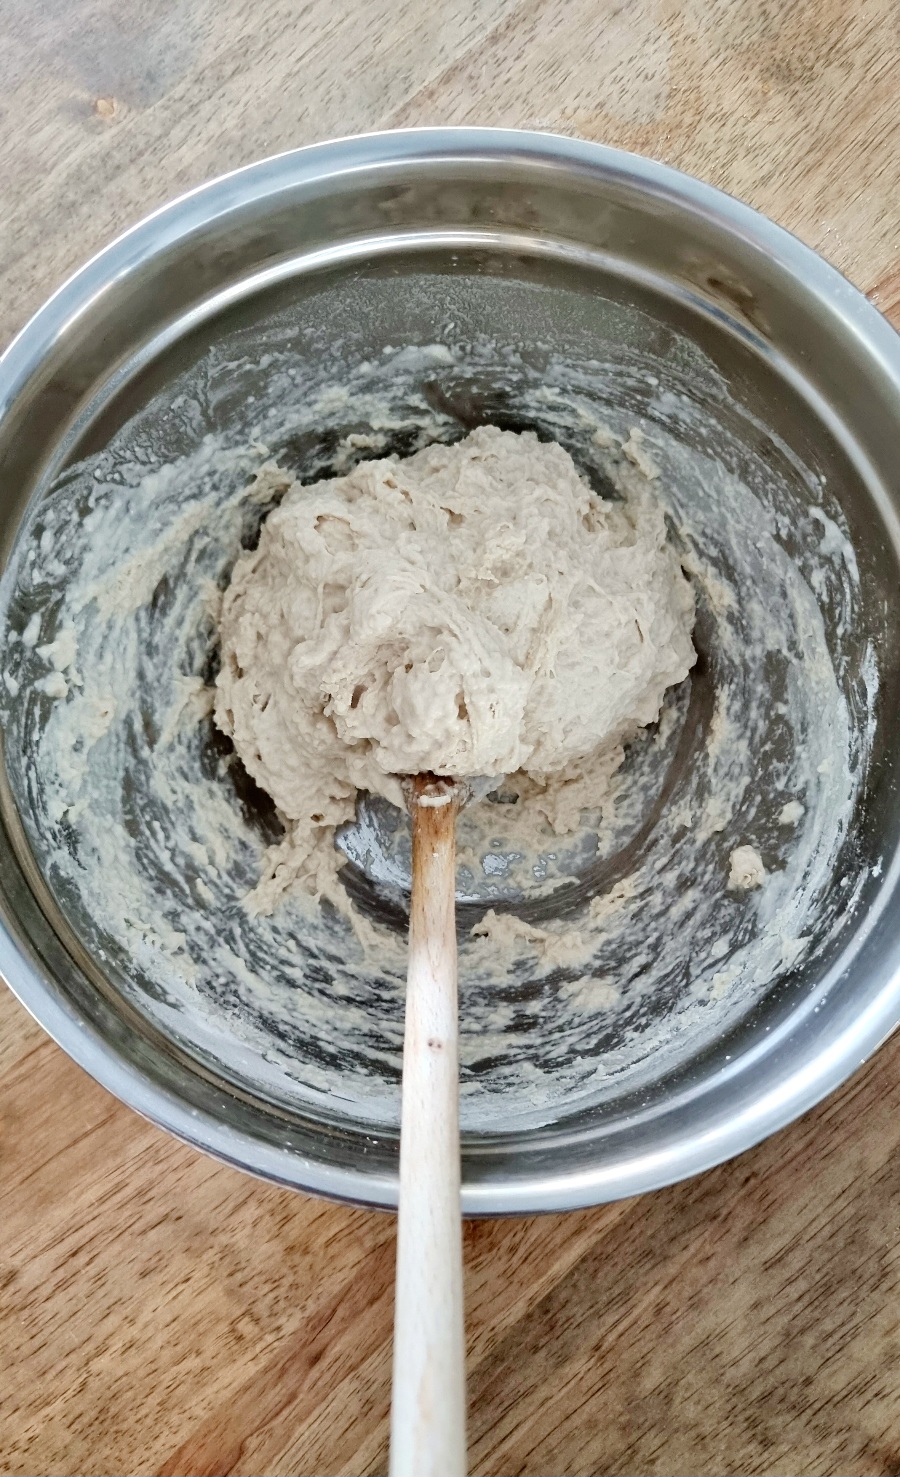
Cover with cling wrap and set aside until double size, about 2 hours.
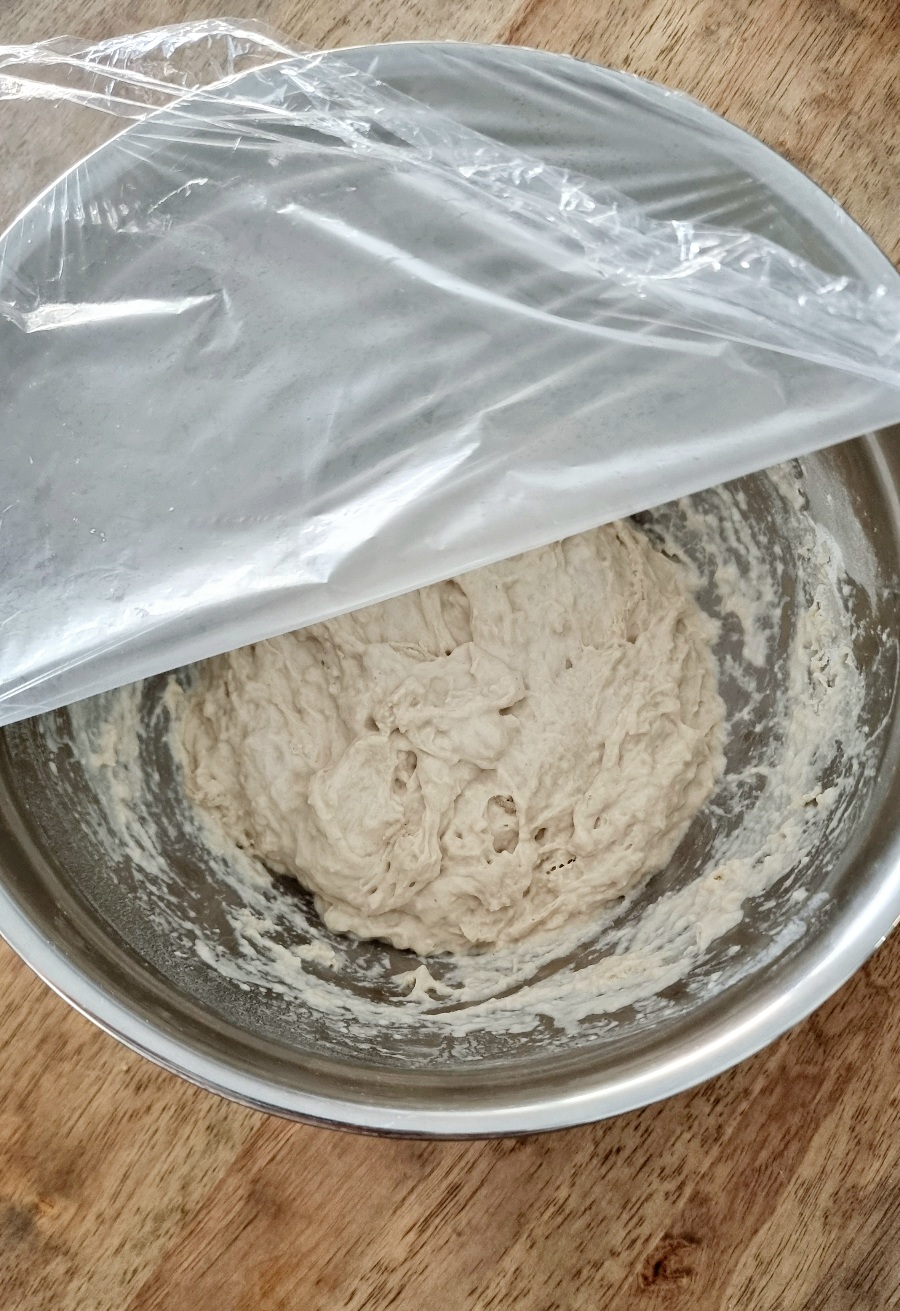
At this point, you can choose to either bake the bread after the rising time, or leave it in the fridge overnight.
This photo below, show the dough 3 hours later just before it went into the fridge for the night.
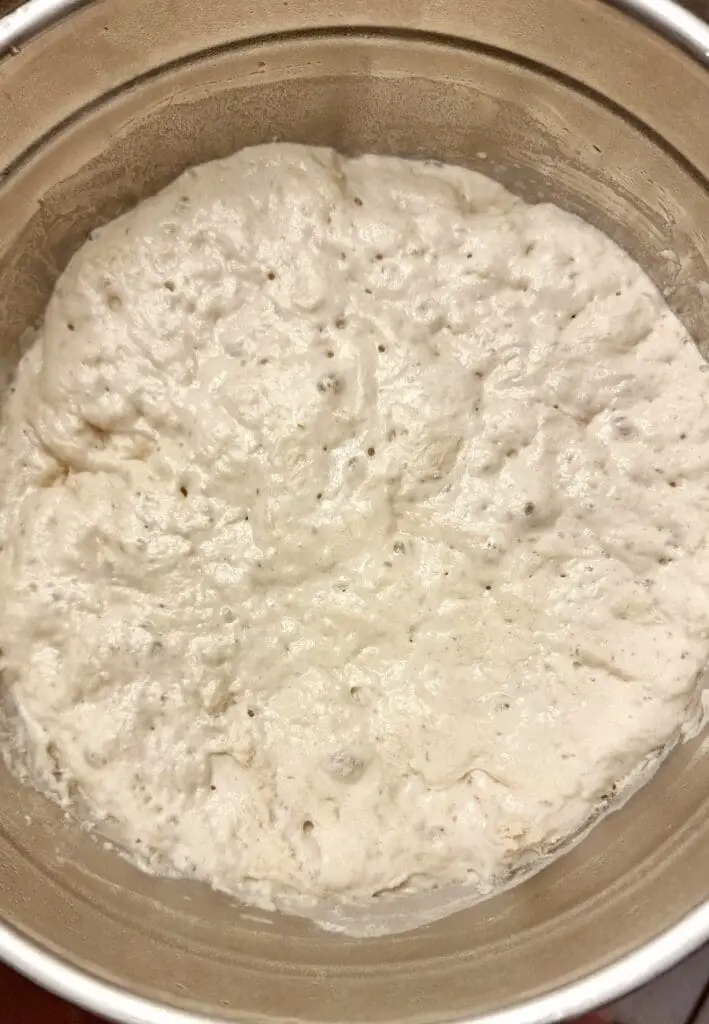
Not much difference in size the nest morning but look at those bubbles
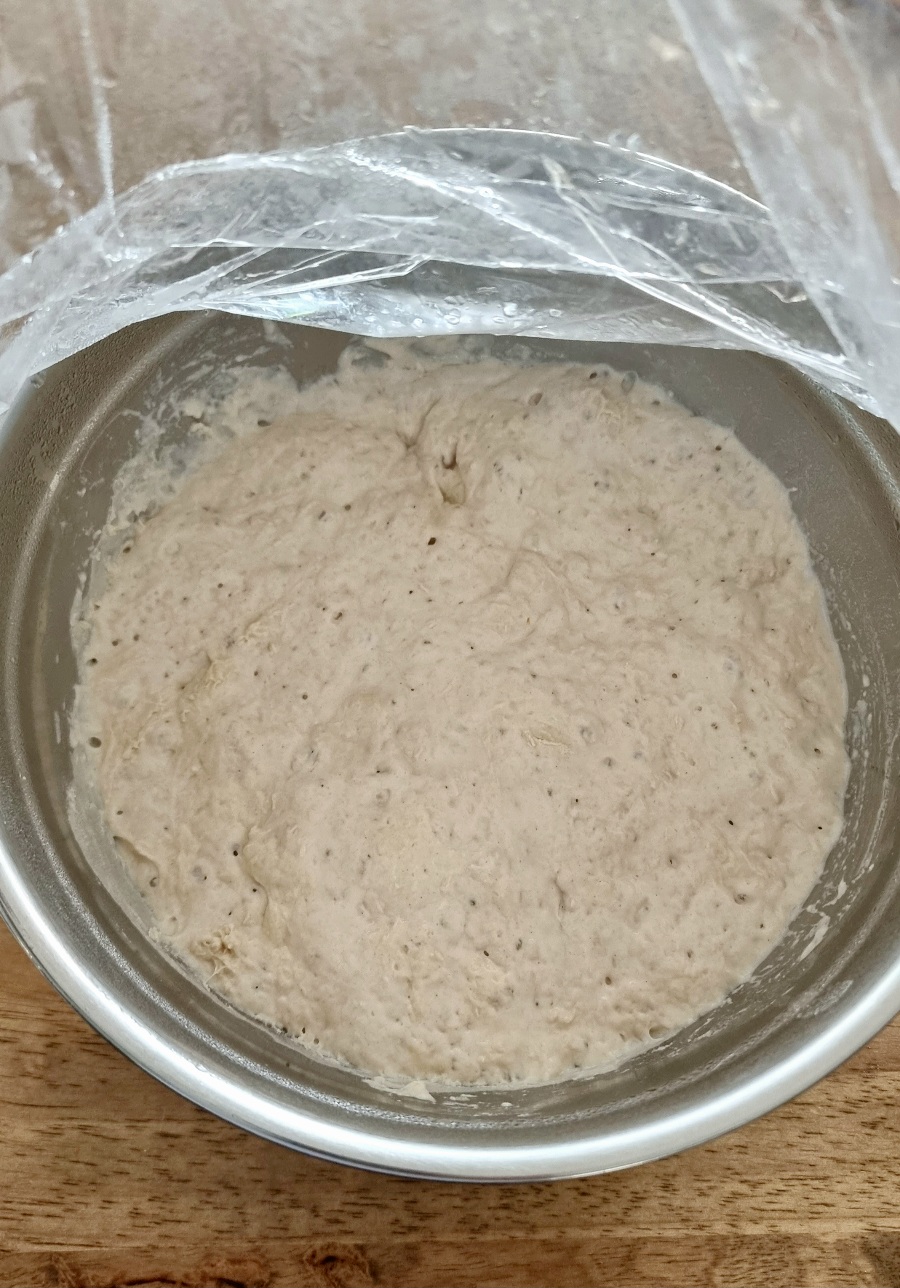
Let the dough reach room temperature on the kitchen counter, while you preheat the oven.
Preheat
Preheat the oven 30 minutes before the rising time ends. If you're rising the dough for 2 hours then an hour and a half into the time start to preheat the oven.
What are you baking the bread in?
Dutch oven? It goes in at the same time as you start to preheat the oven with the lid on.
Baking Tray: If it's an oven tray that can withstand high temperatures then do the same. Preheat it with the oven, same as above point.
Those large oven trays that come with the stove on purchase are usually high temp resistant. I use the same method in my Simple Scones Recipe where the tray is preheated watch the video.
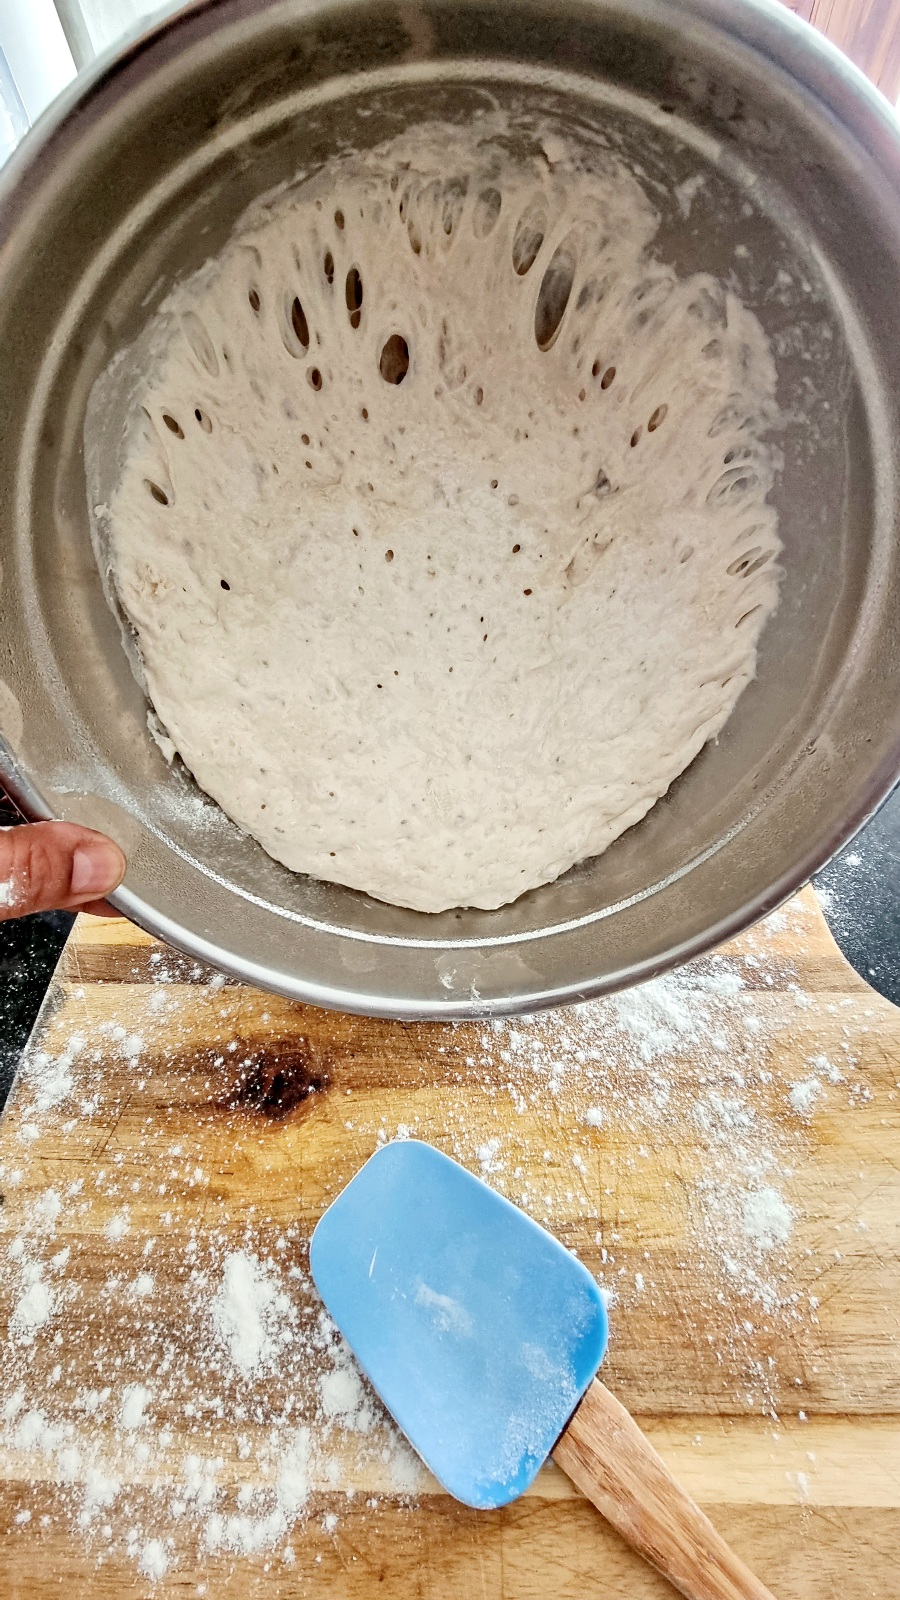
Scrape and Transfer
On the 30 minute mark: Use a wooden spoon or a spatula to scrape the dough out of the bowl onto a lightly floured surface.
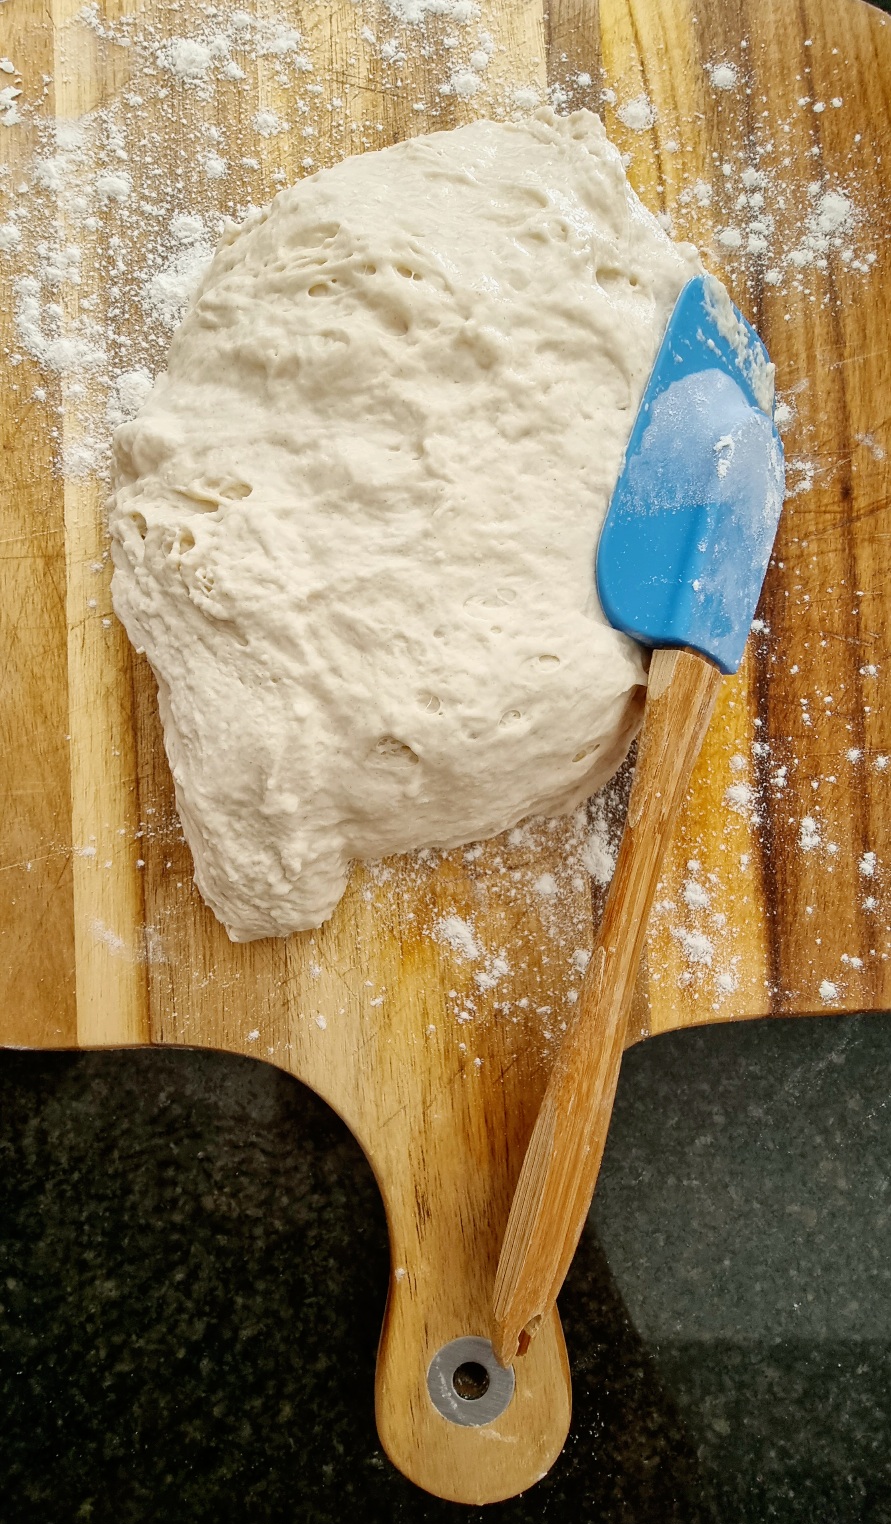
It's best to not use your hands for a more rustic artisan style no knead bread result.
Shape The Dough
You're going to fold the dough in towards itself, in one scoop at a time, trying to make a round shaped loaf. This method is best using a dough scraper, a wide flat wooden spoon or knife (or the same spatula as long as you're not using your hands).
You will not be kneading and there's no need to add flour. Even though the dough seems a little sticky, it probably is and should be.
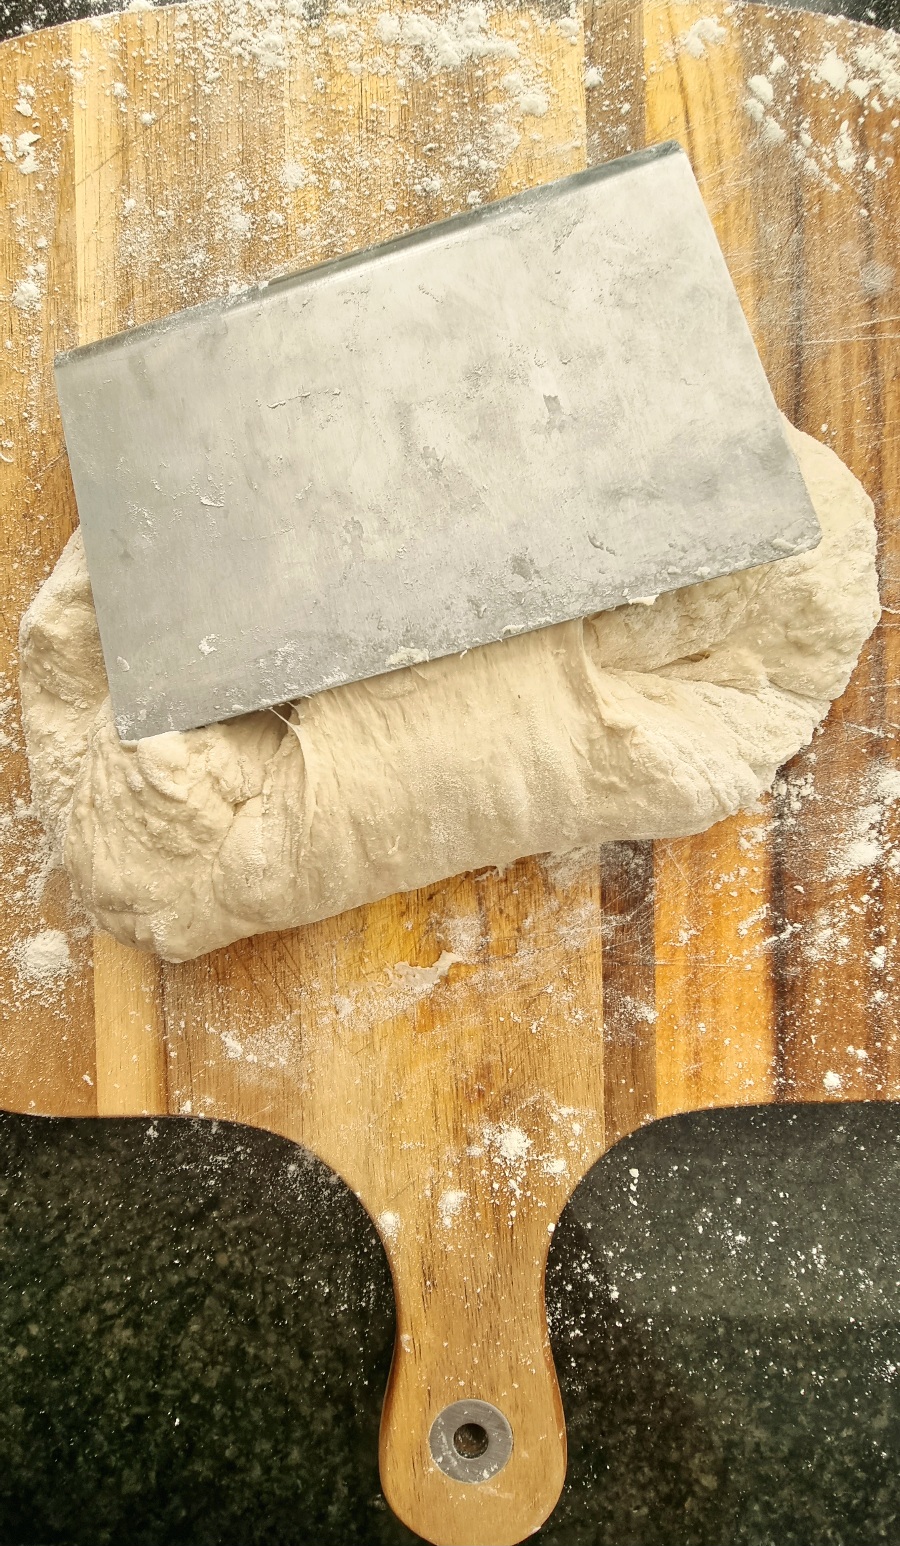
Cut a long sheet of baking (parchment) paper to fit into the pot or on a baking tray. Either way it needs to have long sides for lifting the bread.
Sprinkle a little flour onto the baking paper and topple the dough out directly onto the baking paper.
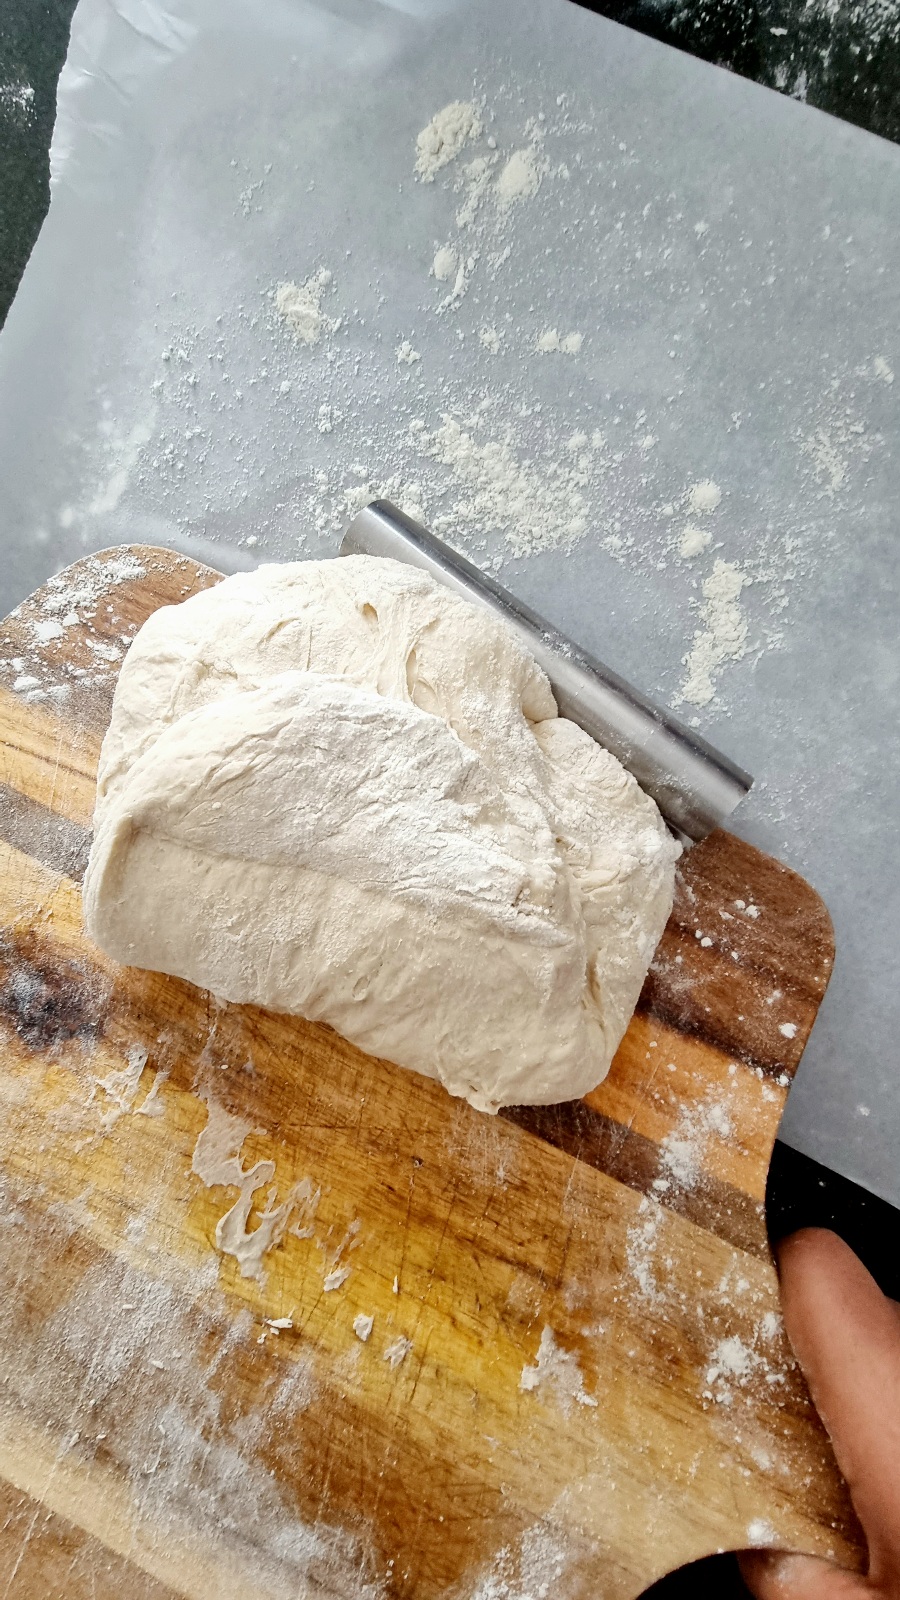
Please don't spend too much time trying to perfect the shape!
You can bake it in a loaf shape if that's what happens when you transfer it from the board to the paper. You can bake it however it falls.
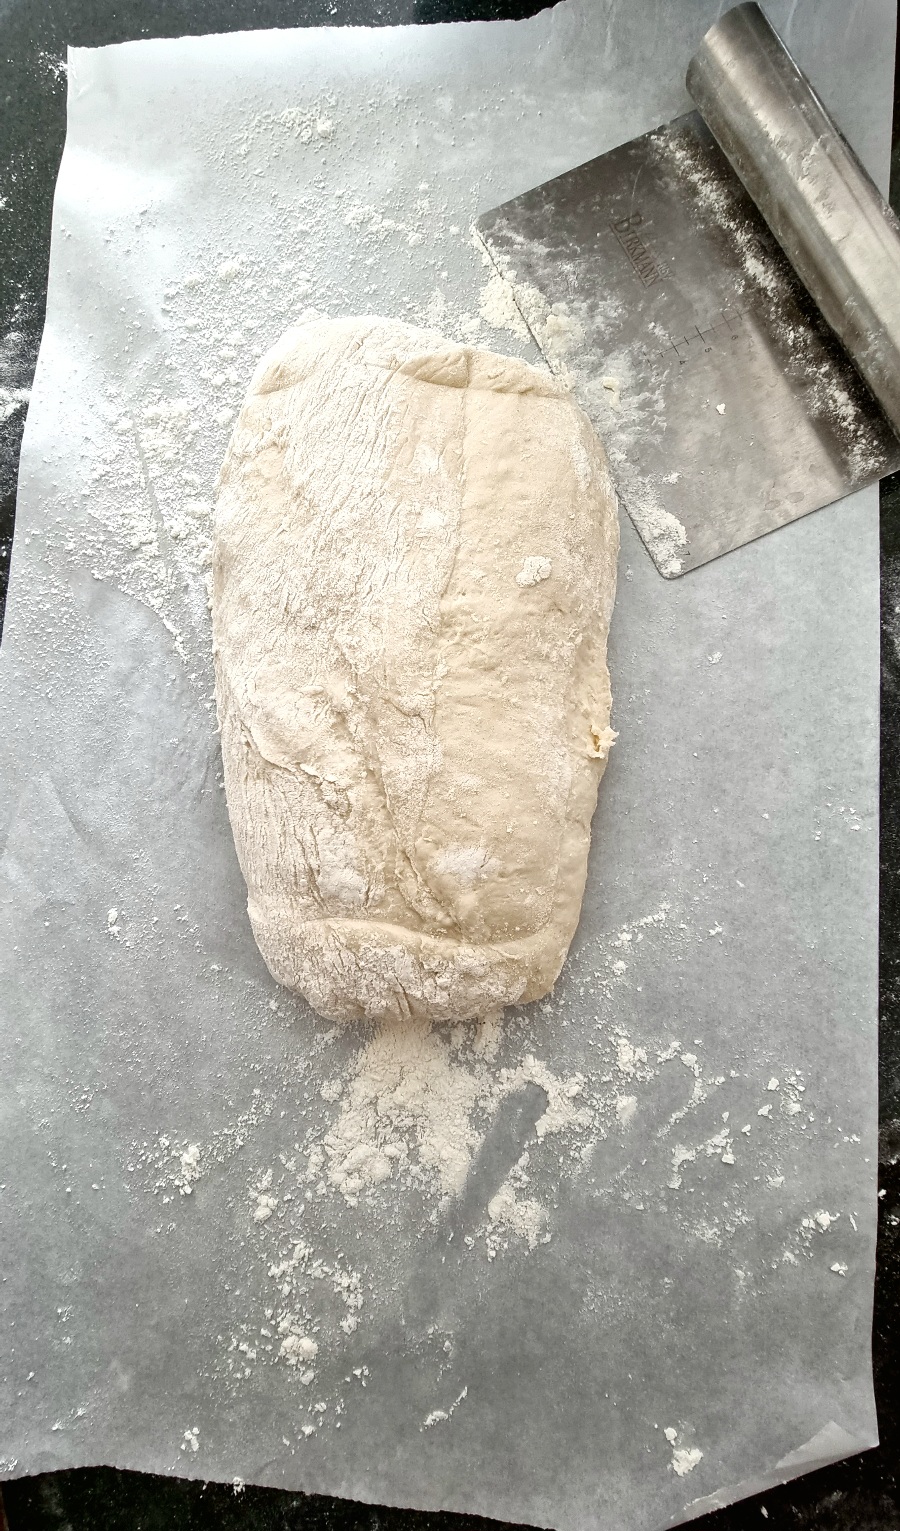
In this recipe, I wanted it round so I did a few more strokes for roundness but nothing perfect!
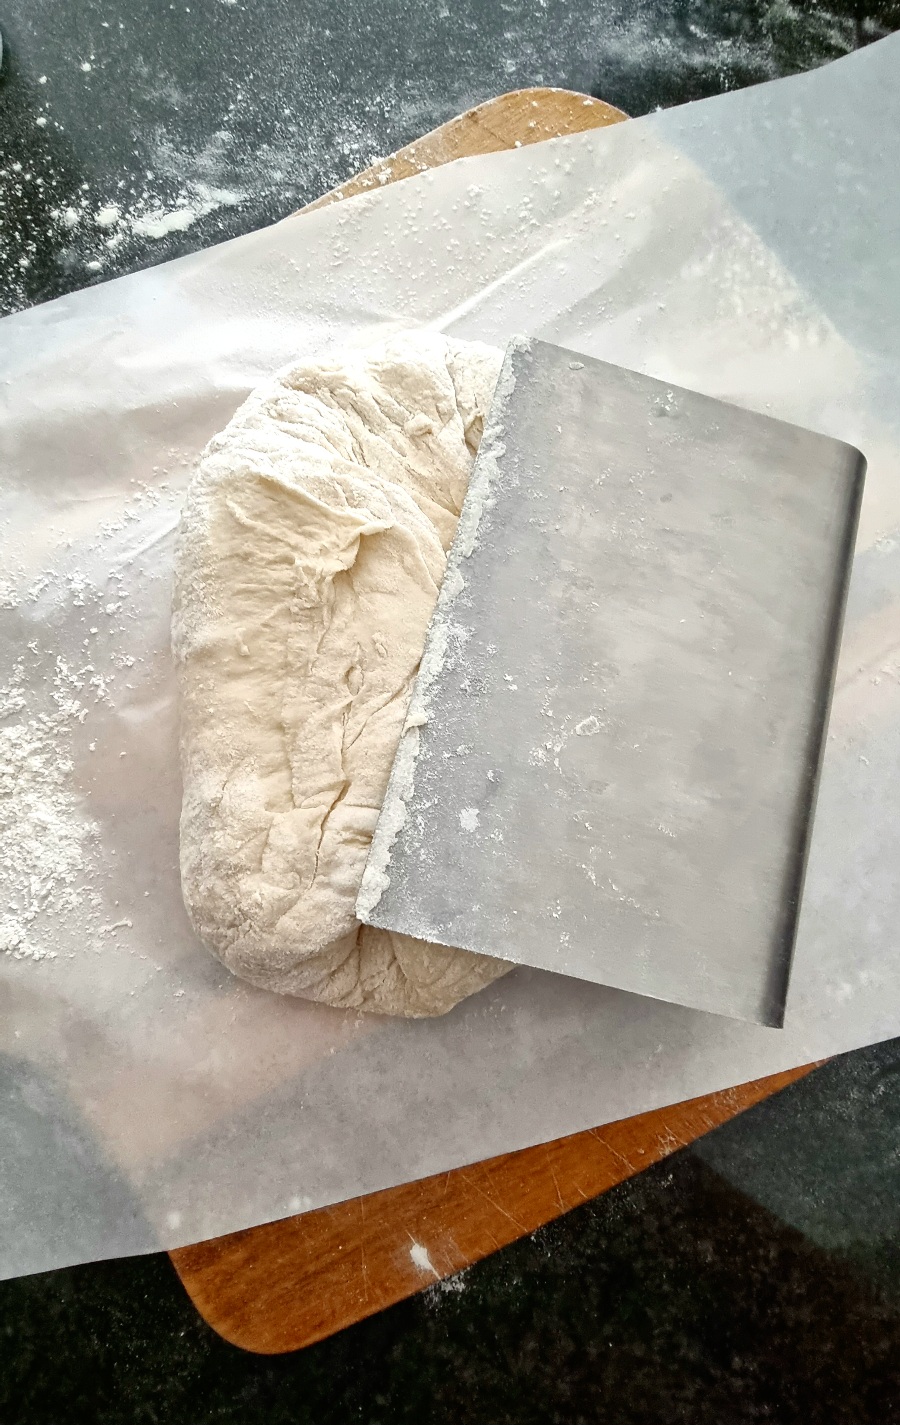
The only difference is that it's turned seam side down because that's how it will be baked.
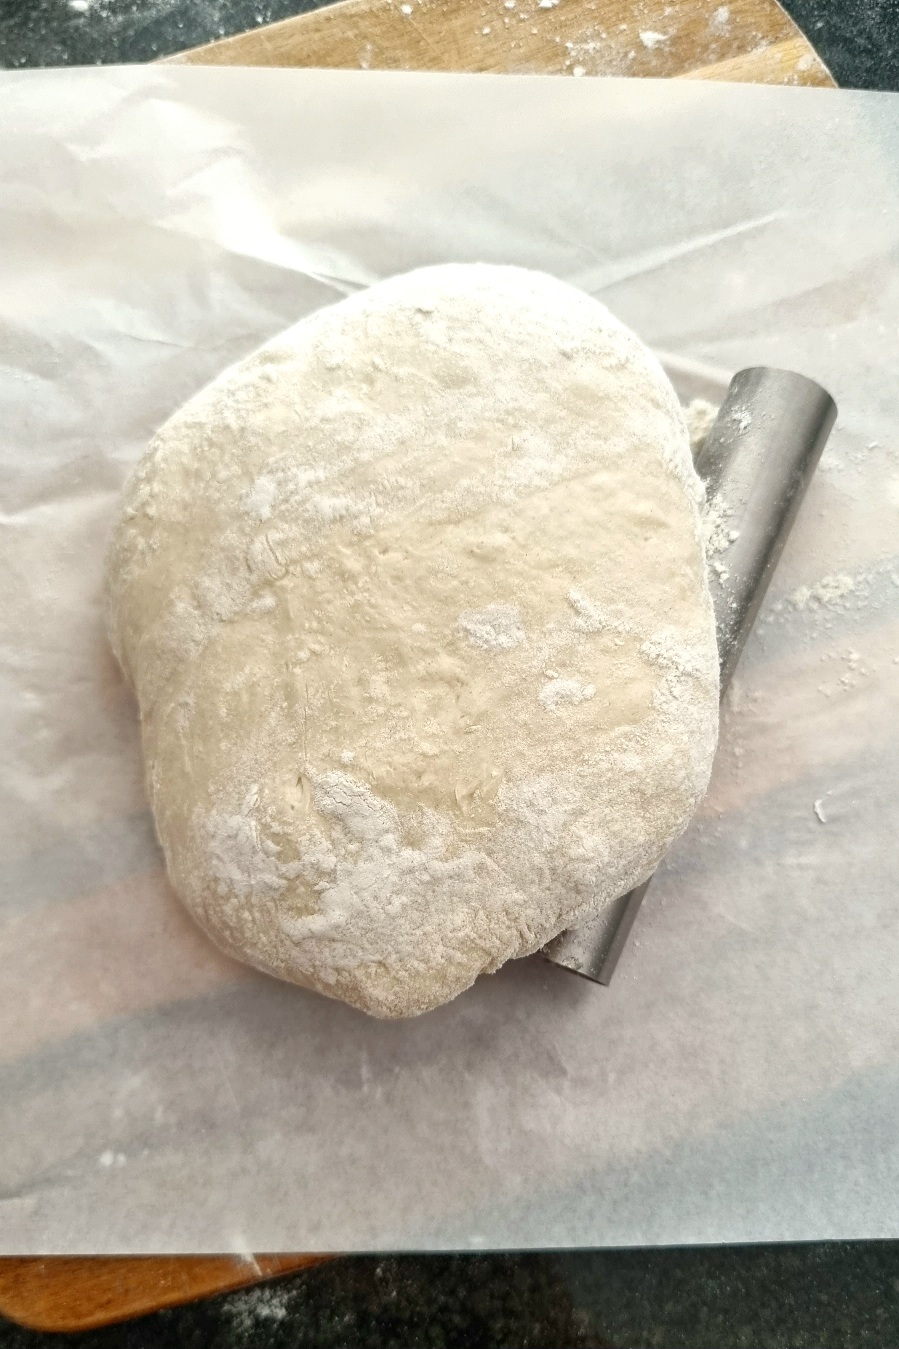
The idea of this bread is to touch as little as possible, that's the great part. It's about you doing very little and the bread doing what it does best. Rising and shaping itself into that rustic crust that we love that's why it's called easy no knead bread.
Would you like to save this?
I'd like to receive tips & recipes from Anosmic Kitchen.
Bake
With the baking paper being quite long on the sides, you can now transfer the bread to a preheated Dutch Oven or a tray as discussed earlier.
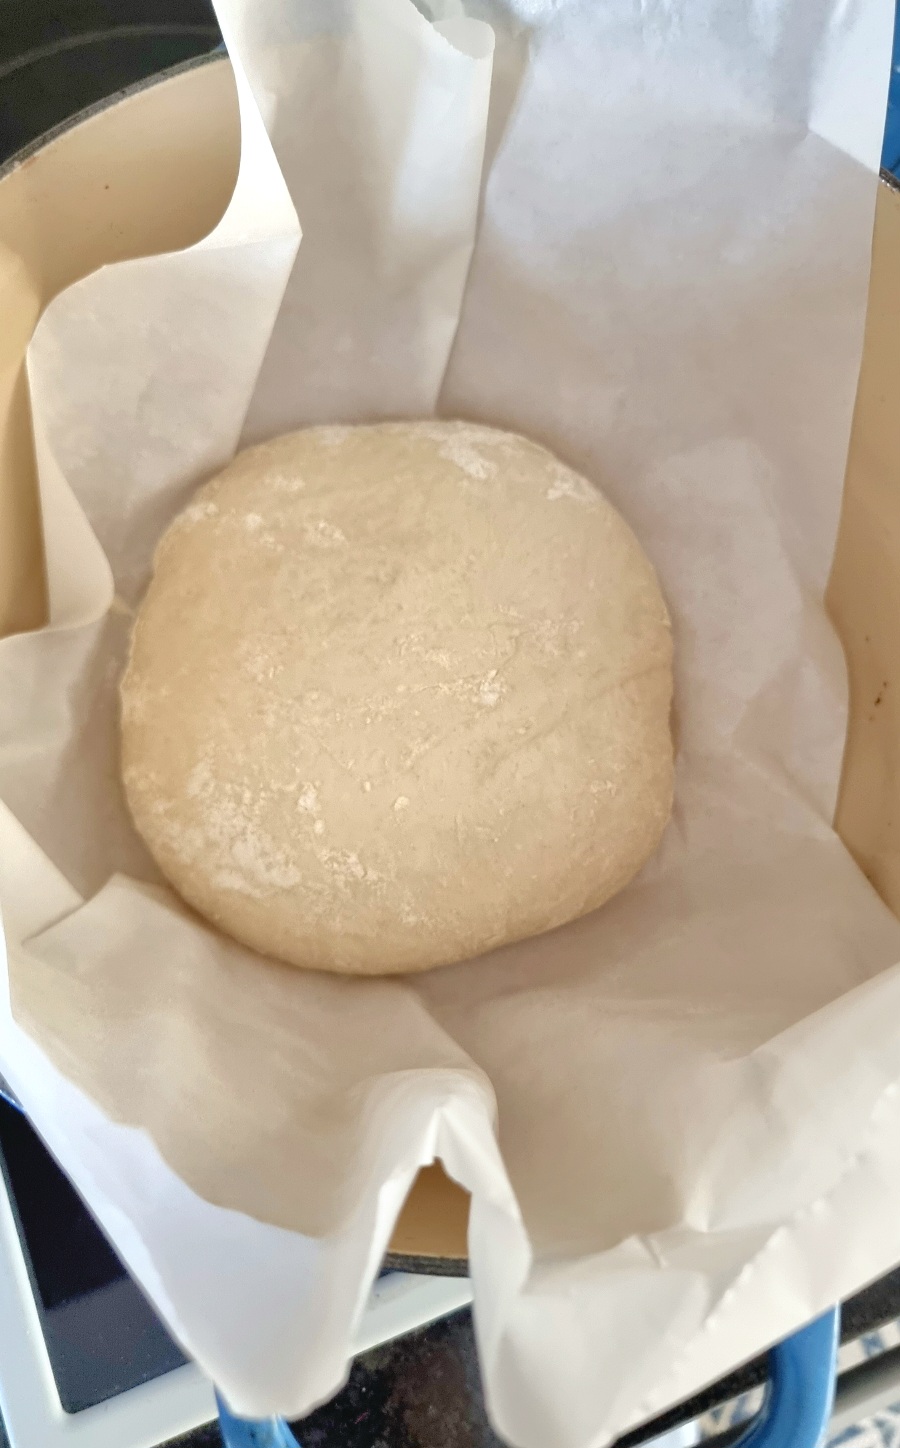
Get the lid on the Dutch oven to bake for 30 minutes on 230 degrees C / 446 F.
If you are baking on an oven tray without the Dutch oven make sure to hydrate the oven with water for moisture. See below in the Notes section for more.
After 30 Minutes Baking
With the lid on........
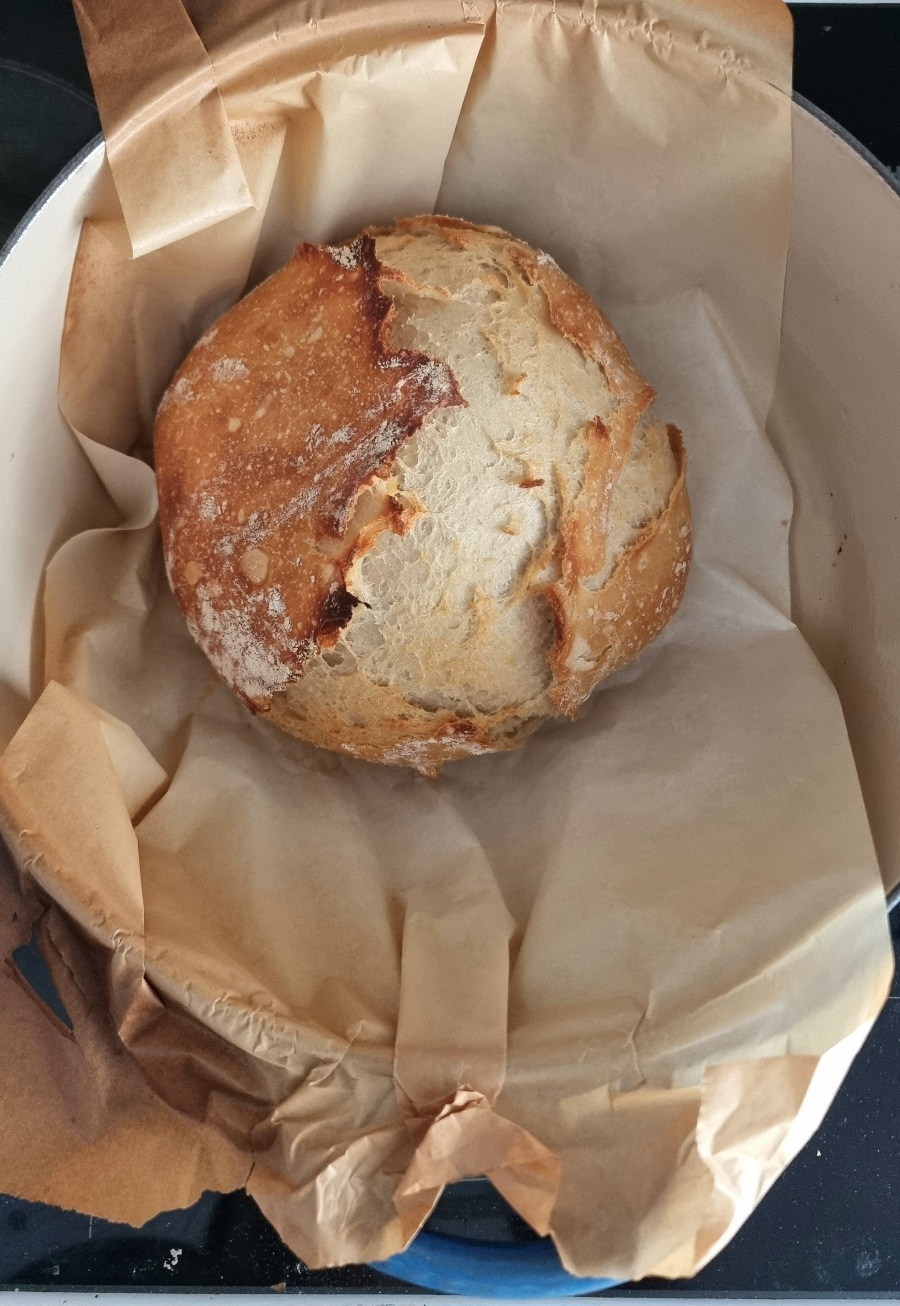
After 10 Minutes
With the lid off......
Kneading A No-Knead Bread
Its not necessarily kneading, it's more shaping and you can use your hands.
Variations
Salt and Pepper: Omit the salt in the recipe and add 2 teaspoons of this premixed salt and pepper into the flour. So, so good!
On the other hand, if you can't use salt, as mentioned in the recipe, leave it put completely.
Dried Herbs: We've used this Vegetable Spice and this Garlic and Herb. It doesn't only taste so good it smells it too!
Fresh Herbs and Garlic: Try fresh herbs like chopped rosemary, thyme and sage.
Parmesan Cheese: We quite often add cheese into the dough.
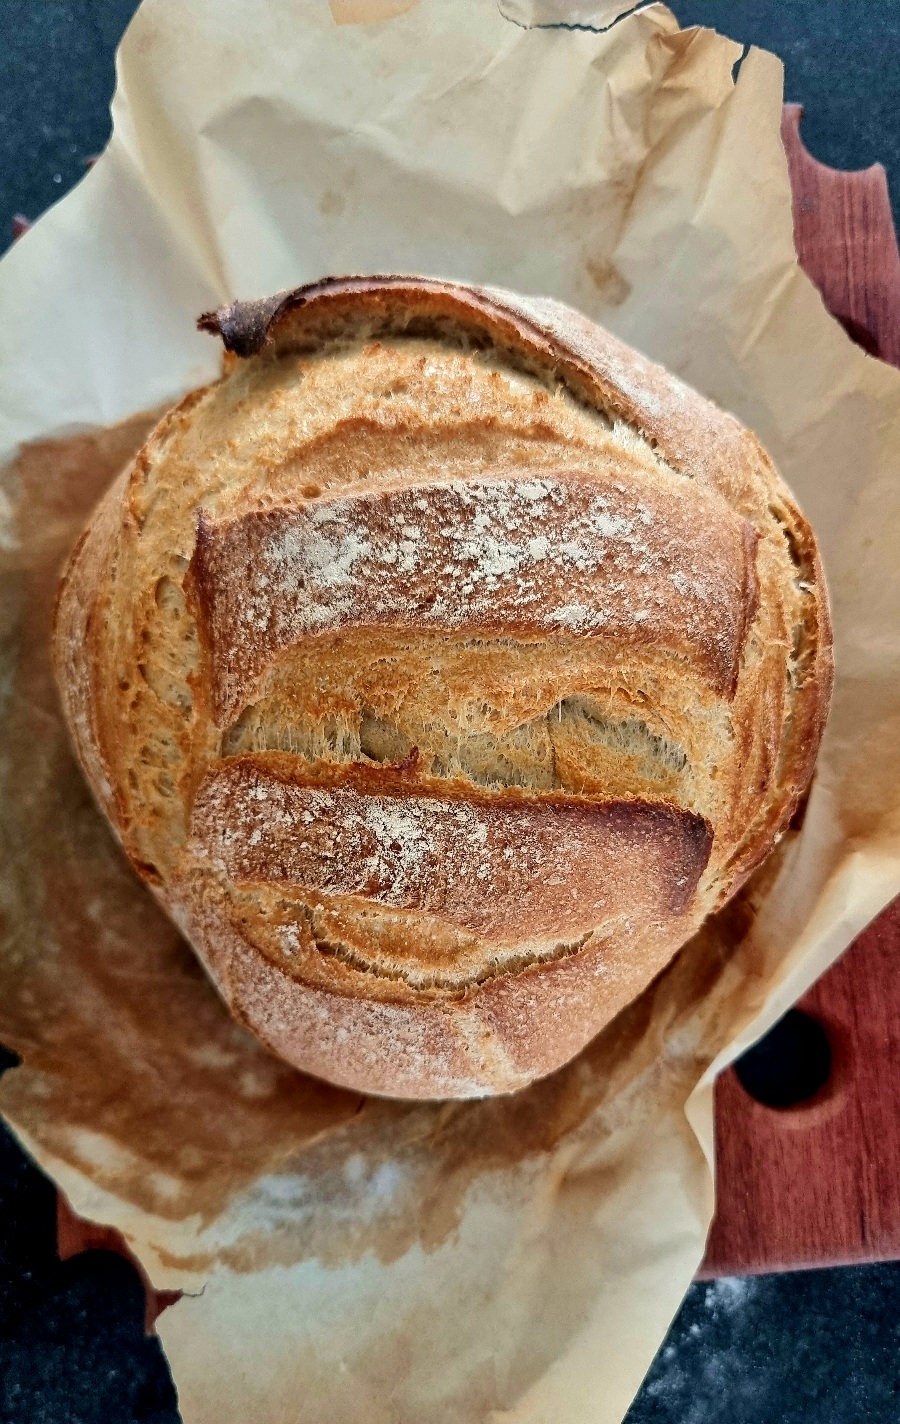
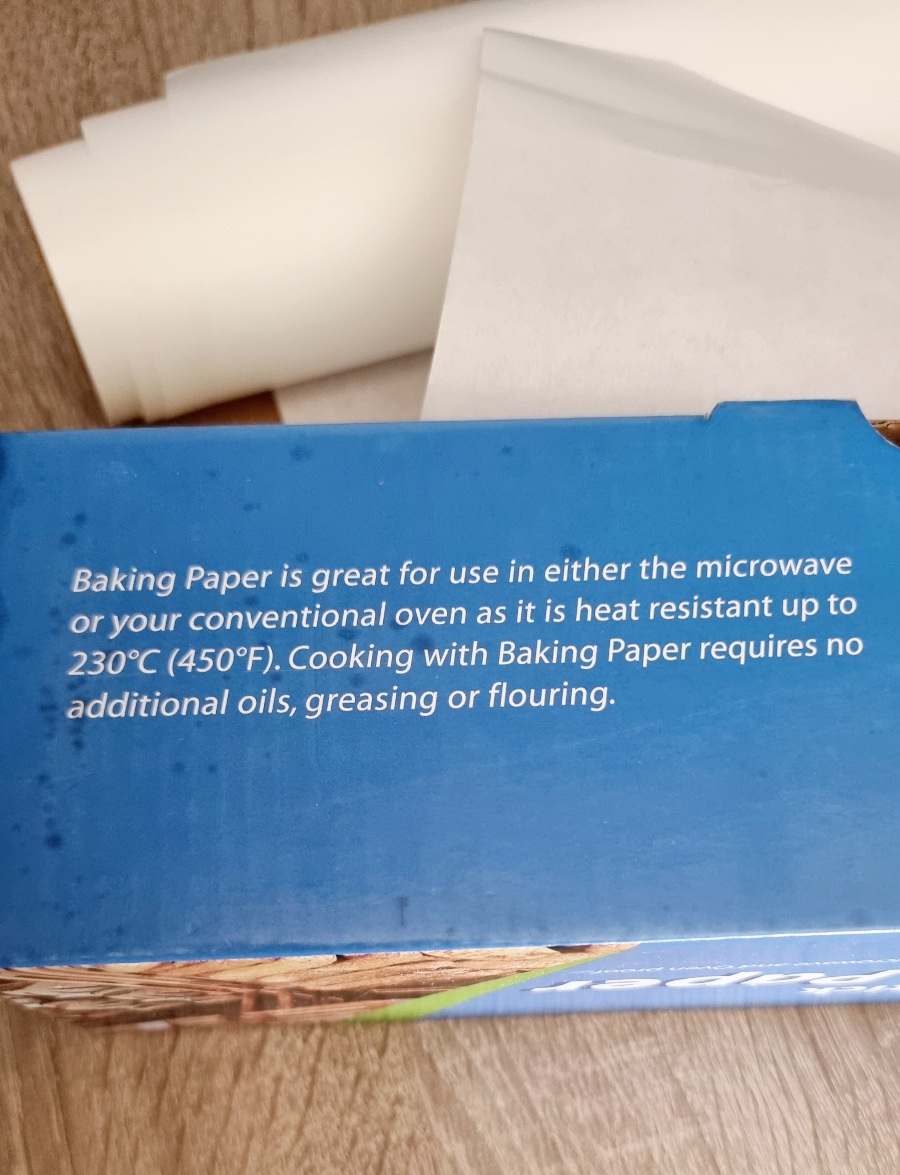
Baking/Parchment Paper
Parchment paper can burn in the oven but not enough to set alight a fire, this is according to Cooks Illustrated. "It doesn't release noxious chemicals, and the paper will not burn."
I would suggest choosing the most resistant to heat. Just check the package (I've used some terrible ones before that burn quite a lot).
It says no flouring but I still flour the paper????
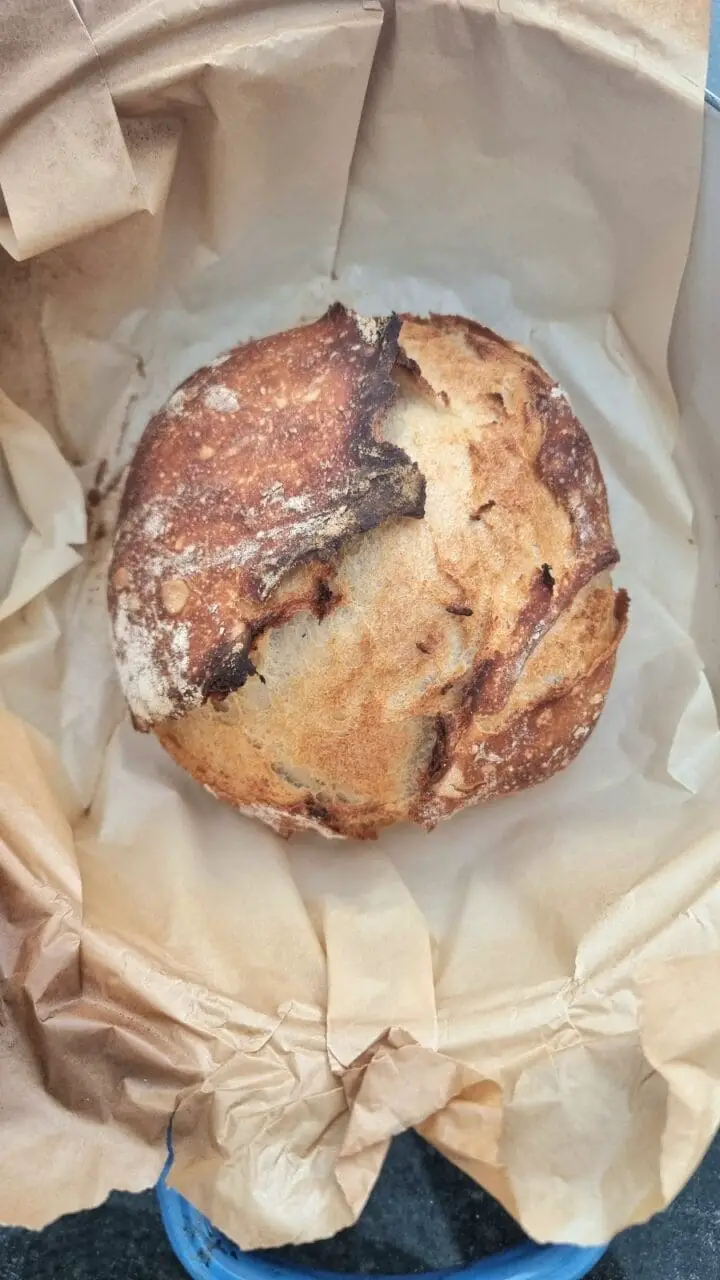
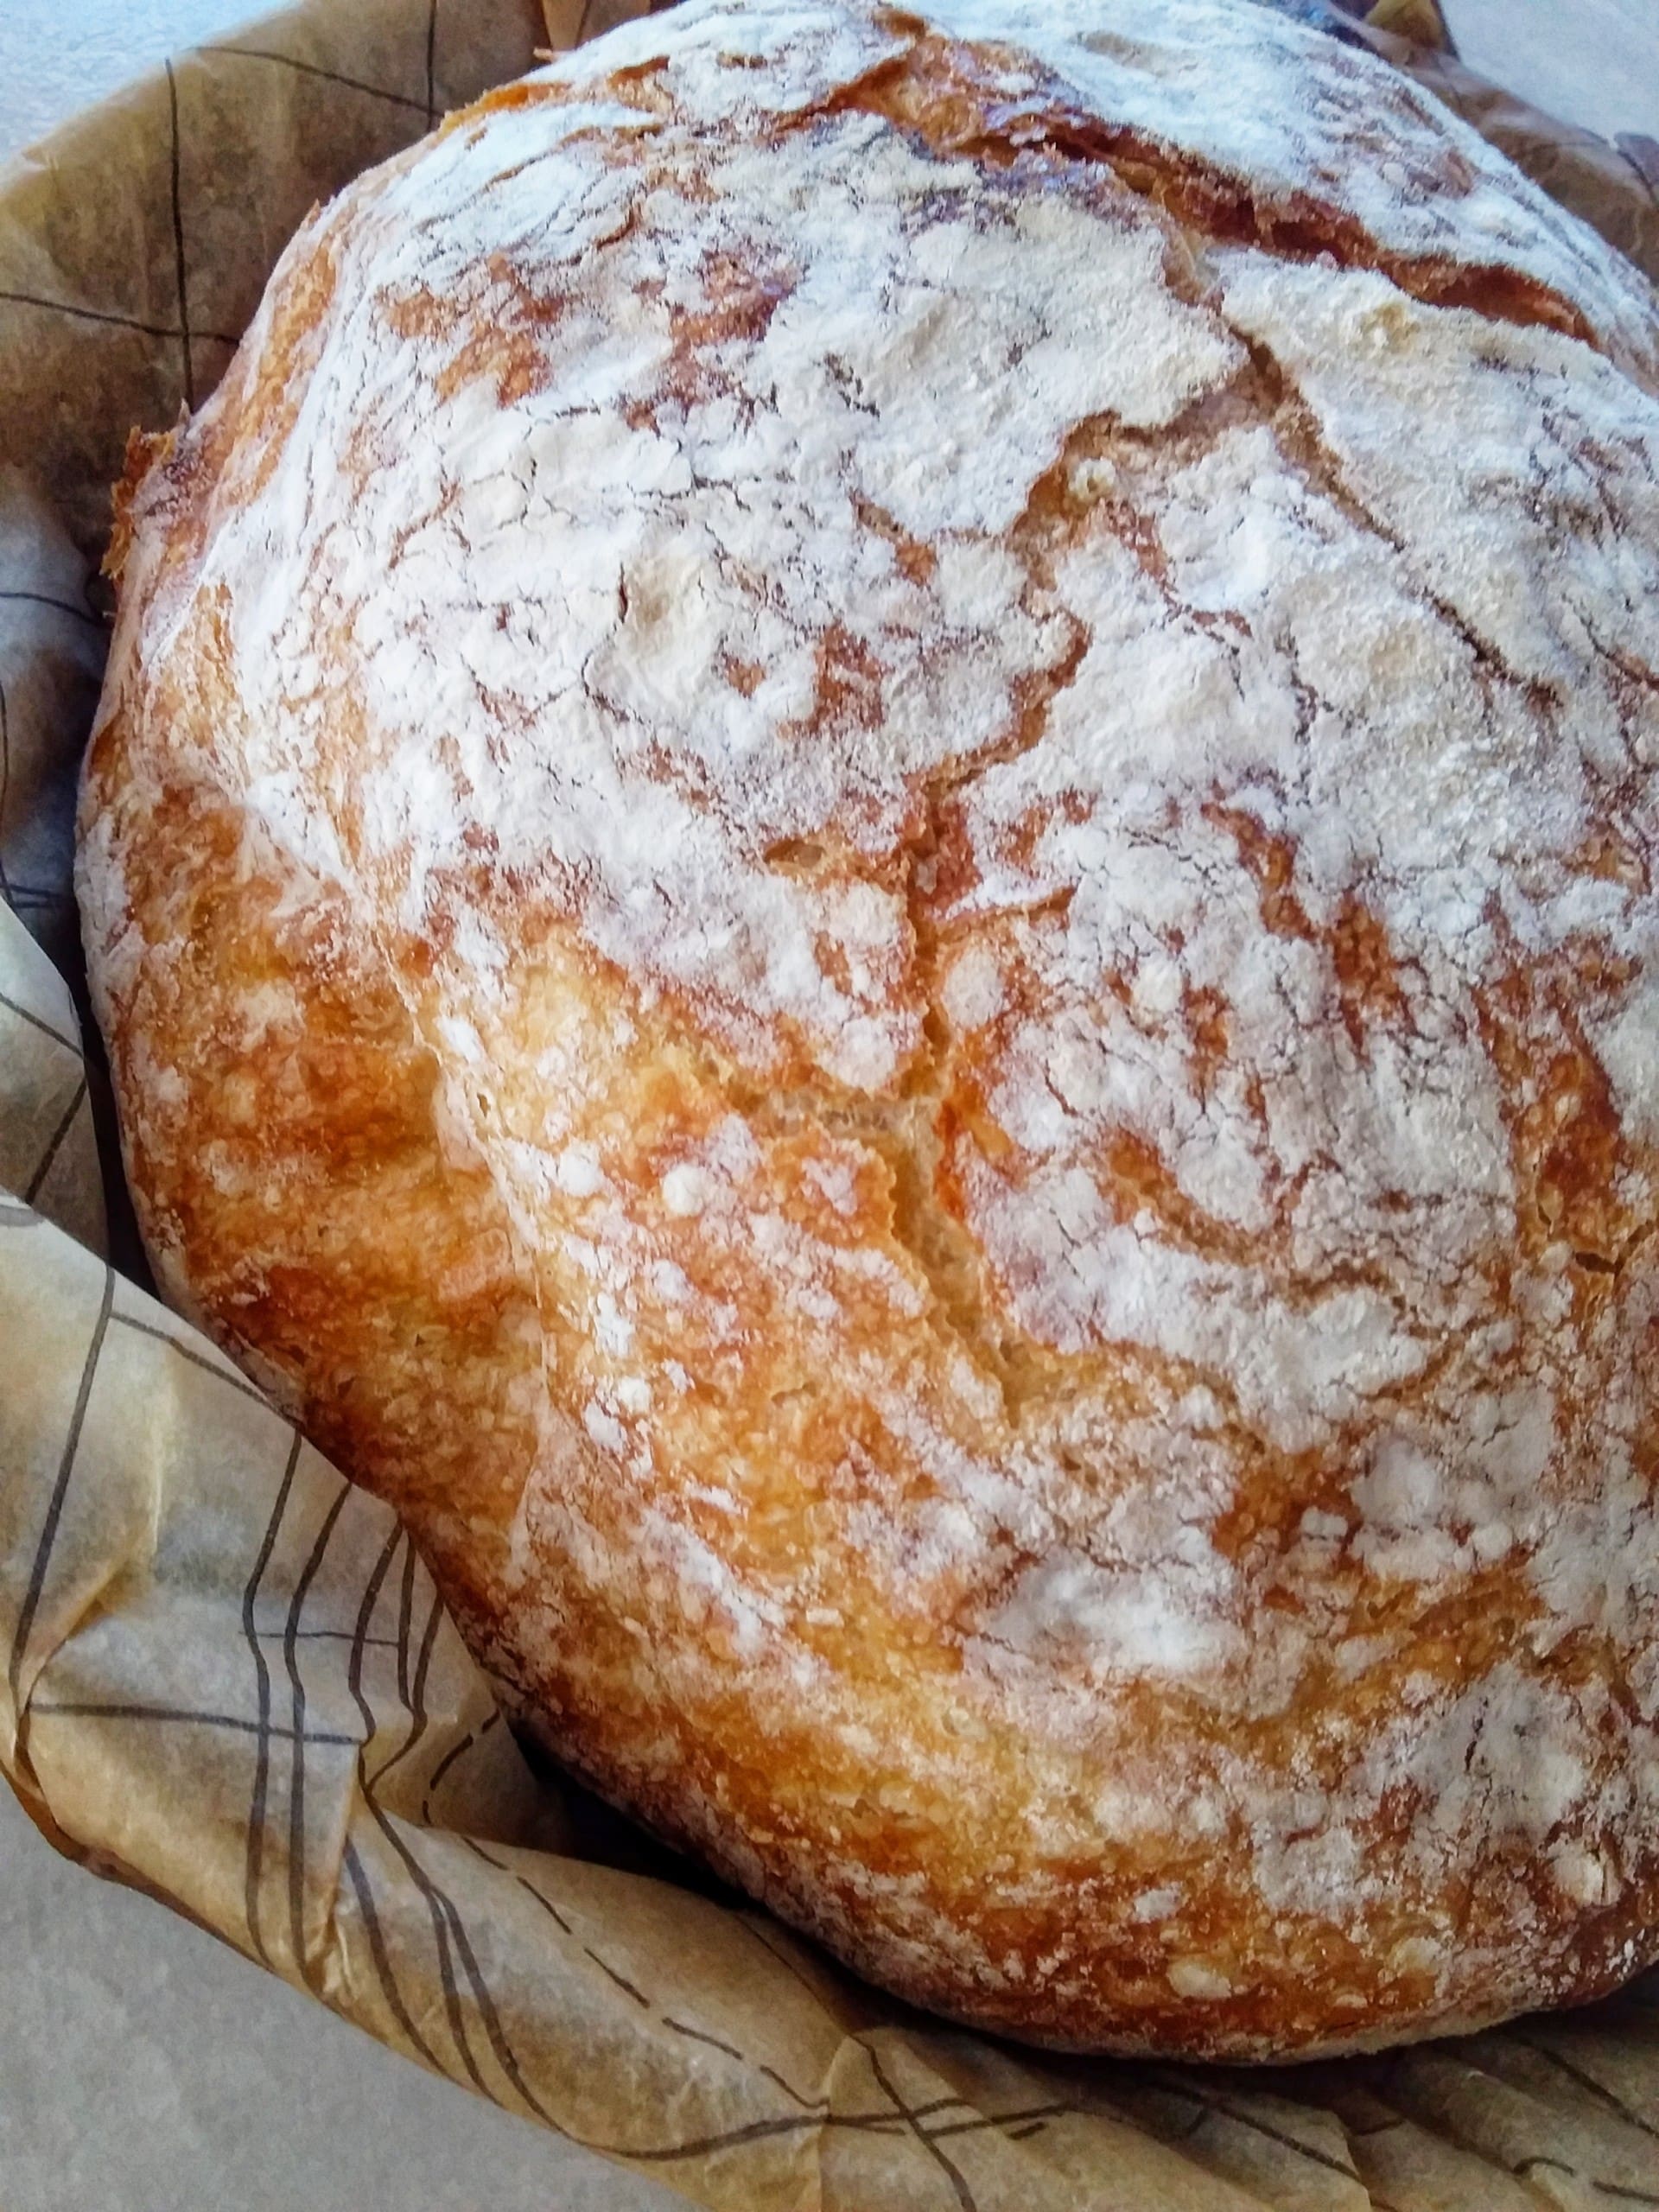
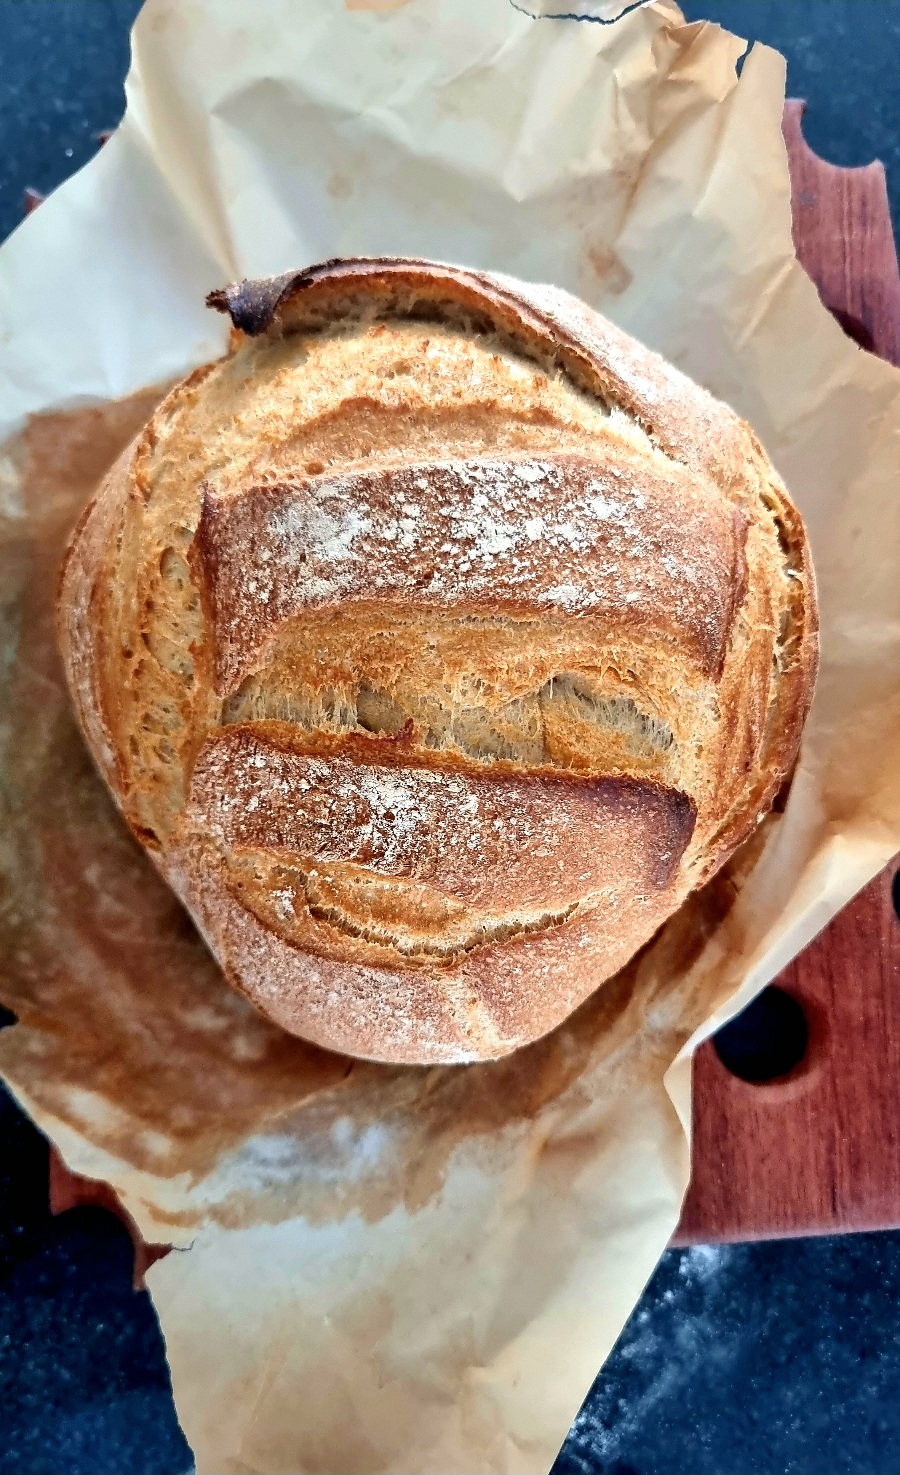
I've made this recipe in a skillet and in a flat baking tray. Just a sheet of floured baking paper underneath and bake. Below are some images;
TIP: Crumble the baking paper (squash it! yes) and then open it flat, it will sit better and not slide up and down!
If you use cling wrap, take a toothpick and prick holes into the plastic, it helps release any gasses.
Benefit of using a Dutch oven?
With the lid on, it creates steam while baking.
How to create steam if I'm using a baking tray?
Place another baking tray with water (about 2 cups) at the bottom of the oven. This will create steam inside the oven but you must get it into the oven at the beginning of"preheat".
There's more that I shares on this a few years ago in this The Best Easy Homemade Bread Recipe.
Why do we cover bread dough while it rises?
- Logically it's to protect the dough from dust and insects.
- Without a cover the dough will dry out and form a crust that will be impossible to remove if it covers the entire surface. The quality of the bread will drop because the crust will affect the dough rising and baking.
- The bread releases gasses so it does need a few tiny holes poked into the cling wrap or there's a build up of pressure in the bowl otherwise.
- Cling wrap or a kitchen towel whatever you use, it needs to trap humidity that's why our mother always covered the dough with blankets! 🙂 I generally use a kitchen towel and into an unlit oven where there's no draught, that works pretty well.
Does a damp towel work or a dry kitchen towel?
A damp towel does a wonderful job because it traps humidity just take a look at this image below. Damp towel, plastic bowl. A dry towel is not as effective because it absorbs moisture from the dough (opposite to what we want).
However, these are suggestions and tips it will also depend on where you live because if it's very hot where you are the damp towel could dry out in 5 minutes!
In which case use cling wrap and give it a few random pricks with a toothpick or pin to release the gas.
Fast Rising And Why You Would Do It
Fast rising is the last attempt to get a hard crust on the bread. The oven needs to be piping hot so you looking at a temperature of 240C / 475F. I'm always weary to give this advice because stoves can be so temperamental since we all have different ovens. If you do try this then be aware if your stove is temperamental and burns food easily. You have to give the bread a quick rise on very high heat the first 20 minutes. If you're not sure of your stove do it for 15 minutes and check. If your bread is browning to fast, drop the heat to the standard 225°C / 437°F.
These suggestions and guidelines, work with your equipment, temperature, oven etc.
Thank You Notes
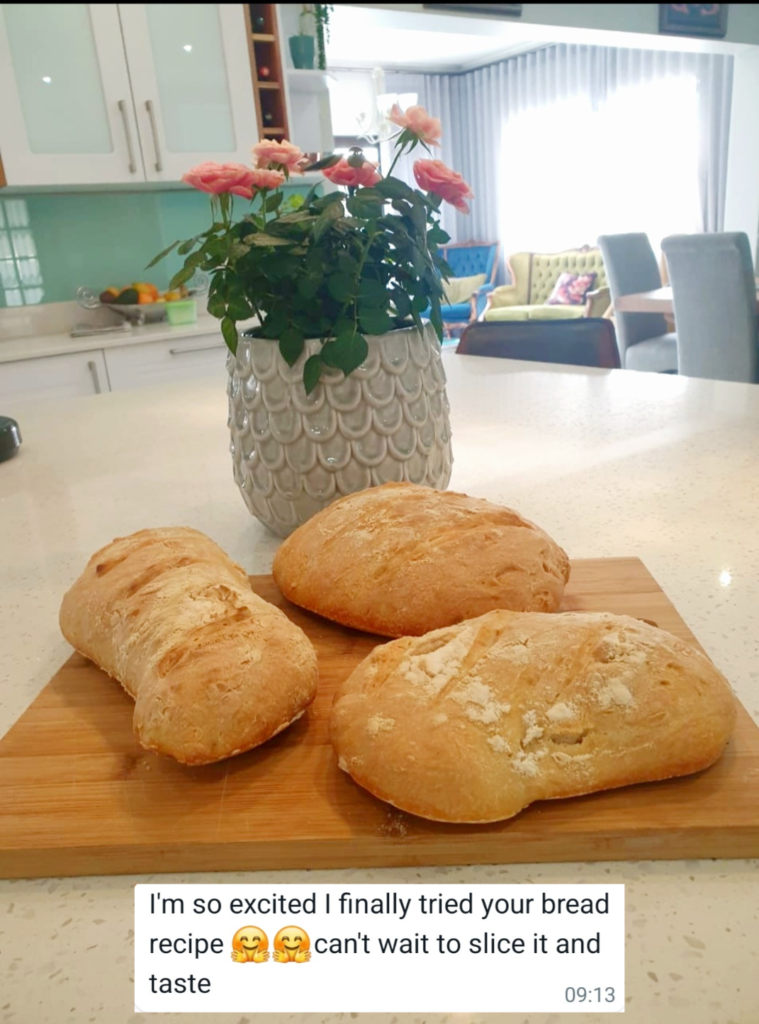
This image below is also the same as the recipe card below. As shared on my Instagram and made repeatedly by a wonderful lady who has since become my Instagram friend - she graciously posts pics on her own feed. Be sure to check her out, she recently also posted about this Marinara Sauce and I can't tell you how happy it makes me! You can find this good human on her Instagram feed here.
This is for you Grace❤️️
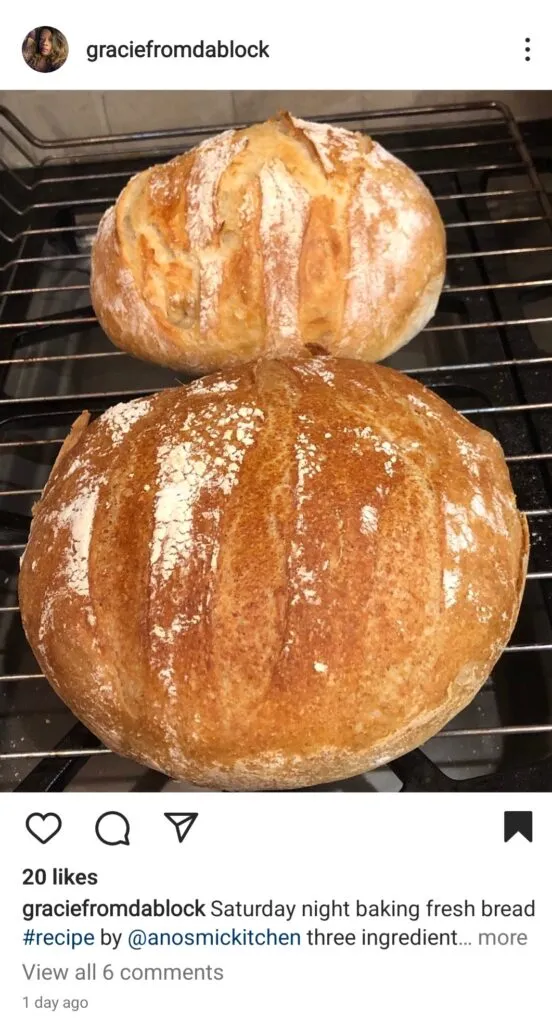
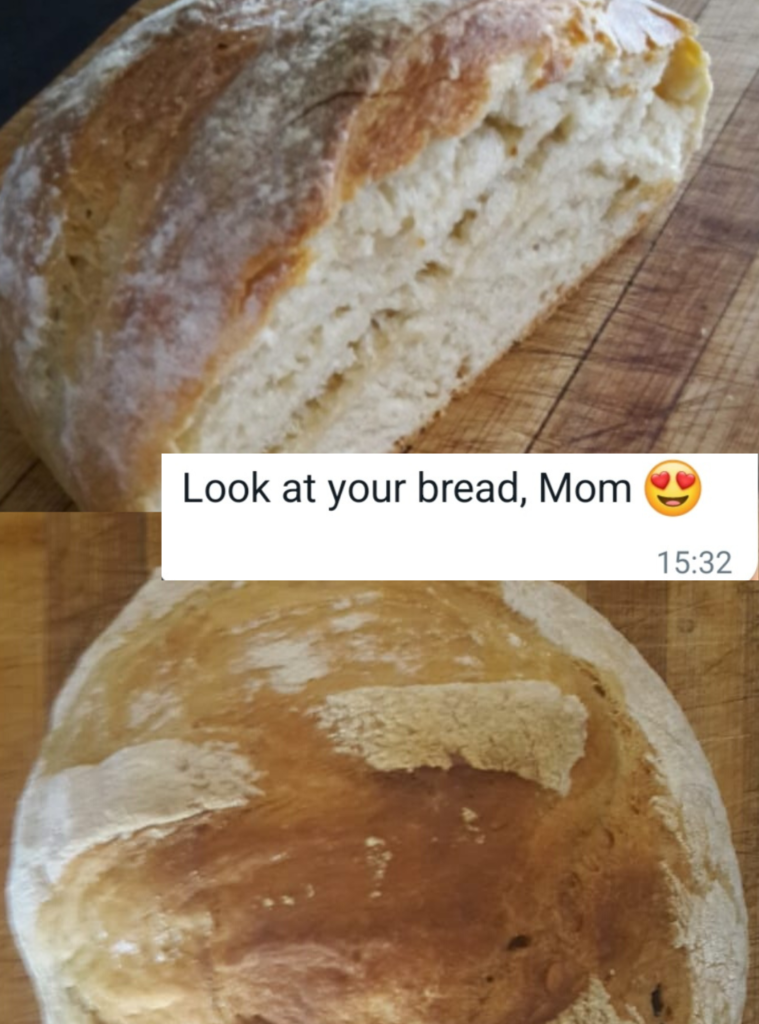
Where would we be without family who visit your blog and make your recipes!
The pics below are true family you❤️️
What To Serve With This Easy No Knead Bread
Any which way you like!
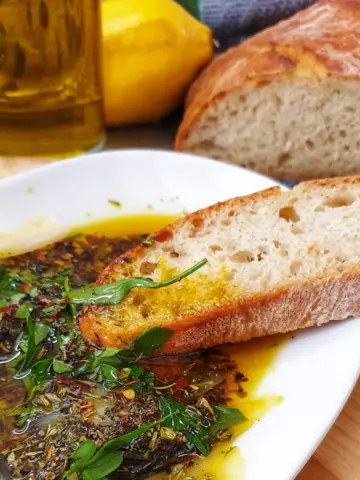
- Dunk it :)!
- Toast it
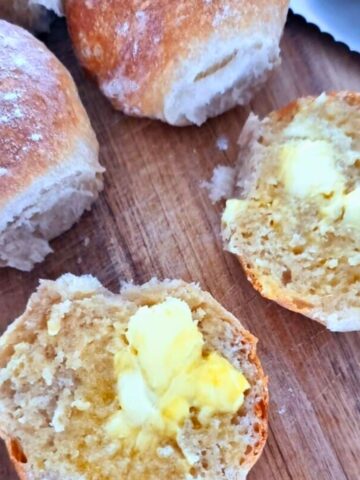
- Slather it in butter!
Homemade bread sandwiches and toppings are always a great idea.
More Great Bread Recipes
FAQ's
Can I refrigerate bread dough?
Once the dough and yeast/water mix is incorporated into a soft dough, you have a choice to either cover and leave to rise or leave in the fridge to bake the next day.
Can I still make bread without a Dutch Oven?
Yes! If you don't have a Dutch Oven, you can bake the bread on an oven tray. However, make sure it's a heavy oven tray (normally those that come with the oven) and can withstand high temperatures. The cheaper ones will just warp in the oven!
Does the Dutch Oven have to preheat?
If using a Dutch Oven make sure to get it into the oven at the same time that you're heating the oven. The oven and the Dutch Oven need to heat at the same time. DO NOT put a cold Dutch Oven into a very hot oven!
Tip: Please check with your supplier what the maximum temperature is for your Dutch oven. They are all different. Same applies to the oven trays otherwise your tray will warp! That loud bang you hear will be your oven tray warping.
Do I add the yeast in a bowl with water to proof or directly into the flour? Either or, they both work. If you are not sure if your yeast is fresh then it's better to add it to the water in a separate bowl first to proof.
Can I still use the yeast if no froth appears on the top? You should wait 10 minutes (be patient) for the yeast to froth, although you should be able to see within the first 5 minutes. If there's no froth after 10 minutes, it's not active so you start again with a fresh packet of yeast.
Does yeast need sugar to rise?
Yeasts feed on sugar (or honey) therefore, the sweetness from the sugar does help activate the yeast faster but thay doesn't mean thà
Show Me Your Pics On Instagram
Tag @anosmickitchen #anosmickitchen if you try this recipe and show us your photo's!
Looking for more delicious recipes?
Subscribe to my free newsletter and follow along Facebook, Pinterest and Instagram for updates
Shop our online store for quality all natural spices.
Before you get to the recipe, please leave a comment and rating below. Thank you and much appreciated! Miranda xo
Easy No Knead Bread Recipe
- Total Time: 3 hours
- Yield: 6 people 1x
Description
No Knead Bread is not only conveniently easy and quick, it also gives you the option to forget about it until the next day and the additional hours allow more flavors to develop! The options of this simple no-knead bread make it a true gem recipe.
Ingredients
- 3 cups flour
- 2 tsps. active dry yeast
- 2 tsps. salt
- 1 ½ cups warm water
Instructions
- Prep the yeast mix: Pour warm water and yeast in a bowl and set aside for 10 minutes for the yeast to proof.
- Flour and salt: In a large mixing bowl, add the flour and salt, mix together.
- Combine: Pour the yeast mix into the flour and salt and mix using a spoon into a wet dough, just until all the flour is incorporated.
- Rising Time: Cover with plastic wrap and set aside to rise for 2 hours.
- Preheat: Half an hour before the rising time is up, preheat the oven to 230°C and place the Dutch oven (pot) with the lid on into the oven to preheat at the same time.
- Prep the dough to bake: Tear off a sheet of baking paper to fit either into the pot or on a baking tray, making sure the sides are long enough to lift. Sprinkle a little flour onto a sheet of baking paper. Turn the dough out from the bowl onto the lightly floured baking paper with a spatula (try to not use your hands on a no knead bread).
- Scrape and Shape: Use a dough scraper, spatula or large flat knife to lift and fold the dough into a rough round shape. Nothing perfect, let the bread take it's own shape.
- Bake: Take the pot out (use good oven gloves!) carefully remove the lid, lift the dough by holding the baking paper and gently drop it into the pot. No baking paper? Sprinkle flour onto the hot surface of the pot, drop your dough in, lid on and bake. Immediately put the lid back on and bake for 30 minutes.
- Brown: After 30 minutes, remove the lid and continue baking for a further 10 to 15 minutes or until the crust is a deeper brown to you liking.
- Cooling down: Cool the bread on a cooling rack for 10 to 15 minutes before cutting into it.
Notes
Can I refrigerate bread dough?
Once the dough and yeast/water mix is incorporated into a soft dough, you have a choice to either cover and leave to rise or leave in the fridge to bake the next day.
Can I still make bread without a Dutch Oven?
Yes! If you don't have a Dutch Oven, you can bake the bread on an oven tray. However, make sure it's a heavy oven tray (normally those that come with the oven) and can withstand high temperatures. The cheaper ones will just warp in the oven!
Does the Dutch Oven have to preheat?
If using a Dutch Oven make sure to get it into the oven at the same time that you're heating the oven. The oven and the Dutch Oven need to heat at the same time. DO NOT put a cold Dutch Oven into a very hot oven!
Tip: Please check with your supplier what the maximum temperature is for your Dutch oven. They are all different. Same applies to the oven trays otherwise your tray will warp! That loud bang you hear will be your oven tray warping.
Do I add the yeast in a bowl with water to proof or directly into the flour?
Either or, they both work. If you are not sure if your yeast is fresh then it's better to add it to the water in a separate bowl first to proof.
Can I still use the yeast if no froth appears on the top?
You should wait 10 minutes (be patient) for the yeast to froth, although you should be able to see within the first 5 minutes. If there's no froth after 10 minutes, it's not active so you start again with a fresh packet of yeast.
- Prep Time: 10 minutes
- Cook Time: 50 minutes
- Category: BREAD
- Cuisine: Western
Nutrition
- Calories: 175
- Sugar: 1
- Sodium: 362
- Fat: 1
- Saturated Fat: 1
- Carbohydrates: 36
- Fiber: 2
- Protein: 5















Renee says
Tried this recipe once again and it never disappoints
Miranda's Anosmic Kitchen says
I'm so happy that you tried the recipe! Again! Yes, thank you and more importantly, thank you for taking the time to leave a comment, it's most appreciated. Miranda xx.