

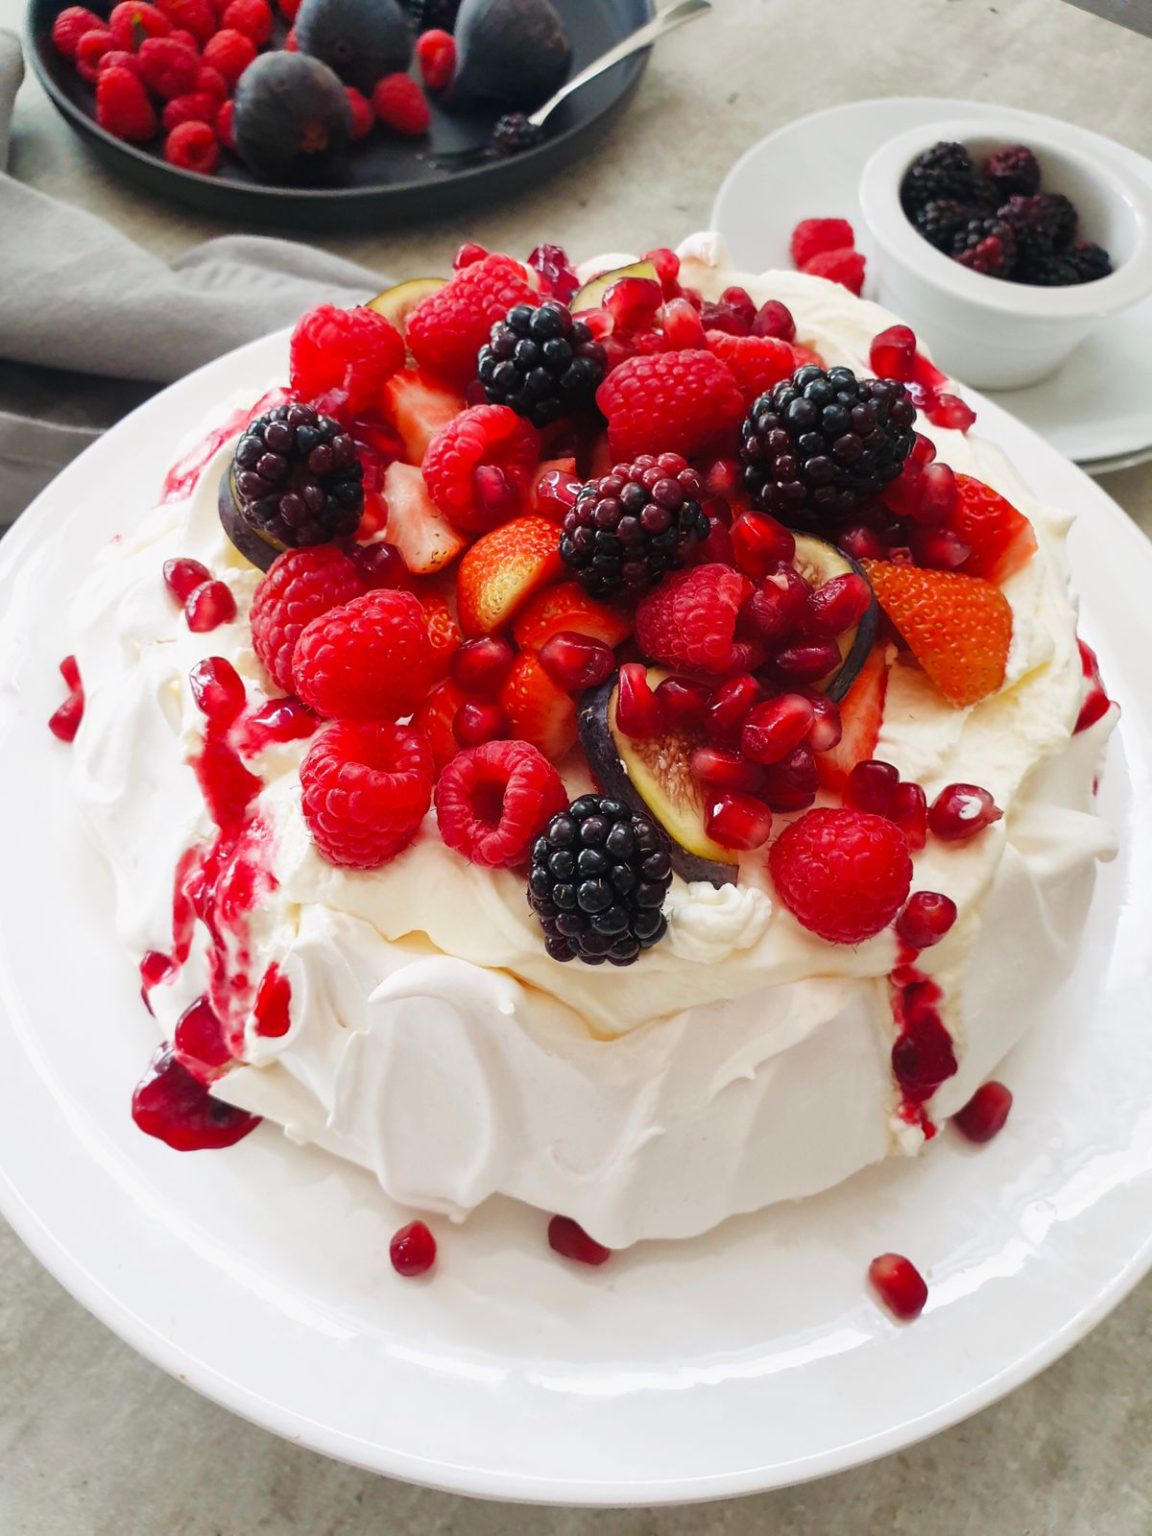
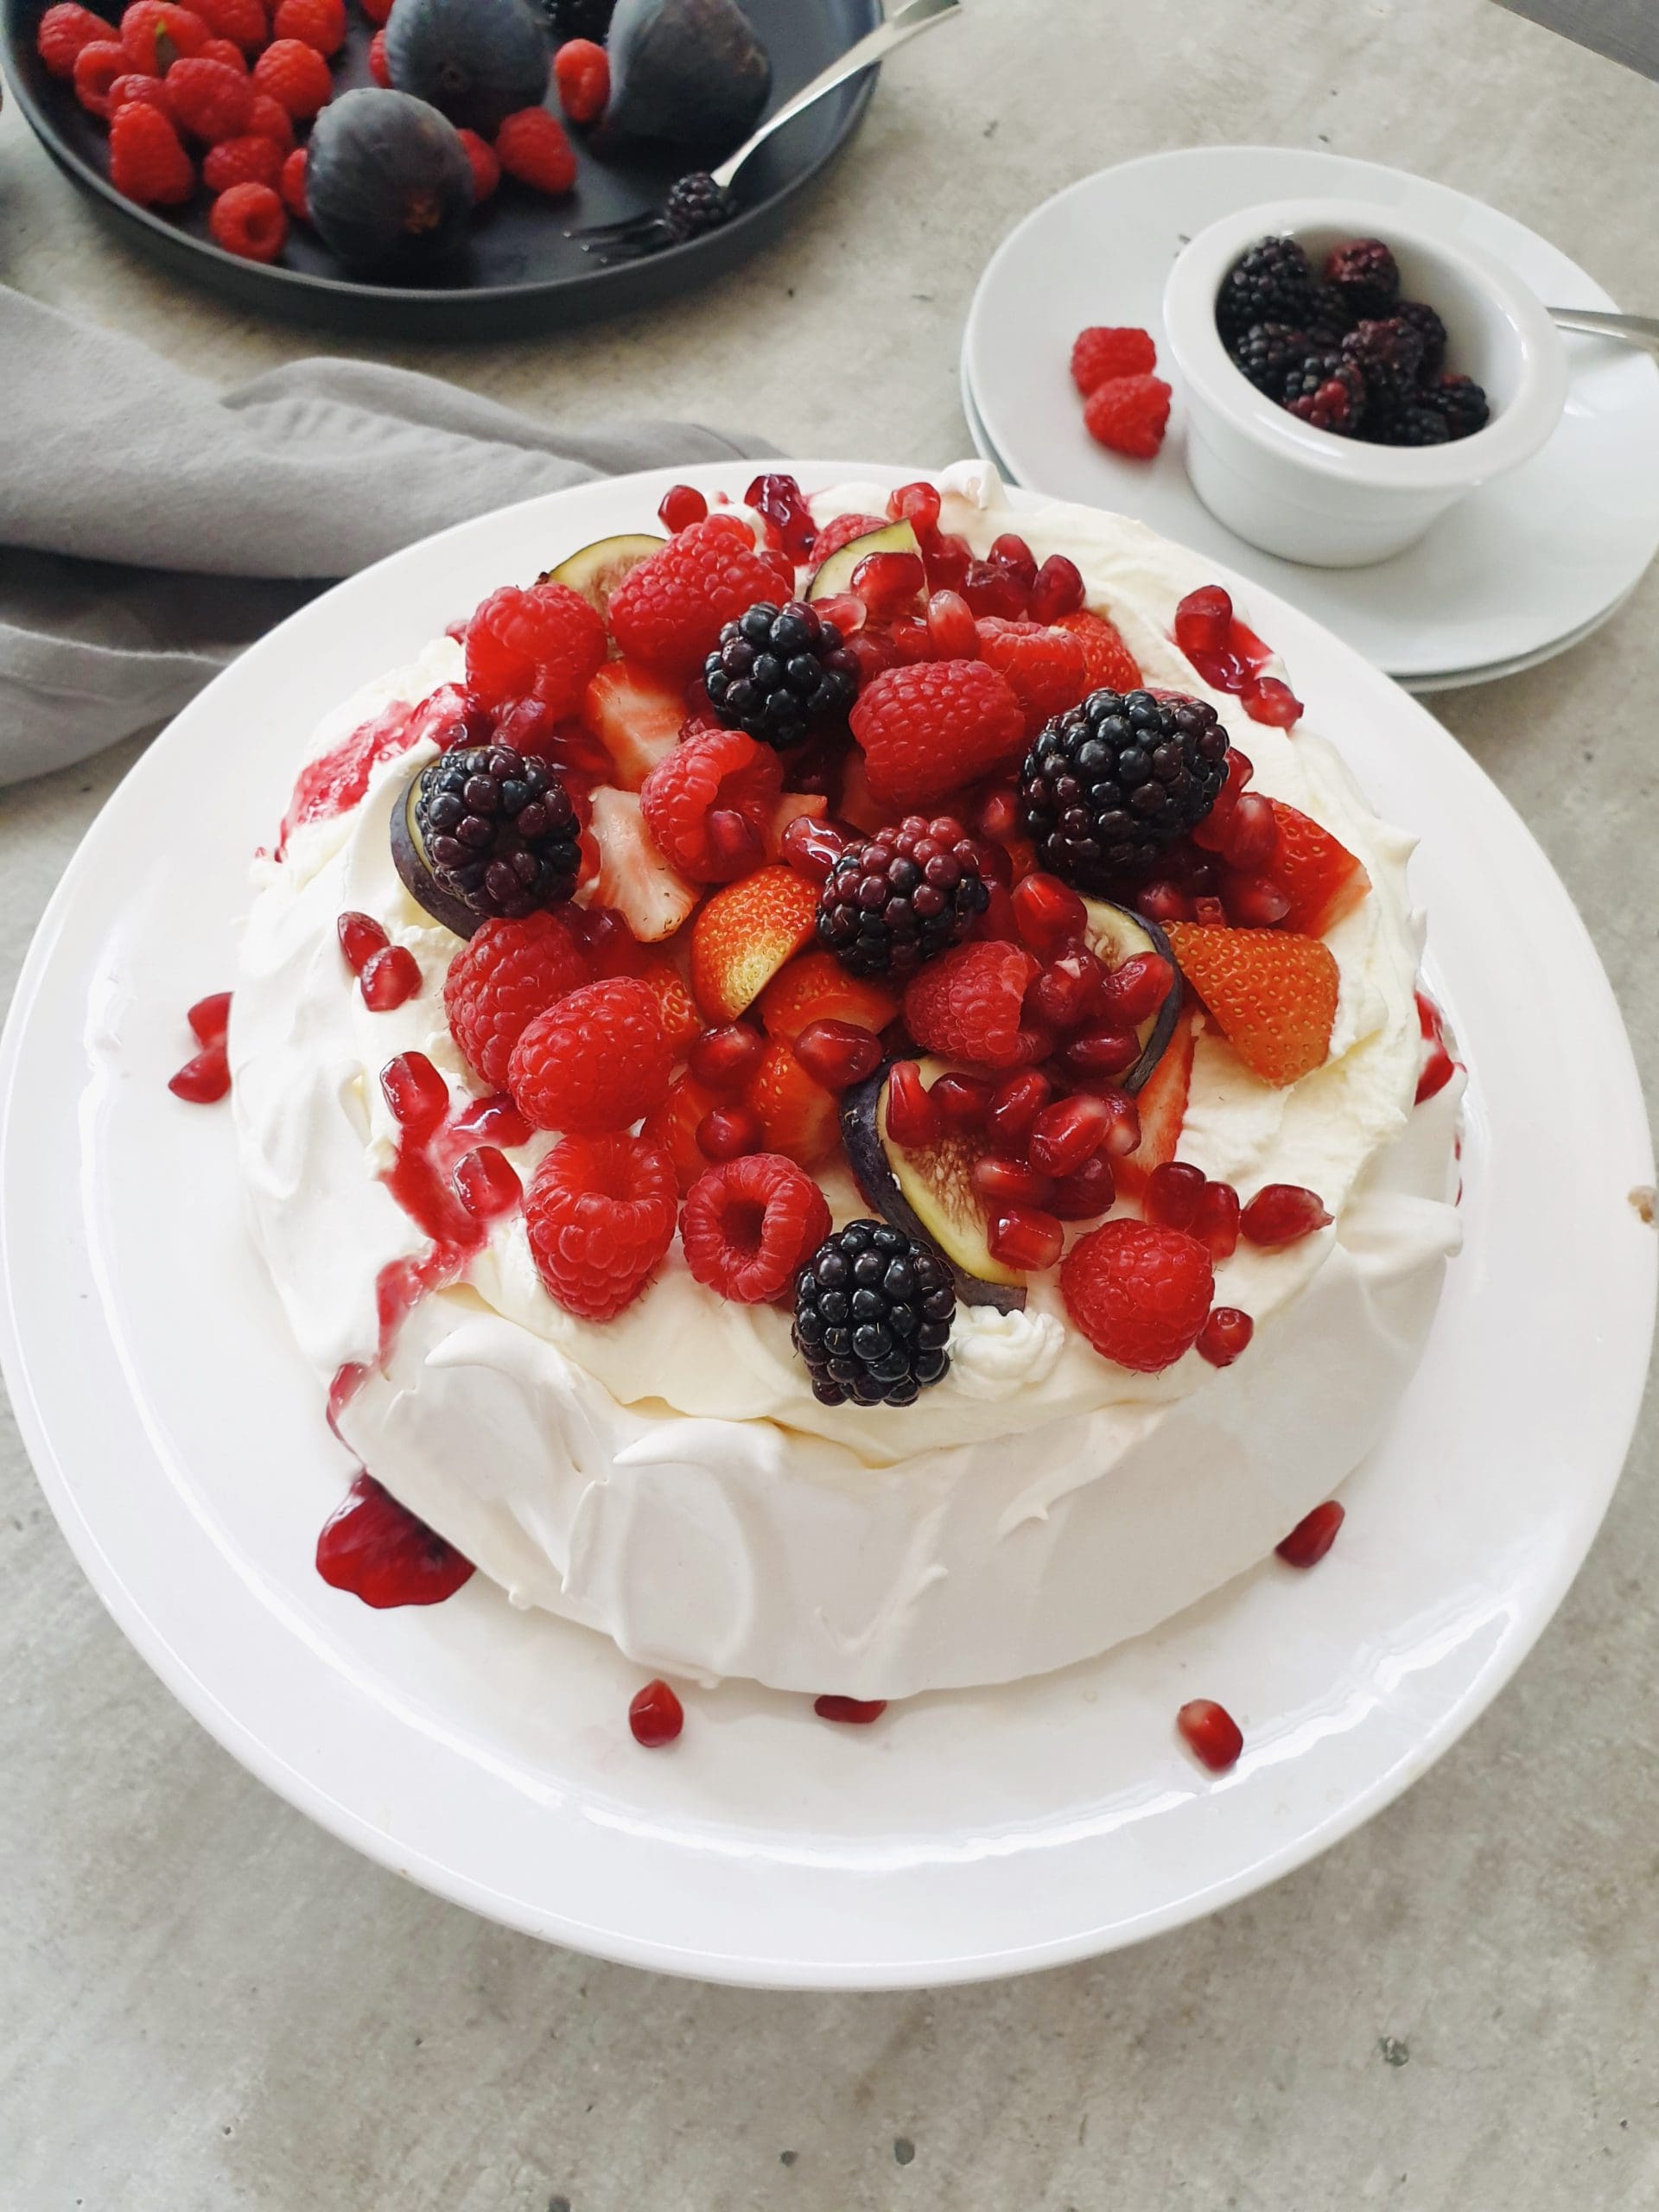
Pavlova is a meringue based dessert named after the Russian ballerina Anna Pavlova. It has a crisp and soft light inside, usually topped with fruit and whipped cream. The dessert is believed to have been created in honor of the dancer either during or after one of her tours to Australia and New Zealand in the 1920's. The nationality of it's creator has been a source of argument between both the Australians and the New Zealander's so we will leave it there and continue with the decadence of this perfect summer dessert.
Pavlova Recipe

What You Will Need


4 Simple Ingredients
Four very simple recipe ingredients that you probably have right now but that's not the only requirement with this recipe. You must also have the time because you will need a bit of patience while you are slowly adding the sugar into the egg whites. Don't try and add it all at once and also don't lie to yourself and say you are adding it slowly (with large amounts at intervals ;)!) It will show in the results.
Pavlova looks intimidating but is uses friendly ingredients, however that doesn't mean that you can be careless. It is simple with a very fine line to making it a complete mess.
Ingredients
- Egg whites
- Castor sugar
- Maizena
- Cream of Tartare
- Whipping cream
- Fresh fruit
- 2 Spatula's and 1 Spoon
Vanilla Essence
Vanilla is purely for flavor but I didn't add it because I wanted a pure white meringue and it would've changed the color to a beige color sort of. You can make that call for yourself and if you are adding vanilla to the recipe then 1 teaspoon should suffice.
Getting the sides this high looks very pretty no doubt but the rest of the pavlova certainly does take strain and creates more cracks. At least for me it does. However, I must say that regardless of how you decide to make it, it remains a dream dessert!

Eggs - These eggs were in the fridge for 4 to 6 days by the time I used them for this recipe and they did fluff up beautifully. It is best to separate the egg whites while still cold and then let them reach room temperature. Keep the yellows in the fridge for another recipe like making ice cream or something you don't have to throw them out.
Separating The Eggs
As long as the yellow of the egg gets no where near the pavlova because it can 100% interfere with the foaming of the whites and you don't want that. When you are separating them be very careful that no yellow ends up in the white. If it does, use the outer empty shell to lift the yellow out or start again. Please don't try using your finger to take out the yellow, purely for hygiene which for me is number 1 and 2 because the oils from your finger will interfere with the whites expanding of the whites.
Why Should The Eggs Be At Room Temperature?
Because warmer eggs whip up a cloudy white foam better than ice cold eggs. That simple.


Weeping Pavlova
Basically when the whites start pushing through the sides while baking.
Let me tell you, I've done that too! Can you imagine your stress levels when you are peeping into the oven and you can see your pavlova weeping (slightly yes but still) and there is nothing you could do! Not great. Once in the oven, you cannot open till it's done. Then it's cooling and you still should not open the oven door.


Would you like to save this?
I'd like to receive tips & recipes from Anosmic Kitchen.
Other Just As Important Ingredients
Cream of Tartare - As long as you have an acidic ingredient like vinegar, cream of tartare, apple cider or lemon juice.
Maizena - stabilizes food Necessary for the marshmallow goodness on the inside.
These 2 ingredients together help form stability unless of course you are making Nigella's no cornflour in chocolate pavlova which I think is marvelous I should try it. That and I absolutely love her not only because she makes everything look so easy but have you ever heard the music she plays on her cooking shows? I watch for the cooking but also for that insanely good music!
With all that out of the way what's next?
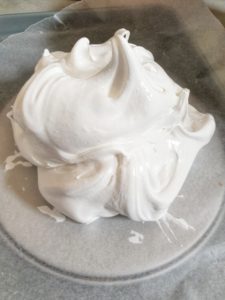
The best part is when you have this beautiful ball of pure snow white meringue before you! Isn't she simply beautiful? I saw this trick on adding some cream to the baking paper to help it stick and not move around on Preppy Kitchen and someone said use the bottom of a cake tin so those 2 tips worked very nicely. No need to draw a circle.


Even More Tips and Suggestions
Heat and Humidity
You know what, there is so much information out there so I am not going to overkill. This is all I want to suggest:
Try and not use the kitchen for any other cooking on the day that you are making pavlova. If you are making during our summer months or your summer months and have an aircon in the room, use it. My husband wanted to cook something while my pavlova was in the cooling down session in the stove and that was just not happening. I suggested he made a braai outside ???? Listen, you cannot risk different temperatures with pavlova.
Regular Vinegar
Use kitchen tissue paper and dab some vinegar on it and clean all the utensils before starting. There should be no traces of oil, dust or anything that could hinder the success of your pavlova. Also, wipe that second spatula because I used two. Once for getting the pavlova onto the baking tray and one to help get all the mix off the other spatula!
Baking Time
Start baking on high and drop the heat the minute the pavlova is in the oven. As a general rule Ive been using 90 C to 110 C. See the recipe for more on this.
How Long Before You Can Open The Oven
In order to eliminate any issues - and there can be many or there can be none depending on how you follow the recipe
- Gently close of the door when you get it the oven and no opening again until your timer goes off
- Once the timer goes off, turn the stove off and walk away
- Absolutely no peeping, this is crucial
- The pavlova needs time to gradually cool down and not go from hot to another temperature in one burst
- 3 to 4 hours after the baking time should be enough
Regardless of which recipe you decide to use and I hope that you do because she is worth it!


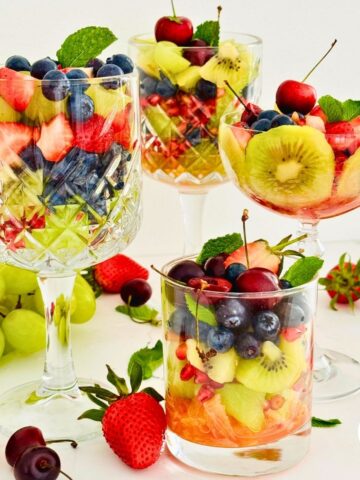
More Dessert Recipes
Okay lovely friends, I do hope that you enjoy this decadent yet easy dessert! Be sure to give me a comment/review below and don’t forget to message me and follow me on Instagram and YouTube!
Pavlova Recipe
- Total Time: 2 hours 40 minutes
- Yield: 8 servings 1x
Description
4 Ingredient Pavlova Recipe where I share with you how easy it is to make, but not without a few very important details, helpful tips and suggestions.
Ingredients
- 4 egg whites
- 1 cup castor sugar
- 2 teaspoons maizena
- ½ tsp cream of tartare
Instructions
Please read the notes below before starting the recipe.
- Preheat the oven to 150C and make sure that the rack is in the middle. We are going to lower the heat later. Line a baking tray with baking paper or use the loose bottom of a cake tin. Line it and place it on the baking tray. Set aside.

- Beat the egg whites using a stand mixer with the paddle attachment (medium-high) or use a hand held mixer. Beat till a white cloud of foam - soft peaks, takes about 5 minutes.

- Add the sugar. Pour it in in parts so a little at a time, this can be two, three or four parts but don't add it at one time. As you add beat until you've used all the sugar.
- Stiff peaks: Once the sugar has been added, increase the speed of the mixer to high and beat for around 2 minutes until the peaks are now snow white and stiff. Turn the whisk upside down, the peaks should be stiff and fall, if they do, keep beating.
- Fold in the ingredients Turn the stand/hand mixer off and use the clean spatula (the one you cleaned with vinegar earlier!) to gently fold in the Maizena and the cream of tartare.
- Prevent sticking: Dab tiny bits of your egg white mixture onto the pan just to help the baking paper stick to the pan.
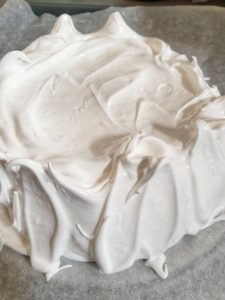
- Shape the pavlova: Scoop your pavlova out of the bowl - very gently - onto the baking paper and start using the flow of your hand movements to shape it. The back of a spoon helps in getting those side lifts but don't be too pedantic! Its a pavlova not supposed to be perfect!
- Oven guideline: (middle rack as mentioned earlier) close the oven and drop the heat to 110 C. DO NOT OPEN THE OVEN AGAIN PLEASE. It will also cool down in the oven.
- Bake your pavlova for 1 hour 25 minutes. Don't open the oven but do turn the oven off and leave the door closed. No peeking.


The Big Reveal
- Open your oven door to peep inside and you can gently touch the top. Be gentle it's very fragile! The top should have a light feel to it not stiff.
- Close the door and leave the pavlova to cool down completely.
Notes
Prep Your Work Station/Ingredients and Equipment
- Use kitchen tissue paper and white vinegar to clean the bowl and spatula.
- Separate the egg whites form the yellow. Add the whites into the bowl that you will using.
- Use the bottom of a round baking cake tin and place it on a baking tray.
- The baking tray should preferably have very low sides so that you can shift the round cake tray off with ease when your pavlova is ready.
- Place a sheet of baking paper over the round bottom cake tin covering the entire rectangular tray
Baking tray: Lining the loose bottom of a cake tin helps with the size of the pavlova especially if you've never one this before.
Placing the loose bottom of the cake tin on top of an oven tray helps you to balance and easier moving it when needed.
Making Pavlova
Egg whites: Use room temperature egg whites.
If your eggs are cold: Take them out the fridge and separate the whites from the yellow. Then let them reach room temperature while you get the rest of the ingredients together.
There should be no trace of yellow in the whites as this could hinder the results.
Suggestion: Use the bowl of the cake stand that you will be using to add your egg whites in or a stainless steel bowl if using a hand mixer. This prevents the egg whites being transferred from one bowl to the next when it's time to whisk them.
Baking the Pavlova: Be careful not to bump the oven door or heavy movements in the kitchen, while the pavlova is baking (don't start moving furniture around!)
When To Stop Beating The Whites
Rub a little of the beaten whites between your fingers - if you feel no sugar at all between the fingers, you can move on to the next step but if you feel a little sugary grainy feeling between your finger keep going until its gone.
Egg Whites: You beat only the egg whites, the dry powders are folded in with a spatula.
Tips and Suggestions / Decorating
Carefully transfer your pavlova from the baking tray onto a cake stand. Be gentle but tag at the baking paper to pull it out from underneath. If it sticks to the paper, use a table knife to gently slide it in underneath to try and loosen the paper from the cake.
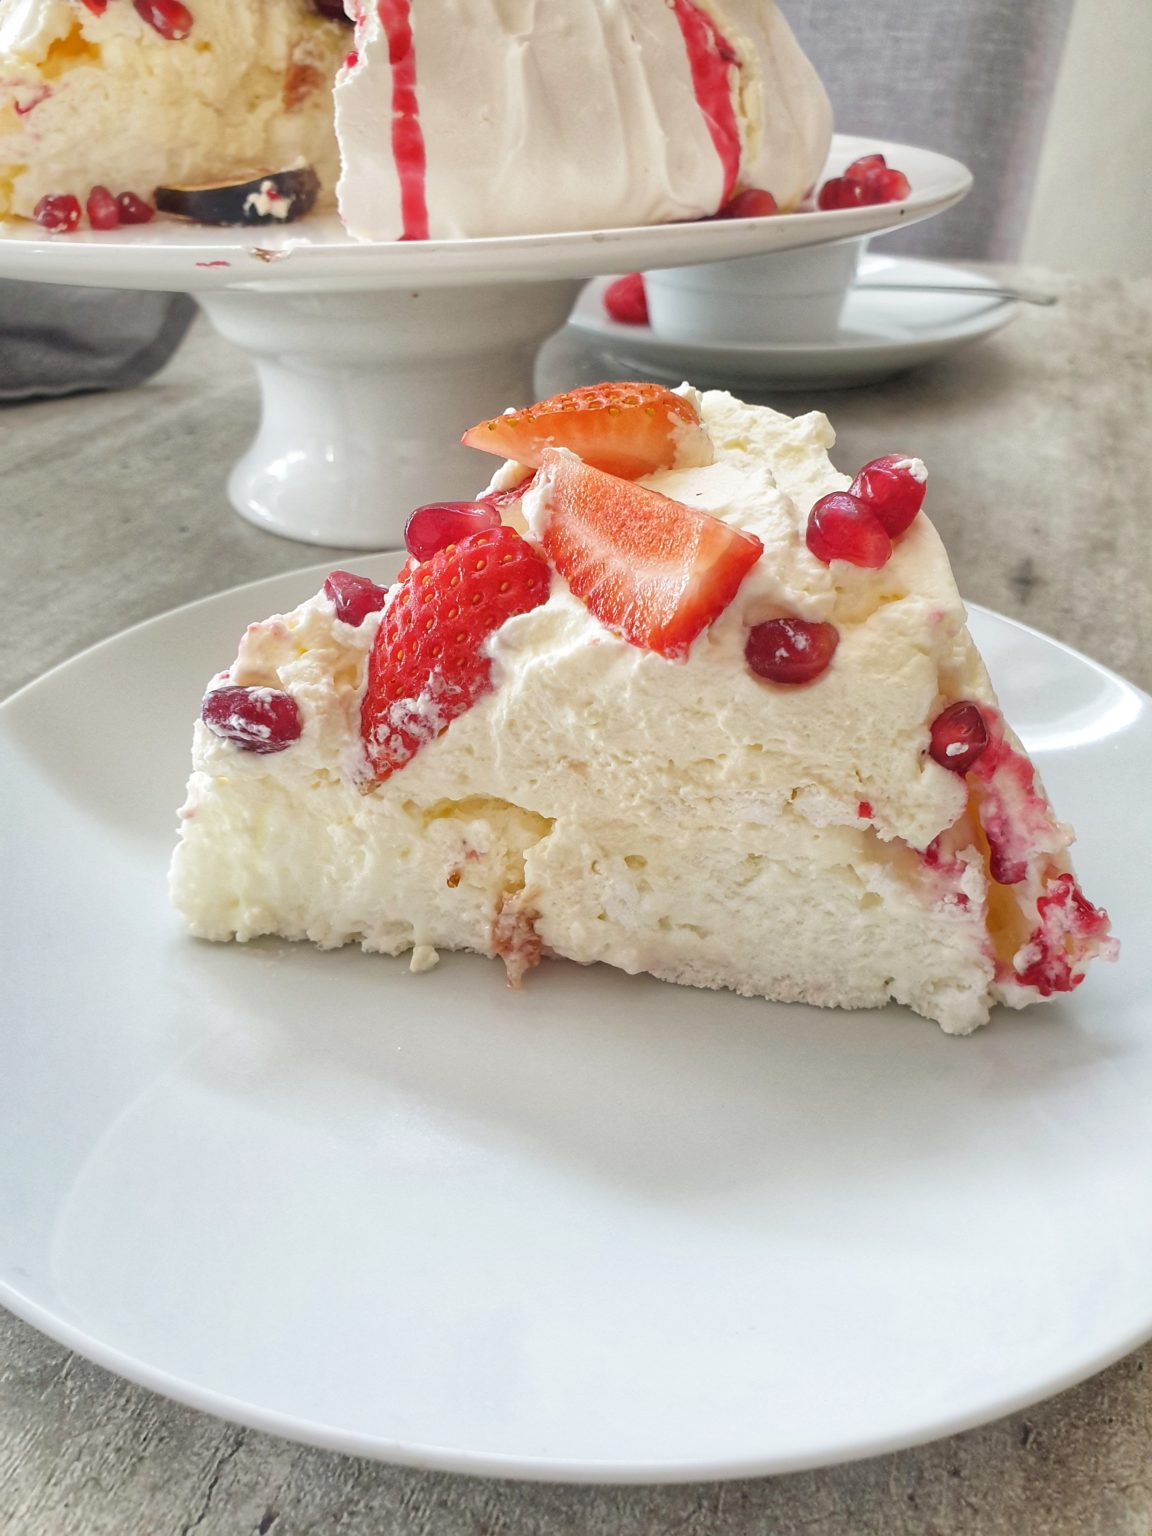
It it gets a slight crack don't despair you can cover that up with the cream. Just try and be gentle. Mine almost always has a slight crack, simply fill the cracks or leave it be, that's the beauty of a pavlova!
Decorate when serving (not hours before) with cream and fruit and remember to work gently even when adding the fruit. I find that the fruit will sink the pavlova in the center if overloaded but again, it's okay, enjoy it 🙂
After you admire yourself as true hero of the kitchen which you are! Serve and be merry! Miranda, xx
PS. I prefer using castor sugar because granulated takes forever in a day to dissolve! Also if you want castor and only have granulated at home, don't rush to the shop. Simple pour the granulated into a food processor and blend it into castor sugar. I use this theory in creating spice blends, if you have a grinder and the ingredient can be ground, grind it.
Substitute cream of tartare for cider vinegar or lemon juice just as I did for my Mini Pavlovas
recipe.
Remember that once your pavlova is cooled, you can store it at room temperature for a day or two before decorating and serving, but it must be in a container with a tight fitted lid to prevent air from entering.
- Prep Time: 15 minutes
- Cook Time: 1 hour 25 minutes
- Category: Dessert
- Cuisine: New Zealand
Comments
No Comments